background image

Page 

1

 of 

9


Copyright 2021 

 MAC Rail LLC. Fort Worth, Texas 76244    wwww.macrailproducts.com 


MAC-200/201 

 Trackside Shunt Boxes 

Type #1


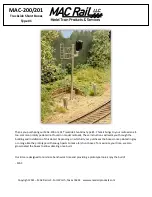
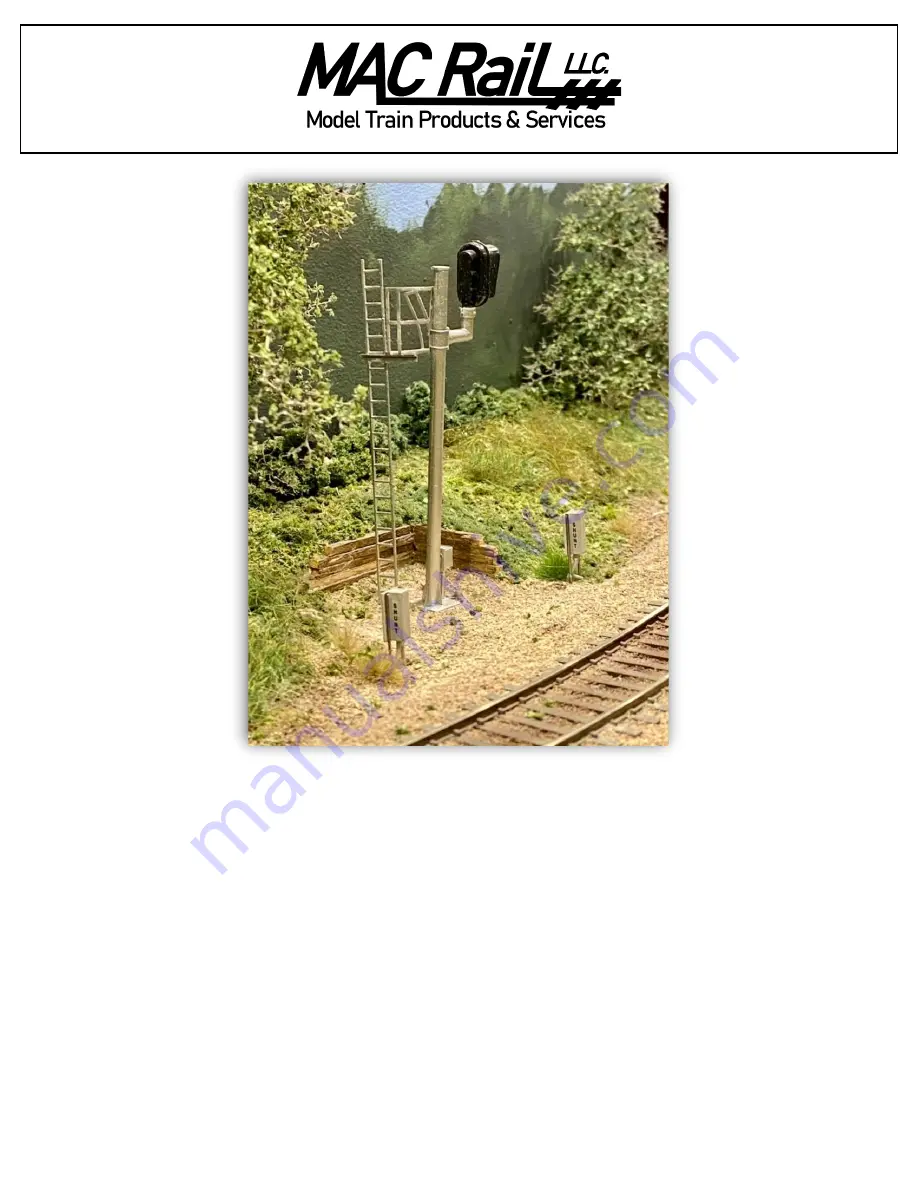
Thank you purchasing our MAC-200 or 201 Trackside Shunt Box Type #1. This kit brings to your railroad an all-
too-common prototype detail not found on model railroads. These instructions will walk you through the 
building and installation of this detail. Depending on which kit your purchases the boxes come painted in gray 
or orange like the prototype with enough parts to make (4) shunt boxes. To maximize your time, we also 
gloss coated the boxes to allow decaling once built.    


Our kits are designed to minimize benchwork time and providing a prototype look. Enjoy the build!  

- MAC 

Summary of Contents for MAC-200

Page 1: ...ototype detail not found on model railroads These instructions will walk you through the building and installation of this detail Depending on which kit your purchases the boxes come painted in gray o...

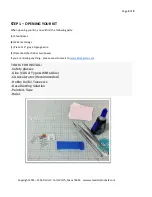
Page 2: ...nd the following parts 4 Shunt Boxes 8 Wire metal legs 1 Piece of 4 gray 30 gauge wire 2 Decal Sets Each does two boxes If you are missing anything please send an email to macrailllc gmail com TOOLS F...

Page 3: ...tape door side down The bottom of the boxes are unpainted and should be facing toward you If the bottom of your box is not smooth use sand paper to remove the nubs Apply CA to the wing on each side o...

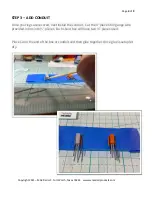
Page 4: ...roducts com STEP 3 ADD CONDUIT Once your legs are secured next install the conduit Cut the 4 piece of 30 gauge wire provided in box into pieces Each shunt box will have two pieces used Place CA on the...

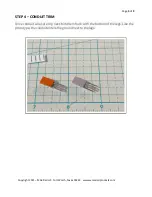
Page 5: ...1 MAC Rail LLC Fort Worth Texas 76244 wwww macrailproducts com STEP 4 CONDUIT TRIM Once conduit wires are dry next trim them flush with the bottom of the legs Like the prototype the conduit enters the...

Page 6: ...s to the adjacent wire leg Using a toothpick apply CA to the side of the conduit wire that will make contact with the legs Using the other end of the toothpick with glue on it gently work the conduit...

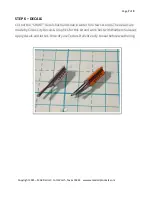
Page 7: ...ducts com STEP 6 DECALS Cut out the SHUNT decals flush and soak in water for a few seconds The decals are made by Circus City Decals Graphics for this kit and work best with Walthers Solvaset Apply de...

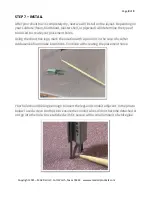
Page 8: ...e of tool used to create your placement holes Using the shunt box legs mark the location with a pencil or in the case of a softer subbase like foam make indentions Continue with creating the placement...

Page 9: ...d to assist getting the grade crossing detection current frequency that is in the rail around an insulated joint found at Control Points and Intermediate Signals Given the different configurations fou...

Reviews: