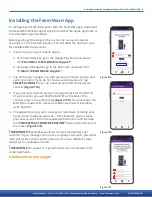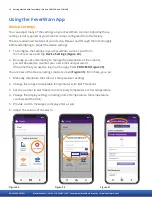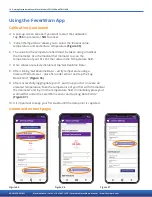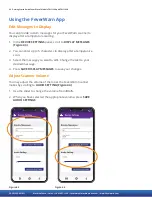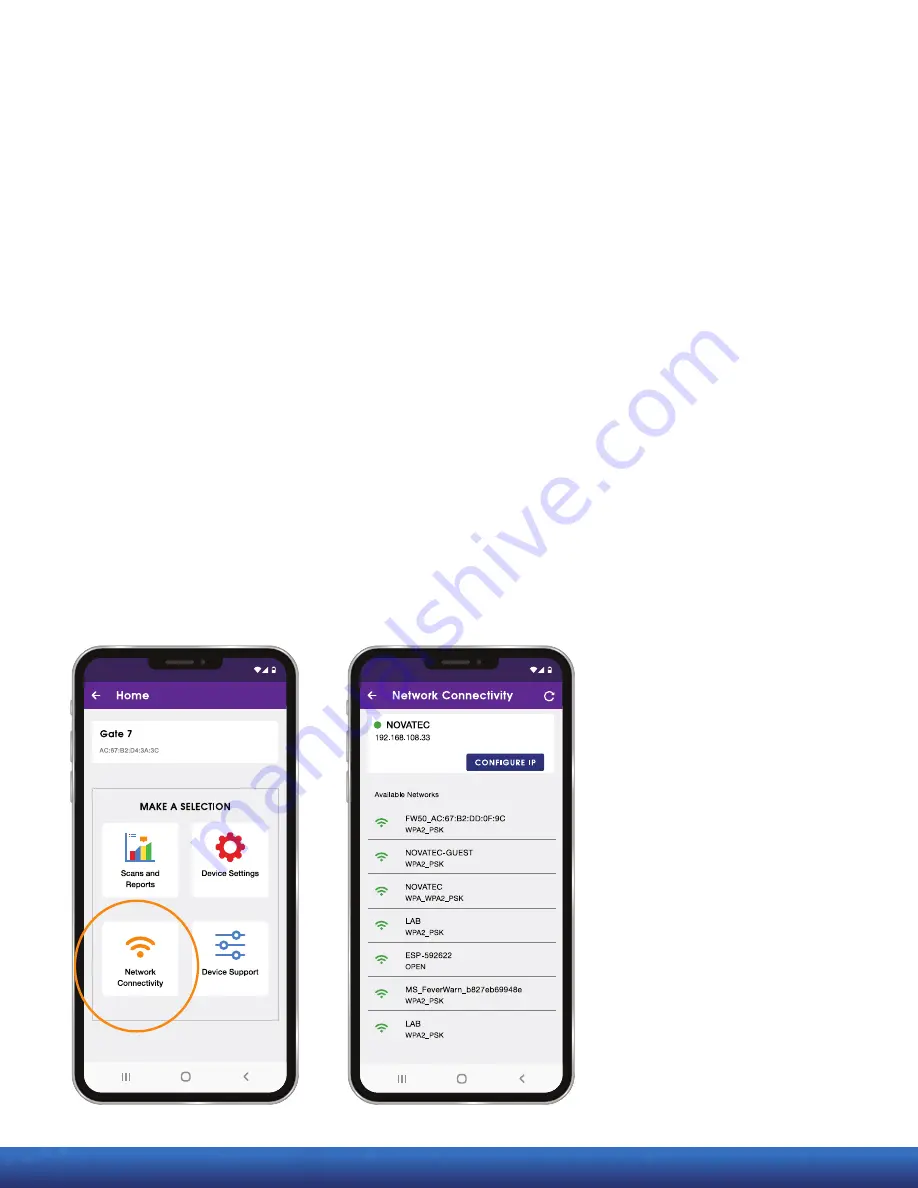
Figure 45
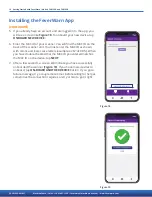
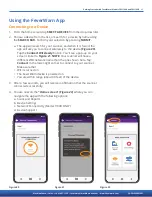
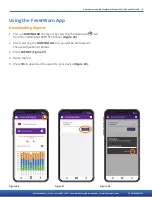
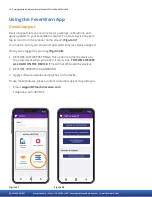
Figure 46
Getting Started with FeverWarn l Models FW1100A and FW1100B 21
MachineSense • Sales: +1-443-457-1165 • feverwarn@machinesense.com • www.feverwarn.com
QC-FW005-051821
Using the FeverWarn App
Network Connectivity (1100B Model only)
The FW1100B model allows you to connect your FeverWarn scanner to the
internet so scan data goes directly to the cloud. To attach your FeverWarn
scanner to your WiFi network, select
Network Connectivity from the mobile
app home screen
(Figure 45).
1. The app will scan and show all available networks.
2. Choose the network you want to connect to. You should choose a
network with good signal strength.
3. Enter the credentials for the network you want to join (ask your
system administrator if you do not know your network credentials).
4. You can select if you want an automatic IP assignment
(DHCP) or if
you want to assign a
STATIC IP. If you do not have a preference, use DHCP.
5. You must restart the device to finish setting the network. Before
restarting the device, make sure the device has been onboarded
either via Crystalball or via the app.
6. When you have successfully connected to a network, the network
name (SSID) will have a green dot next to it and the IP address will
display underneath
(Figure 46).


