2.1 Mounting
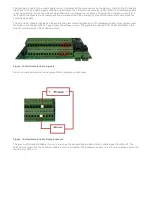
The Apollo I has four 0.16 inch mounting holes as shown below.
Figure 2 Apollo I Mounting Holes
You can mount the breakout board on any solid surface that will be protected from dust and dirt. Make sure to use 3/8
to 1/2 inch standoffs so the bottom of the board will not short out. Place the Apollo I as close to the control as possible.
If the parallel port cables are longer than 12” then you may have issues with electrical noise.
2.2 Supply Power
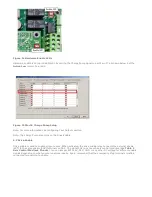
To turn on the Apollo I you must supply 24VDC. The power connection is located at the top right of the board as shown
below.
Figure 3 24V Power Connector
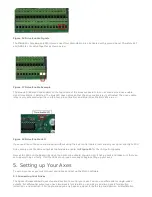
When 24VDC is supplied, the top orange LED labeled Power will turn on. Near the middle of the board another power
LED should turn on as shown below.
2. Installation


