D8B Manual • Appendices • page 165
Connections
You will need a MIDI interface with an
available input and output port connected to your
DAW. Connect the D8B’s MIDI output to the MIDI
input on the interface and connect the MIDI
output on the interface to the MIDI input on the
D8B. Mac users will need to set up a device for
their D8B under OMS (if you are using Pro Tools
or Nuendo) or Free MIDI (if you are using Digital
Performer).
Mac users launch OMS Setup (or Free MIDI
Setup). Create a new device called HUI. Use the
default settings and make sure you tell it the
correct input and output ports that you are using.
Save your setup and exit.
On the D8B, choose HUI Mode from the
Options menu.
You will see a HUI button appear next to the
master fader. Click it or use the control surface
shortcut SHIFT+MASTER (keyboard shortcut is F5).
The board and GUI will change to the HUI layer.
All the faders will be at unity and the V-Pots and
Time Code read out will be blank. You must now
launch your DAW and set it up to use a HUI.
Pro Tools:
Go to
Setups > Peripherals
.
Choose the
MIDI Controllers
tab. For the first
available Type, choose
HUI
. Select the MIDI port
you have connected to the D8B for both the
Receive From
and
Send To
. Click
OK
.
DP3.1:
Go to
Basics > Control Surface
Setup
. Set the Driver to
HUI
. Under
MIDI
, select
the first channel. Click
OK
.
Nuendo:
Go to
Devices > Device Setup
. Click
the
Add/Remove
tab and choose
Mackie HUI
.
Click the
Add
button and then click the
Setup
tab.
Now choose
Mackie HUI
from the Devices list.
Select the MIDI channel you have connected to
the D8B for both the Input and Output. Click
OK
.
The D8B’s HUI layer faders should jump to the
position of the first eight faders in the currently open
session. If they don’t, repeat the above instructions.
For the D8B’s internal automation to function,
you must also set up your DAW to send MIDI Time
Code (MTC) to the D8B. This is done as follows:
Pro Tools:
Go to
Windows > Show Session
Setup
. On the left side of the window you will see
a check box and pull-down menu for
Send MTC to
Port
. Check this box and choose the MIDI port
you have connected to the D8B.
DP3.1:
Go to
Basics > Transmit Sync…
Check the
Send MTC
check box and choose the
MIDI port you have connected to the D8B.
Nuendo:
Go to
Transport > Sync Setup…
Under
Send MIDI Timecode
, check the MIDI port
you have connected to the D8B.
Now if you press Play, the blue time code read
out (top right corner of the D8B GUI) should
display the incoming time code. If, during play-
back, it stays at all zeros, then the D8B is not
receiving code properly and you should repeat the
above instructions.
Your D8B is now connected correctly.
Operation
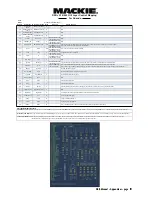
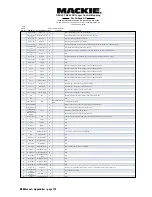
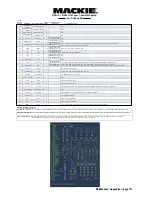
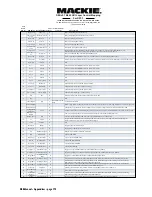
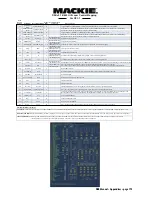
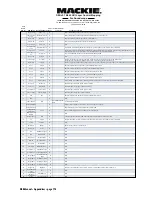
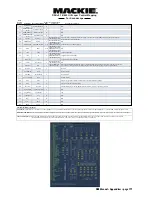
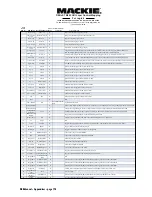
The real HUI (and thus the HUI layer) only
has eight faders. To control more than eight faders
in a DAW, we put bank buttons on the HUI to shift
eight faders at a time to the right or left. This
allows you access to all your faders in the DAW.
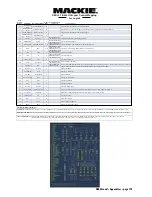
Since the D8B doesn’t have bank left or right
buttons (or many others that are on the HUI), we
remapped the buttons on the D8B HUI layer to
perform different functions when in HUI Mode.
Summary of Contents for d8B V5.1
Page 1: ...OWNER OWNER S MANUAL S MANUAL...
Page 9: ...D8B Manual Chapter 1 page 3 Chapter 1 Getting Ready...
Page 27: ...D8B Manual Chapter 2 page 21 Chapter 2 Where Is It...
Page 47: ...D8B Manual Chapter 3 page 41 Chapter 3 What s On TV...
Page 101: ...D8B Manual Chapter 4 page 95 Chapter 4 Applications...
Page 147: ...D8B Manual Appendices page 141 Appendices...
Page 198: ......


