D8B Manual • Chapter 3 • page 94
Creating a Route
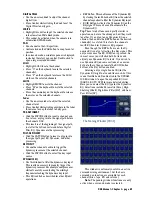
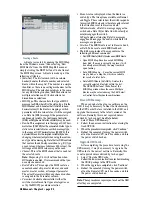
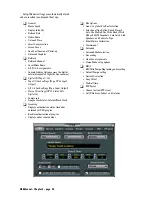
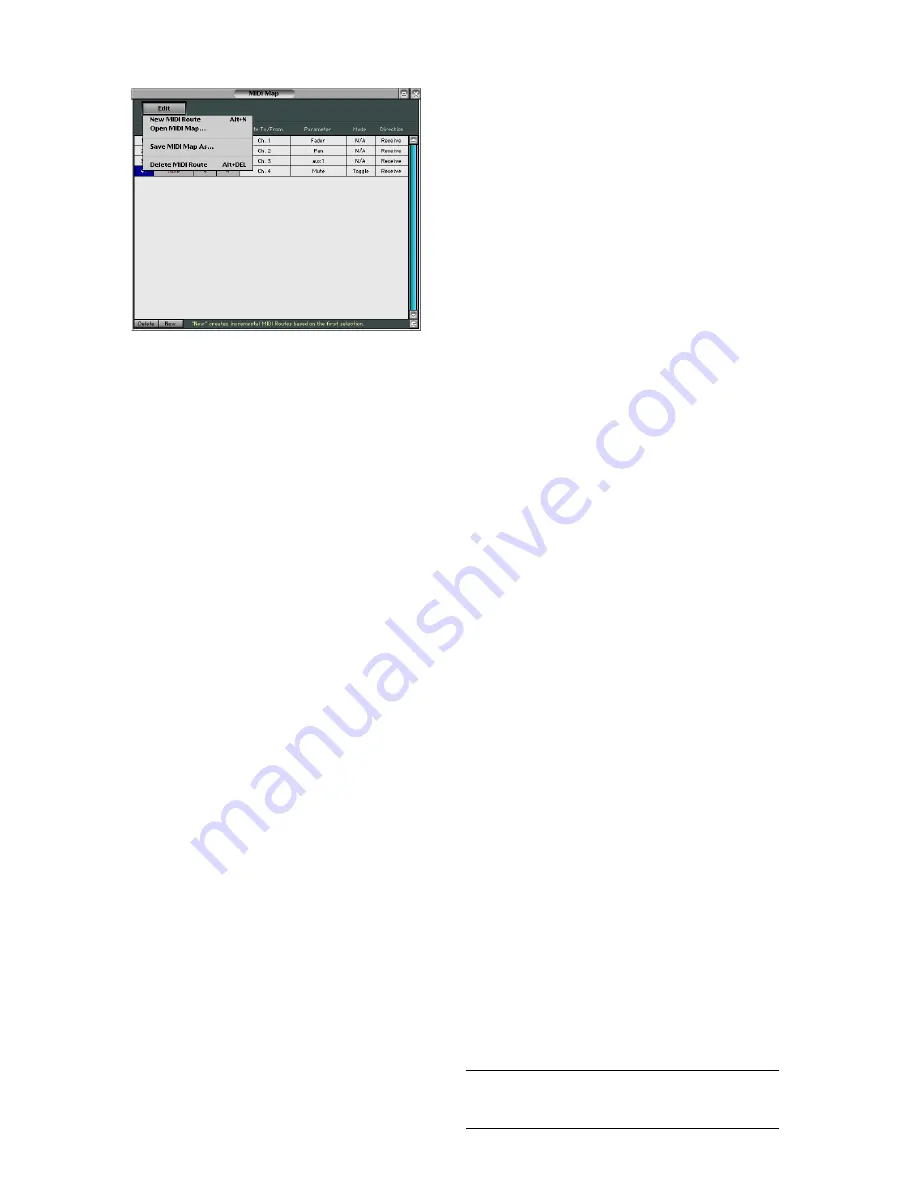
A Route is created by opening the MIDI Map
from the Windows menu, then selecting “New
MIDI Route” from the MIDI Map Edit menu or
simply clicking the NEW button at the bottom of
the MIDI Map screen. A Route is made up of the
following attributes:
• (
Selection
): The first column (with no column
header) denotes the Route number and selected
Route within the map list. The number is a simple
identifier, as there is no sorting mechanism for the
MIDI Routes. The selection paradigm is the same
for any D8B listing function; Shift-click allows for
multiple selections and Ctrl-click allows for
discontinuous selections.
•
MIDI Type
: This choice offers the type of MIDI
message (as XNh, where X is the status type, N is the
MIDI channel, and h denotes that it’s listed in hexa-
decimal values). If the Route is mapping a switch
parameter with two value states, it will be assigned
as a Note On (9Nh) message. If the parameter is
continuously variable, the Continuous Controller
(BNh) or Polyphonic Aftertouch (ANh) may be used.
•
Number
: This assignment is in the range of 0-127 deci-
mal values (00h-7Fh) for the associated Status type. A
static value is selectable for a switch message type,
in the range of 0-127 decimal values (00h-7Fh). It is
not selectable and is the implied variable (dynamic,
changing, whatever) output when using the continu-
ous type status messaging. Note that for D8B controls
that use less than 256-step resolution, (e.g., EQ type
uses 4 values, whereas a fader uses 256 values), the
full range of 128 MIDI values may not be used.
•
Channel
: This is the MIDI channel that is used for
the selected route.
Note:
Maps using Ch 1 will not function when
HUI mode is enabled. It is recommended that you
use only channels 2-16.
•
Route To/From
: This assigns the MIDI route to a
console channel strip, master fader or aux send
master, master section, or transport parameter.
The actual Parameter within any chosen function
is assigned in the Parameter column.
•
Parameter
: Available choices follow either the
switch or variable control types of categories, as
set by the MIDI Type column selection.
•
Mode
: A value is displayed when the Route is a
switch type. The two options available are Normal
and Toggle. These refer to how the switch responds
to received MIDI data and is therefore only relevant
if the Direction is set to Receive on both.
In Normal mode, a Note On message engages the
switch and a Note Off (or Note On with velocity of
zero) disengages the switch.
In Toggle mode, alternating Note On messages
engage and disengage the switch, while Note Off
messages are ignored.
•
Direction
: The MIDI Route is set to Receive, Send,
or Both. Take care to avoid MIDI feedback.
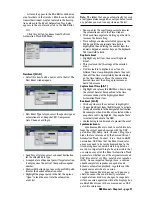
• The Edit menu inside of the map contains the
following additional commands:
• New MIDI Route (Alt+N): Creates a new MIDI Route.
• Open MIDI Map: Recalls a saved MIDI Map
from disk. If a map is currently in place, it will
be entirely overwritten by the map from disk
upon loading.
• Save MIDI Map As...: Saves the current MIDI
map to disk as a Map file, which is available
for recall at a later date.
• Delete MIDI Route (Alt+DEL): Deletes the
currently selected Route(s) within the list.
The DELETE button at the bottom of the
MIDI Map window does the same. Multiple
Routes may be selected using the Shift-Select
or Control-Select keyboard combinations.
Erase UFX Memory...
When you update the plug-ins software on the
D8B, it may be necessary to clear the flash memory
in the UFX cards that are installed in the D8B, and
upgrade their memory to the latest version of the
software. Normally, this is not required unless
advised by tech support.
See Note below.
1. Select “Erase UFX Memory...”.
2. Follow the on-screen instructions for erasing the
flash UFX OS.
3. When the procedure is completed, click “Continue.”
4. Reboot the console by turning the power switch
off on the Remote CPU, wait 5 seconds, and turn
the power switch back on.
Upgrade UFX Cards...
After completing the procedure for erasing the
UFX memory, it may be necessary to upgrade the
UFX cards to the newest software. Normally, this
is not required unless advised by tech support.
1. Select “Upgrade UFX Cards...”.
2. Follow the on-screen instructions for downloading
the UDOS package to the UFX cards.
3. When the upgrade is completed, click “Continue.”
4. Reboot the console by turning the power switch
off on the Remote CPU, wait 5 seconds, and turn
the power switch back on.
Note:
These procedures require you to reboot the D8B
after they are completed.
Summary of Contents for d8B V5.1
Page 1: ...OWNER OWNER S MANUAL S MANUAL...
Page 9: ...D8B Manual Chapter 1 page 3 Chapter 1 Getting Ready...
Page 27: ...D8B Manual Chapter 2 page 21 Chapter 2 Where Is It...
Page 47: ...D8B Manual Chapter 3 page 41 Chapter 3 What s On TV...
Page 101: ...D8B Manual Chapter 4 page 95 Chapter 4 Applications...
Page 147: ...D8B Manual Appendices page 141 Appendices...
Page 198: ......

