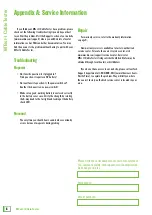
MT
est-1 Cable T
ester
4
MTest-1 Cable Tester
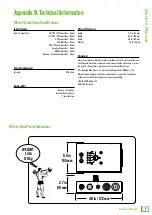
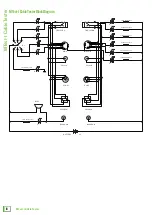
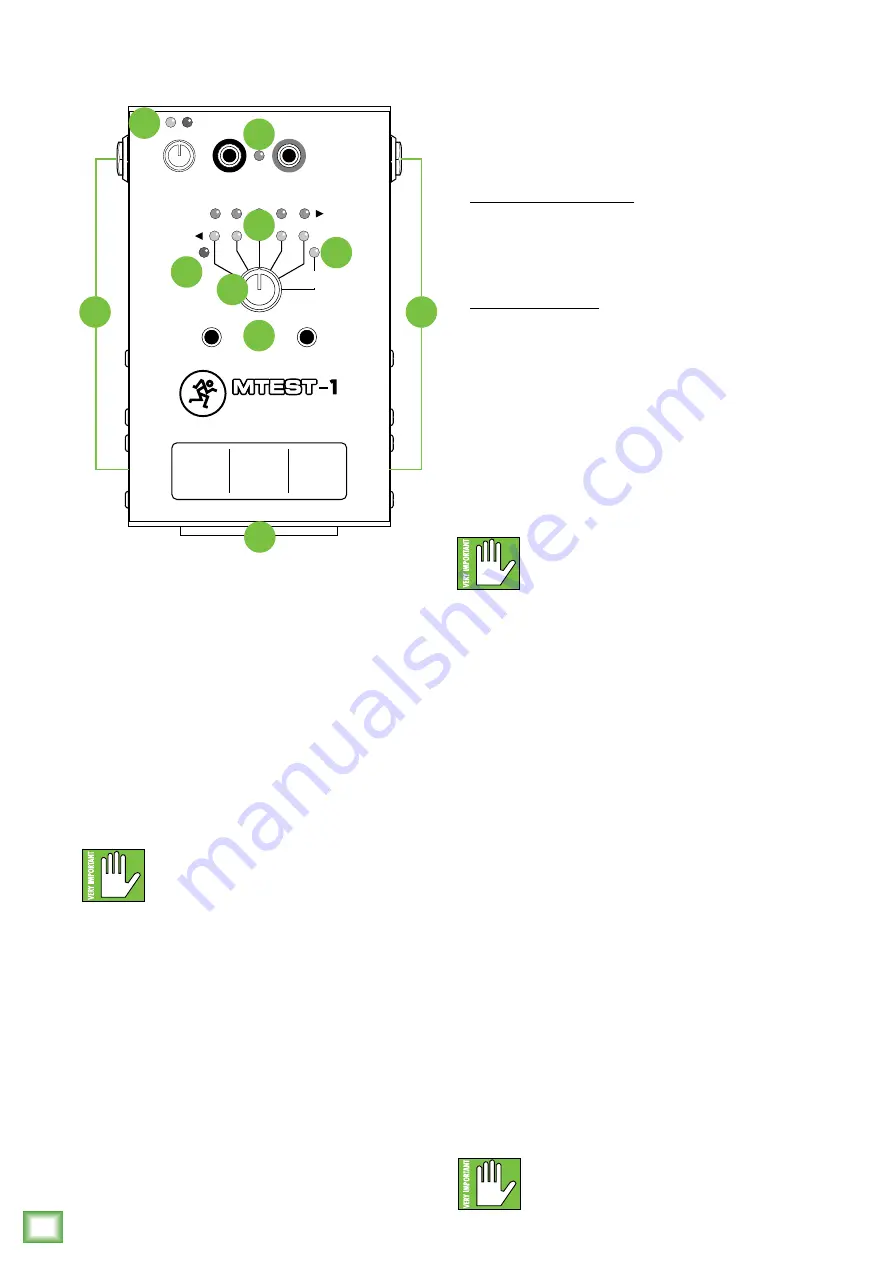
MTest-1 Cable Tester: Top and Side Panel Features
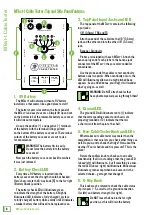
1. 9V Battery
The MTest-1 will not work without a 9V battery
installed, so that seems like a good place to start!
The battery cover is located on the front panel of
the MTest-1 and easy to access. Simply lift up and out
on the bottom tab of the removable battery case cover;
it will slide out competely.
Line up the positive (+) and negative (-) terminals
of the battery with the terminal listings printed
on the bottom of the battery case cover. The terminal
cutouts of the battery case cover are cut to size
for convenience.
WARNING: The battery fits in easily.
Do not force the battery into the battery
case cover!
Now push the battery case cover back from where
it was just removed.
2. Battery Check LED
Every time a 9V battery is inserted into the
battery case cover, the strength should be checked.
Here’s how: rotate the 6-way knob [6] to the far-right
(Battery Check) position.
The battery check LED will illuminate green
to indicate the strength of the battery. A brightly
illuminated LED indicates a fully-charged (or close
to fully-charged) battery while a dimly lit LED indicates
a weaker battery that will need to be replaced soon.
3. Top Panel Input Jacks and LED
The top panel of the MTest-1 contains the following
input jacks:
1/8" (3.5mm) TRS and TS
Attach one end of the cable into the 1/8" (3.5mm)
jack and the other end into the other 1/8" (3.5mm)
jack.
Banana / Continuity
Probes are included with each MTest-1. Attach the
banana plug end of each probe to the banana jack
connector of the MTest-1; they are color-coded for
convenience.
Use the probe end of the cables to test continuity
between any two points. When continuity occurs, the
LED will illuminate yellow and a high-pitched beep
appears. As an added bonus, your dog(s) will wonder
what’s going on, as well.
WARNING: Do NOT attach cables that
have phantom power passing through them!
4. Ground LED
The ground LED will illuminate red to (1) indicate
that the corresponding contact and chassis are
properly grounded or (2) indicate that there is
a short circuit from the pin to the shell.
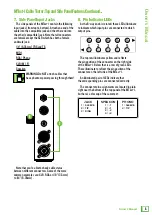
5. Non-Cable Tester Knob and LEDs
What makes our cable tester way cooler than the
competition is that ours lets you check other things, as
well. Do you want to check the fridge? How about the
weather? Your schedule and tire pressure? This is the
place!
Rotate the endless knob to check out non-cable
functionality. If all is in standing order, the green LED
(above-left) will illuminate... but if something is amiss,
the red LED (above-right) will illuminate. Mine always
illuminates green except when bank account is the
selected choice... gotta get that changed!
6. 6-Way Knob
This knob may be rotated to check the cable status
of pin inputs 1–5, as well as the ground connection
(far left) and battery strength (far right).
Do NOT leave the knob in the far right
position, as this will drain the battery.
1
2
3
4
5
GROUND
TS / TRS
MIDI
RC
A / PHONO
XLR
SPEAK
ON
TS / TRS
MIDI
RC
A / PHONO
XLR
SPEAK
ON
3.5mm TRS
3.5mm TRS
BATTERY
CHECK
BANANA / CONTINUITY
1 = SLEEVE
2 = TIP
3 = RING
2 = TIP
1 = SLEEVE
JACK
SPEAKON
PHONO
= -1
1
= +1
2
= -2
3
= +2
4
BANK ACCOUNT
TIRE PRESSURE
SANITY
FRIDGE
WEATHER
THE SCORE
NEWS
SCHEDULE
CABLE TESTER
7
7
3
1
6
2
8
4
3
5


