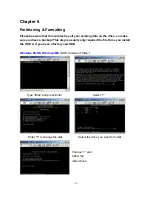
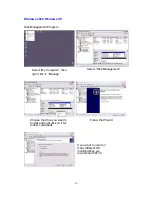
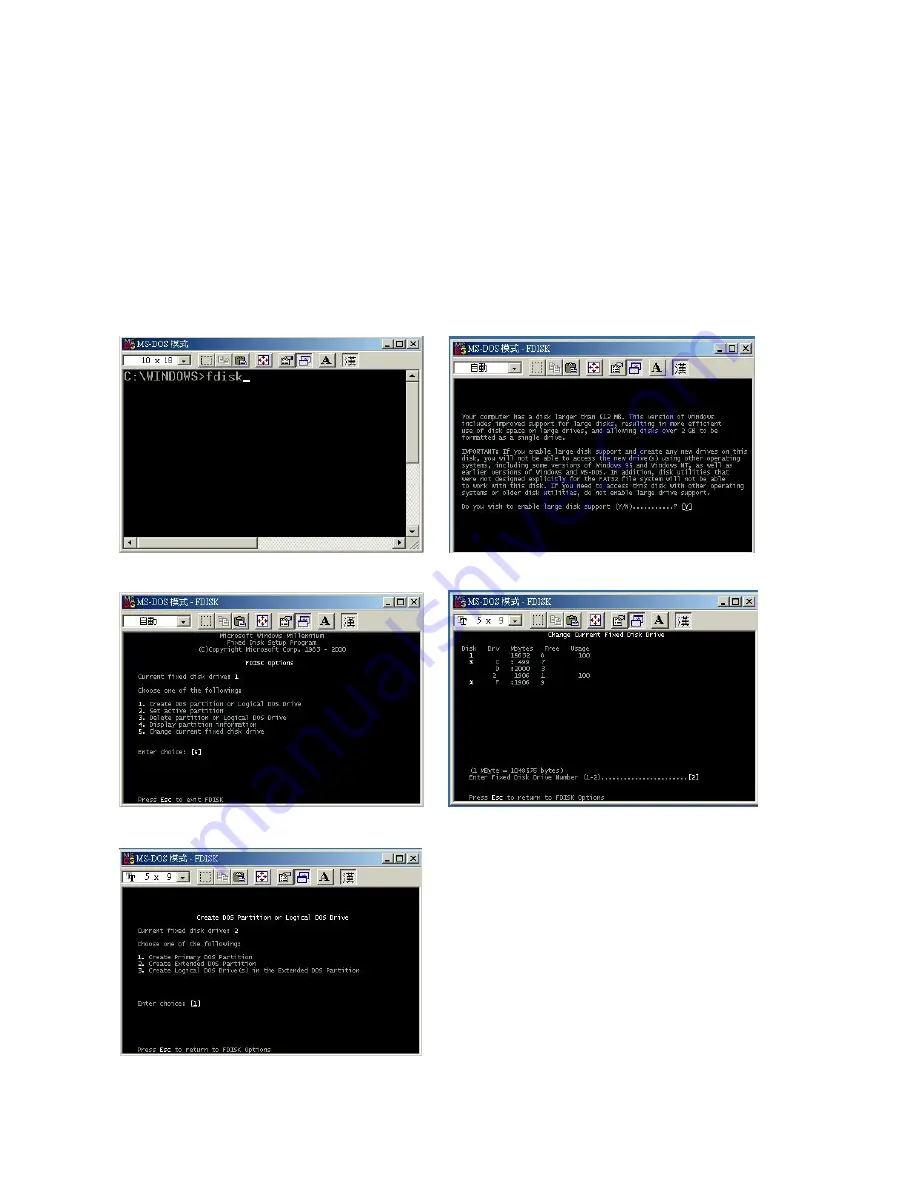
background image


- 15 -

Chapter 6   

Partitioning & Formatting 

Please be aware that this will destroy all your existing data on the drive, so make 
sure you have a backup! This step is usually only required the first time you install 
the HDD or if you have a factory new HDD. 
 

Windows 98/SE, Windows ME

 (DOS command “fdisk”) 


Type “fdisk” and press Enter                      Select ”Y” 


Enter "5” to change the disk           Select the drive you want to format 


Choose “1” and 
follow the 
instructions 

Summary of Contents for Alumni Freshman USB 2.0

Page 1: ...rnal Hard Drive Enclosure Table of Contents Chapter 1 Introduction P 02 Chapter 2 Package Contents P 03 Chapter 3 Hardware Installation Guide P 04 Chapter 4 Installation Procedure P 09 Chapter 5 Unplu...

Page 2: ...le nowadays a 2 5 HDD with a thickness of 9 5mm fits exactly Being small enough to fit in your pocket makes it very convenient for carrying your data while on the go no matter if used on a PC or a Mac...

Page 3: ...3 Chapter 2 Package Contents may vary between your product and the items stated below 1 Alumni Freshman ATA to USB 2 0 External Hard Drive Enclosure 2 USB 2 0 Cable 3 CD with Driver...

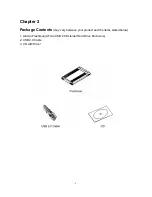
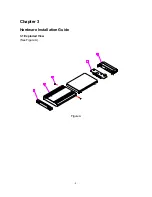
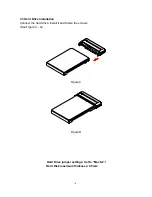
Page 4: ...4 Chapter 3 Hardware Installation Guide 3 1 Exploded View See Figure A 1 2 3 5 4 Figure A...

Page 5: ...5 3 2 Chassis Assembly Unscrew the two screws then remove the back panel See Figure B D Figure B Figure C Figure D...

Page 6: ...6 3 3 Hard Drive Installation Connect the hard drive install it and fasten the screws See Figure C G Figure C Figure D Hard Drive jumper settings Set to Master Hard Disk maximum thickness 9 5mm...

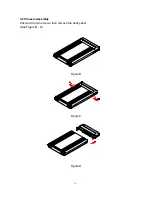
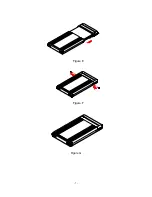
Page 7: ...7 Figure E Figure F Figure G...

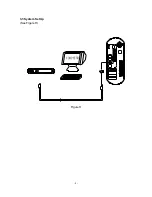
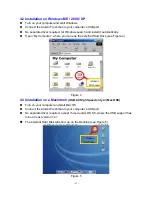
Page 8: ...8 3 3 System Set Up See Figure H COMPUTER Figure H...

Page 9: ...llation on Windows 98 SE USB 2 0 Turn on your computer and start Windows Connect the Alumni Freshman to your computer s USB port Driver Installation Insert the included driver CD and follow the onscre...

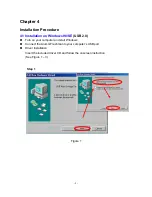
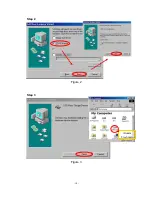
Page 10: ...10 Step 2 Figure 2 Step 3 Figure 3 Alumni Freshman...

Page 11: ...e you can see the external Hard Drive see Figure 4 Figure 4 4 3 Installation on a Macintosh USB 2 0 High Speed only on Mac OSX Turn on your computer and start Mac OS Connect the Alumni Freshman to you...

Page 12: ...e see Figure 7 Figure 6 Figure 7 External Hardware Icon c Click OK and remove the device see Figure 8 Figure 8 5 2 Windows ME 2000 XP a Single click right mouse button on the taskbar icon see Figure 9...

Page 13: ...13 5 3 Mac OS Drag the icon to the trash bin and remove the device see Figure 12 Figure 12...

Page 14: ...14 Attention To assure no data will be lost always follow the unplug procedure If not data could be lost and the following message will show up For Windows 98 SE ME For Windows 2000 XP For Mac OS...

Page 15: ...so make sure you have a backup This step is usually only required the first time you install the HDD or if you have a factory new HDD Windows 98 SE Windows ME DOS command fdisk Type fdisk and press En...

Page 16: ...ight click on it for further commands If you want to use it on many different OS including Mac we recommend FAT32 Windows 2000 Windows XP Disk Management Program Select Disk Management Follow the Wiza...

Page 17: ...that you would need to purchase additional software Initializing is no problem on all OS For OSX please use the Disk Utility to format and create partitions on your external drive Select Disk Utility...

Page 18: ...all Rights Reserved The information contained in this manual is believed to be accurate and reliable Macpower Peripherals Ltd assumes no responsibility for any errors contained in this manual Macpowe...

Reviews: