Hydra LAN User Guide
3.3.2 Share Management
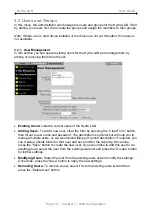
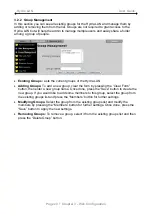
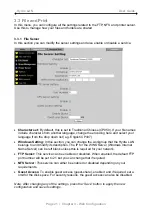
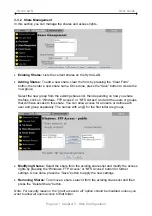
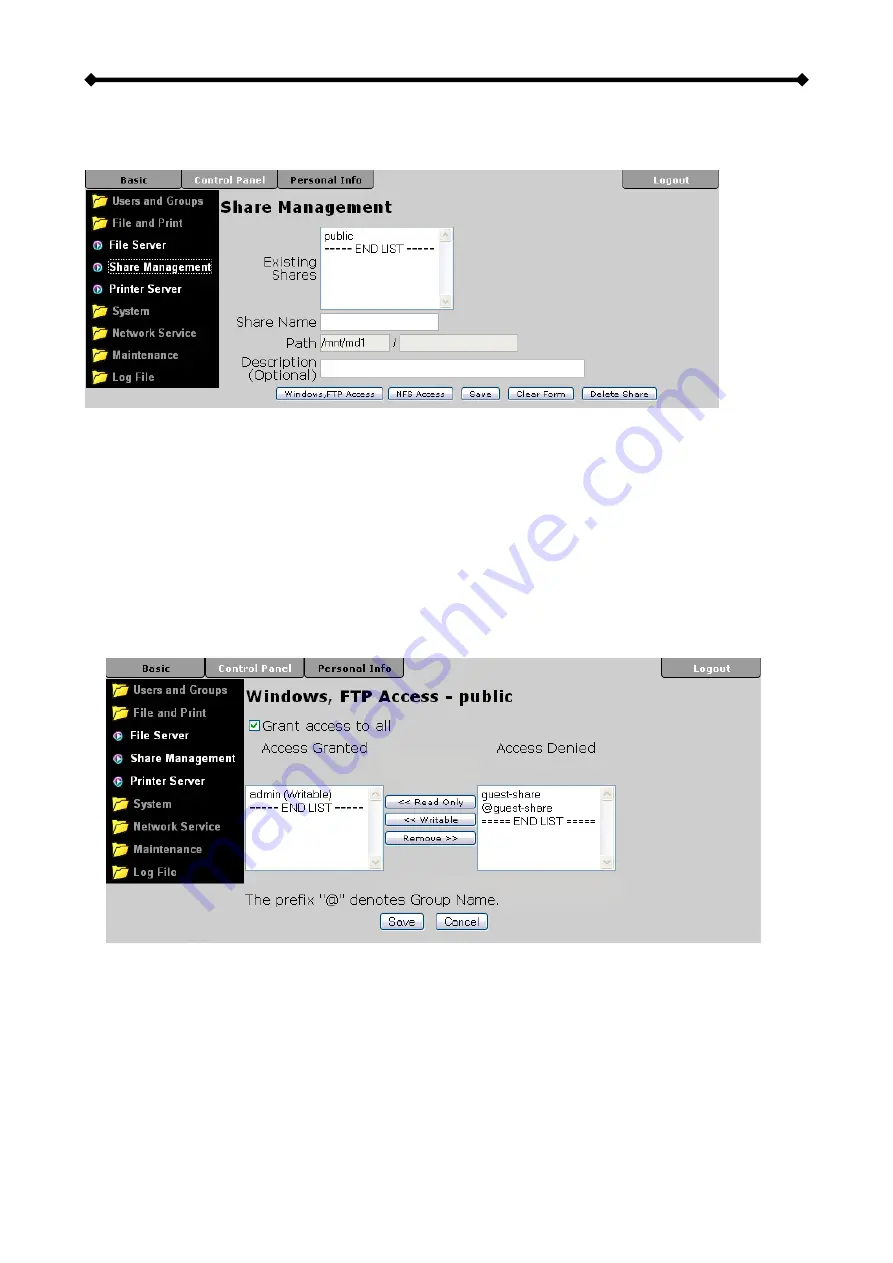
In this section you can manage the shares and access rights.
•
Existing Shares:
Lists the current shares on the Hydra LAN.
•
Adding Shares:
To add a new share, clear the form by pressing the “Clear Form”
button, then enter a new share name. Once done, press the “Save” button to create the
new group.
Select the new group from the existing shares list, then depending on how you share
the files, click on “Windows, FTP Access” or “NFS Access” and add the users or groups
that will have access to this share. You can allow access for all users or define each
user and group separately. The names with an @ for the first letter are groups.
•
Modifying Shares:
Select the share from the existing shares list and modify the access
rights by pressing the “Windows, FTP Access” or “NFS Access” button for further
settings. Once done, press the “Save” button to apply the new settings.
•
Removing Shares:
To remove a share, select it from the existing shares list and then
press the “Delete Share” button.
Note: For security reasons, the “grant access to all” option should be disabled, unless you
want to allow all users access to that folder.
Page 22 / Chapter 3 - Web Configuration


