


1
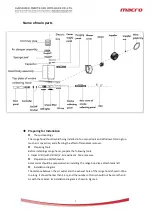
User Manual for Range hood
Model Name: CXW-300-T2C
This product implements national standards:
GB 4706.1 2005
GB 4706.28 2008
GB 29539-2013
GB/T 17713-2011
Content
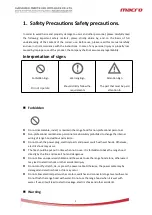
1. Safety Precautions Safety precautions.
.................................................2
...........................................................................4
............................................................................... 4
..........................................................................6
..................................................................... 11
..........................................................................................12
.................................................................................... 13
.................................................................................14


