Dreamweaver Tutorial
45
Create a rollover image
A rollover image is an image whose display changes when the pointer passes
(“rolls”) over it.
You’ll use the Insert Rollover Image command to create three rollover images for
the navigation buttons—Trip Planner, Destinations, and Travel Logs.
A rollover image consists of two images: the image displayed when the page first
loads in the browser, and the image displayed when the pointer moves over the
original image. Be sure to use images that are the same size. The first image
dictates the size of the display, so if the second image is much smaller or much
larger, the results will look distorted or unprofessional.
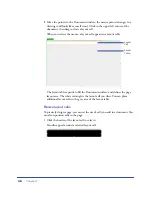
Next, you’ll add a navigation button with a rollover image to your page.
Then you’ll add the other navigation buttons and preview the page in a browser
to test the rollovers.
1
In the Document window, click in the first cell of the navigation button table.
This tells Dreamweaver where you want the image inserted.
2
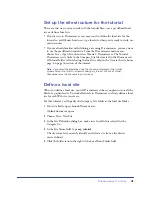
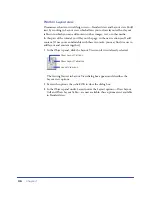
To insert a rollover image, do one of the following:
•
In the Common category of the Objects panel, click the Insert Rollover
Image icon.
•
Choose Insert > Interactive Image > Rollover Image.
3
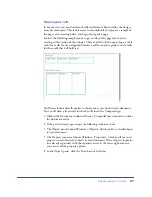
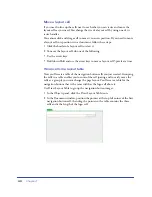
In the Insert Rollover Image dialog box, type
planner
in the Image Name field.
This gives the image a unique name, and makes it easily identifiable in the
HTML code.
4
In the Original Image field, click Browse; then navigate to
MenuTripPlanner.gif and click Select (Windows) or Open (Macintosh).
This tells Dreamweaver which image to display when the page first loads.
5
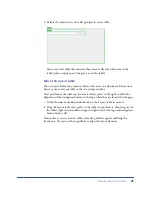
In the Rollover Image field, click Browse; then navigate to
MenuTripPlanner_on.gif and click Select (Windows) or Open (Macintosh).
This tells Dreamweaver which image to display when the pointer is over
the original image.
Summary of Contents for 38028779 - Macromedia Dreamweaver - Mac
Page 1: ...macromedia Using Dreamweaver...
Page 148: ...Chapter 4 148...
Page 296: ...Chapter 12 296...
Page 472: ...Chapter 18 472...
Page 512: ...Chapter 21 512...
Page 562: ...Appendix 562...

