Chapter 1
46
6
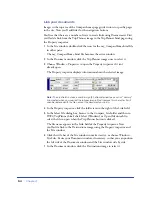
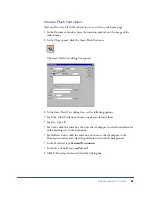
Make sure the Preload Rollover Image option is selected so the rollover images
load when the page loads in the browser, ensuring a quick transition between
images when a user moves the pointer over the original image.
7
Click OK to close the dialog box.
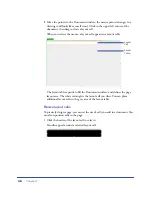
The image appears in the document.
8
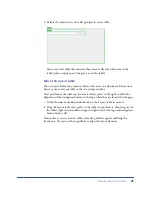
Resize the layout cell to fit the image.
Create the other rollover images
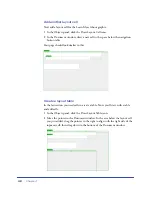
Now you’ll add rollover images for the other navigation buttons.
1
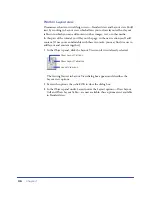
In the Document window, click in the second navigation button cell; then in the
Common category of the Objects panel, click the Insert Rollover Image icon.
2
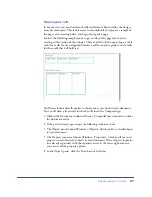
In the Insert Rollover Image dialog box, type
destinations
in the Image Name
field to provide the image a unique name.
3
In the Original Image field, click Browse, then navigate to and select
MenuDestinations.gif.
4
In the Rollover Image field, click Browse, then navigate to and select
MenuDestinations_on.gif.
5
Make sure the Preload Rollover Image option is selected, then click OK to close
the dialog box.
6
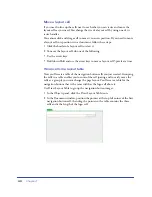
In the Document window, click in the third navigation button cell; then in the
Objects panel’s Common category, click the Insert Rollover Image icon.
7
In the Insert Rollover Image dialog box, type
travellog
in the Image Name field
to provide the image a unique name.
8
In the Original Image field, click Browse then navigate to and select
MenuTravelLogs.gif.
9
In the Rollover Image field, click Browse then navigate to and select
MenuTravelLogs_on.gif.
10
Make sure the Preload Rollover Image option is selected, then click OK to close
the dialog box.
11
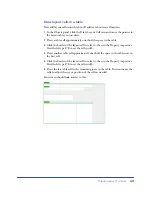
Resize the two layout cells to fit the image.
Summary of Contents for 38028779 - Macromedia Dreamweaver - Mac
Page 1: ...macromedia Using Dreamweaver...
Page 148: ...Chapter 4 148...
Page 296: ...Chapter 12 296...
Page 472: ...Chapter 18 472...
Page 512: ...Chapter 21 512...
Page 562: ...Appendix 562...


