Chapter 1
54
Link your documents
Images in the top area of the Compass home page guide visitors to specific pages
in the site. Now you’ll add links for the navigation buttons.
You’ll see that there are a number of ways to create links using Dreamweaver. First,
you’ll add a link from the Trip Planner image to the TripPlanner.html page using
the Property inspector.
1
In the Site window, double-click the icon for the my_CompassHome.html file
in either pane.
The my_CompassHome.html file becomes the active window.
2
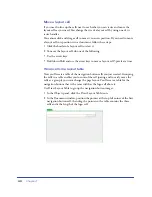
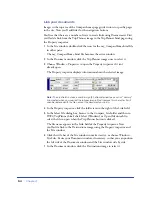
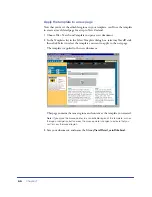
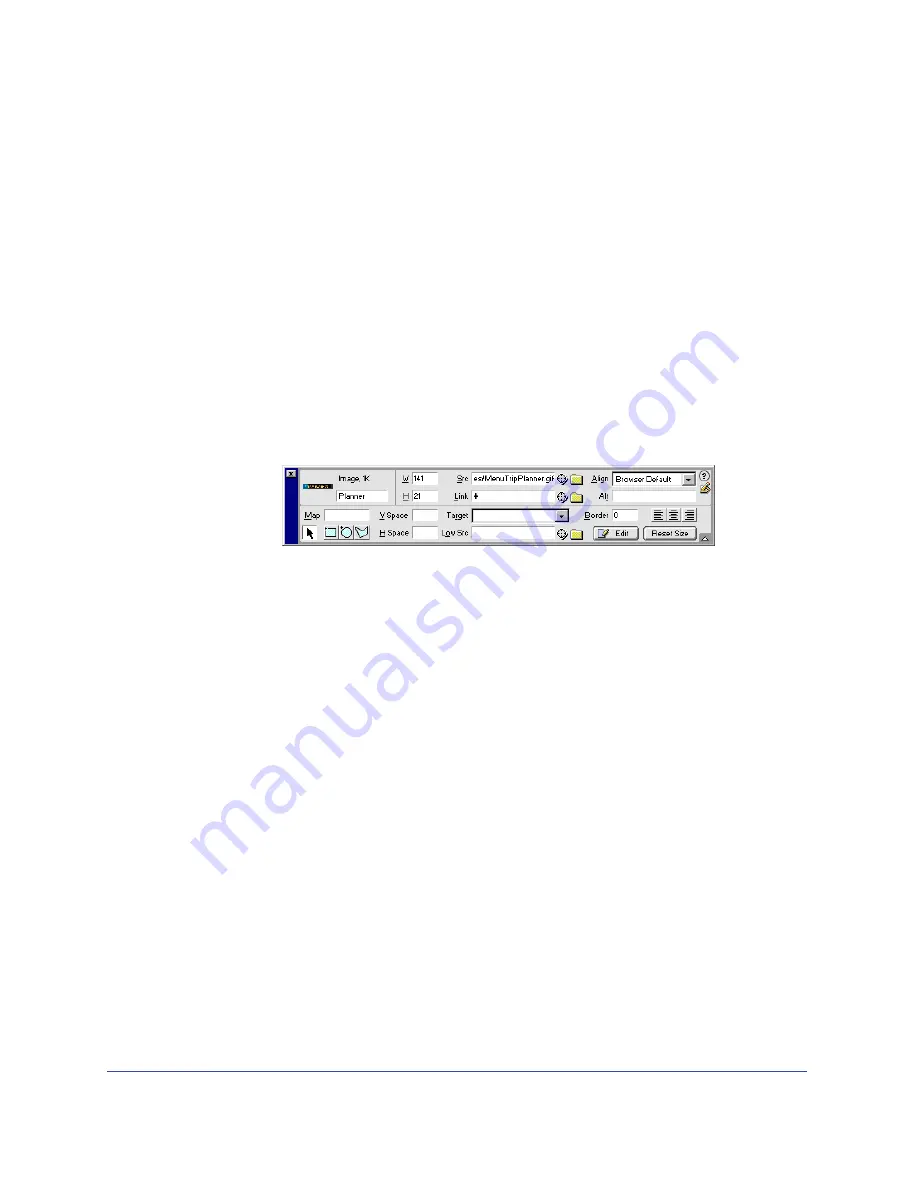
In the Document window, click the Trip Planner image once to select it.
3
Choose Window > Properties to open the Property inspector if it isn’t
already open.
The Property inspector displays information about the selected image.
Note:
The Link field contains a number sign (#), often referred to as a null or
“
dummy
”
link, created when you inserted the rollover image. Don’t remove this character. It will
soon be replaced with the file name of the document you link to.
4
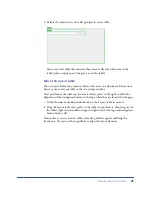
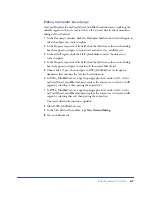
In the Property inspector, click the folder icon to the right of the Link field.
5
In the Select File dialog box, browse to the Compass_Site folder and then to
DW4_TripPlanner.html; click Select (Windows) or Open (Macintosh) to
select the file to open when the Trip Planner button is clicked.
The file name appears in the Link field of the Property inspector. Now
you’ll add a link to the Destinations image using the Property inspector and
the Site window.
6
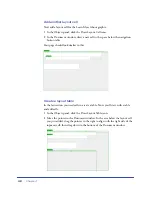
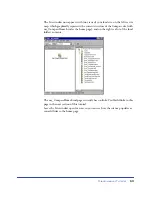
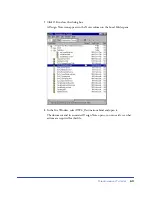
Click the title bar of the Site window to make it active, or choose Window >
Site Files. Resize your Document window, if necessary, so that you can position
the left side of the Document window and the Site window side by side.
7
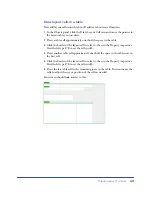
In the Document window, click the Destinations image to select it.
Summary of Contents for 38028779 - Macromedia Dreamweaver - Mac
Page 1: ...macromedia Using Dreamweaver...
Page 148: ...Chapter 4 148...
Page 296: ...Chapter 12 296...
Page 472: ...Chapter 18 472...
Page 512: ...Chapter 21 512...
Page 562: ...Appendix 562...

