58
Tutorial: Creating a Table-based Page Layout
6.
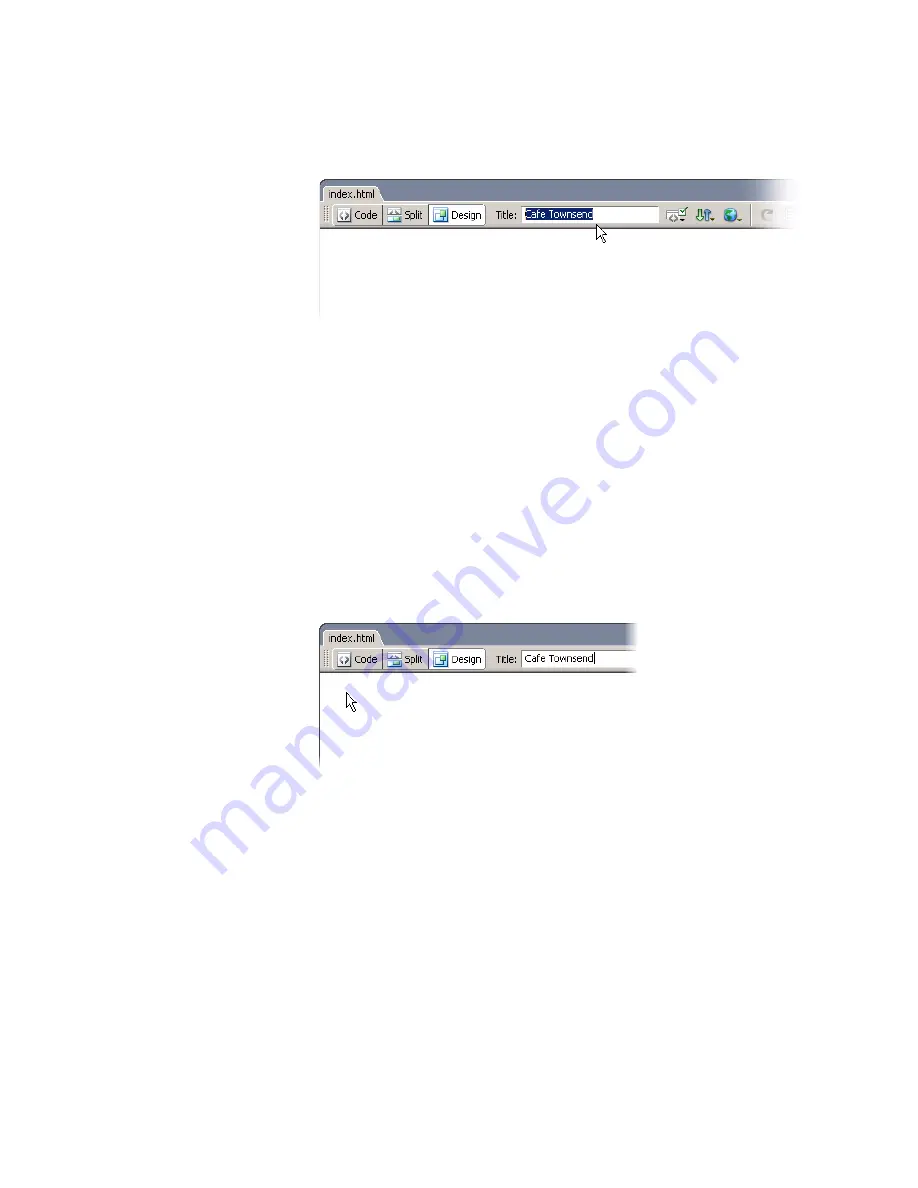
In the Document Title text box at the top of your new document, type
Cafe Townsend
.
This is the title of your page (different from the filename). Your site
visitors will see this title in the browser window title bar when they
view the page in a web browser.
7.
Select File > Save to save your page.
Insert tables
Next you’ll add a table that will hold text, graphics, and Macromedia Flash
assets.
1.
Click once on the page to place the insertion point in the upper-left
corner of the page.
2.
Select Insert > Table.
3.
In the Insert Table dialog box, do the following:
■
Enter
3
in the Rows text box.
■
Enter
1
in the Columns text box.
■
Enter
700
in the Table Width text box.
■
Select Pixels from the Table Width pop-up menu.
■
Enter
0
in the Border Thickness text box.
■
Enter
0
in the Cell Padding text box.
■
Enter
0
in the Cell Spacing text box.
Summary of Contents for DREAMWEAVER 8-GETTING STARTED WITH...
Page 1: ...Getting Started with Dreamweaver...
Page 8: ...8 Contents...
Page 10: ......
Page 46: ...46 Dreamweaver Basics...
Page 48: ......
Page 128: ...128 Tutorial Formatting Your Page with CSS...
Page 136: ...136 Tutorial Publishing Your Site...
Page 138: ......
Page 189: ...Add a Repeat Region XSLT object 189 3 Select Insert XSLT Objects Repeat Region...
Page 196: ...196 Tutorial Displaying XML Data...
Page 216: ......
Page 230: ...230 Understanding Web Applications...
Page 236: ...236 Installing a Web Server...
Page 254: ...254 Setup for Sample ColdFusion Site...
Page 268: ...268 Setup for Sample ASP NET Site...
Page 284: ...284 Setup for Sample ASP Site...
Page 300: ...300 Setup for Sample JSP Site...
Page 320: ...320 Setup for Sample PHP Site...


