Place text and images 153
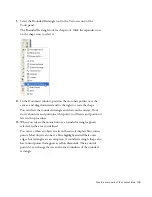
Now you need to give the rectangle an off-white fill.
1.
With the rectangle still selected, in the Property inspector, click the Fill
Color box next to the bucket icon.
The Fill Color pop-up window appears.
2.
Type
F7EEDF
in the text box at the top of the window, and then
press Enter.
3.
Click the Stroke Color box next to the pencil icon, and then click the
Transparent button at the top of the Stroke Color pop-up window.
The rectangle now has an off-white fill and no stroke.
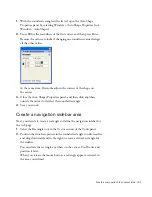
Next, you need to resize and position the rounded rectangle. You decide to
do this precisely with the Property inspector.
■
With the rectangle still selected, in the Property inspector, type
560
in
the width box (W), type
295
in the height box (H), type
140
for the X
position, and type
278
for the Y position, and then press Enter to apply
the last value.
Place text and images
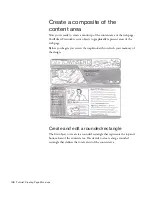
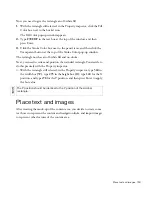
After creating the mock-up of the content area, you decide to create some
text boxes to represent the content and navigation links, and import images
to represent other features of the content area.
NO
TE
The Y position should be identical to the Y position of the sidebar
rectangle.
000_ExploringStudio.book Page 153 Tuesday, August 30, 2005 9:30 AM
Summary of Contents for STUDIO 8-EXPLORING STUDIO 8
Page 1: ...Exploring Studio 8...
Page 8: ......
Page 42: ...42 Learning Studio...
Page 134: ...134 Web Development Workflow...
Page 136: ......
Page 162: ...162 Tutorial Creating Page Mock ups...
Page 182: ......
Page 194: ...194 Tutorial Handling Photographs...
Page 254: ...254 Tutorial Building Your First Flash Application...
Page 266: ...266 Tutorial Building a Video Player Flash Professional only...
Page 268: ......
Page 294: ...294 Tutorial Adding Content to Pages...
Page 324: ...324 Tutorial Formatting Your Page with CSS...
Page 332: ...332 Tutorial Publishing Your Site...
Page 342: ...342 Tutorial Setting Up Your Website for Contribute Users...
Page 350: ...350 Index...

