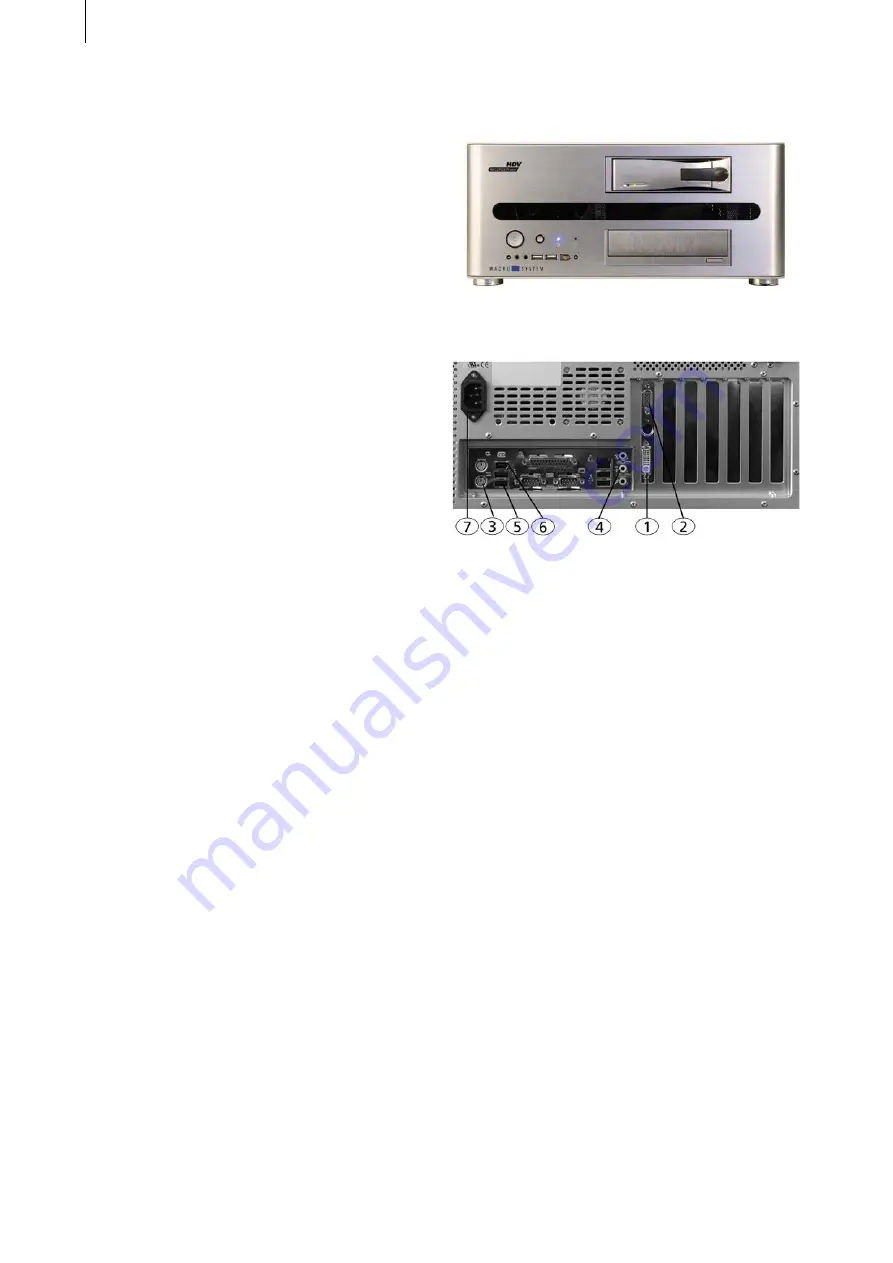
6
7
IEEE 1394. The recorder stores this material if
you wish. After that, the video can be output
digitally to DVD or analogue via VGA to a hi-res
TFT monitor with a resolution of up to 1920 x
1
2
00 pixels and up to 60 Hz frame rate.
2.2 The functions of the HDV-Recorder
• Real-time (RT) playback of videos directly from
an HDV camera
• Recording a video from an HDV camera directly
to the exchangeable hard-drive
• Trimming the recorded HDV footage
• Playback of a single video from the hard-drive
• Playback of all videos in sequence
• Recording selected videos to an HDV camera
• 24 hours recording/storage capacity
2.3 Supported modes
The following HDV modes of the camera are
supported:
• 1080i (1440x1080 50 Hz / 60 Hz interlaced,
displayed as 1920x1080 progressive), for
example Sony HDR-FX1
• 720p (1280x720 50 Hz / 60 Hz progressive)
• 480p (720x480 50 Hz / 60 Hz progressive)
The following monitor modes are supported:
•
1
920x1200 60/50 Hz (PC monitor)
•
1
920x1080 60/50 Hz (high definition HDTV set)
• 1600x1200 60/50 Hz
• 1360x1024 60/50 Hz
• 1280x1024 60/50 Hz
• 1280x768 60/50 Hz
• 1024x768 60/50 Hz
• 800x600 60/50 Hz
3. Connections
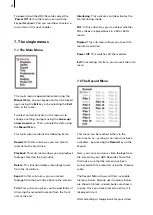
Set up the recorder nearby the monitor and
connect it with the screen. To do this, there are
three options:
• Connect with the DVI cable with the DVI port
located at the back (1).
• If your monitor only supports an HDMI input,
please use an adapter for converting DVI to
HDMI and then connect the cable with the DVI
port located at the back (1).
• Connect the TV using a regular VGA cable
connected to the VGA port at the back of the
recorder (2).
In order to connect external active speakers or
the built-in speakers of your monitor with the
HDV recorder, use the stereo jack cable and
connect it to the green port at the back of the
recorder (4).
If your unit sports a digital audio output, you
can use the S/PDIF port at the back of the HDV-
Recorder by either using a coaxial or a fibre
Summary of Contents for HDV Recorder HDD/RT
Page 1: ...User manual...
Page 14: ...260 04 06...


