MADRAX MADLOCKER ™ Assembly Instructions
MADRAX DIVISION
ML1-1 and ML2-2
GRABER MANUFACTURING, INC.
3/30/18
Page 3 of 7
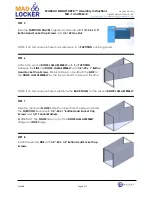
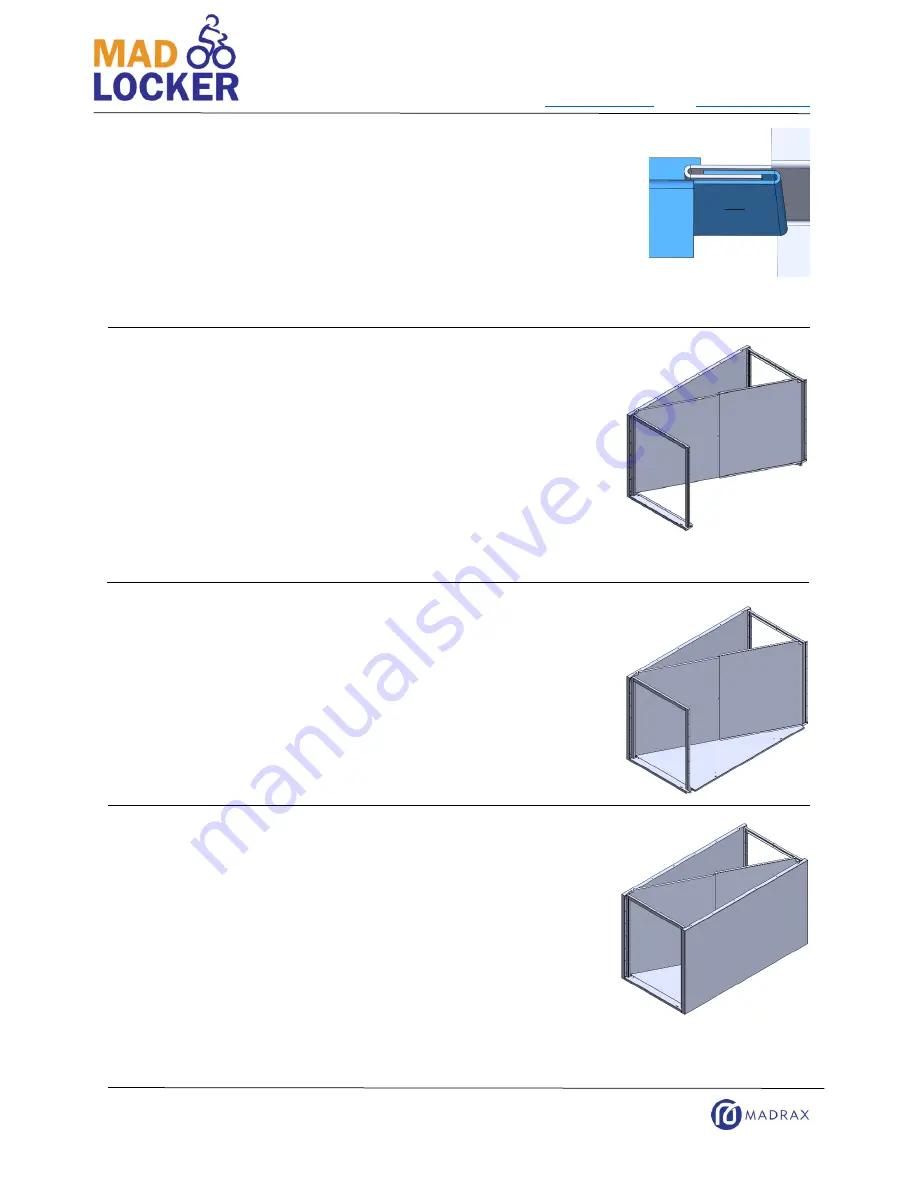
STEP 5
Slide the
PARTITION HALVES
together and secure with
1/4”
-20 x 1/2"
Button Head Socket Cap Screws
and
1/4”
-20 Hex Nut.
NOTE: If an ML1 was purchased, any reference to a
PARTITION
can be ignored.
STEP 6
Attach the second
DOOR JAM ASSEMBLY
with the
PARTITION
between the
SIDE
and
DOOR JAM ASSEMBLY
with
1/4”
-20 x 1" Button
Head Socket Cap Screws.
Similar to Step 4, only attach the
SIDE
to
the
DOOR JAM ASSEMBLY
by the top and bottom screw at this time.
NOTE: If an ML1 was purchased, substitute the
BACK PANEL
for the second
DOOR JAM ASSEMBLY
.
STEP 7
Slide the (optional)
FLOOR
inside the locker from the side and under
the
PARTITION
. Secure with
1/4”
-20 x 1" Button Head Socket Cap
Screws
and
1/4” Fender Washers
.
IMPORTANT: The
FLOOR
lies on top of the
DOOR JAM ASSEMBLY
flange and
SIDE
flange.
STEP 8
Install the second
SIDE
with
1/4”
-20 x 1/2" Button Head Socket Cap
Screws.

