background image


MADRAX MADLOCKER ™ Assembly Instructions


MADRAX DIVISION


ML1-1 and ML2-2


GRABER MANUFACTURING, INC.


WWW.MADRAX.COM

, EMAIL

SALES@MADRAX.COM


3/30/18 


Page 4 of 7


STEP 9 

If this is a bank of lockers please see Locker Connection Instructions before installing the 

ROOF 

PANEL

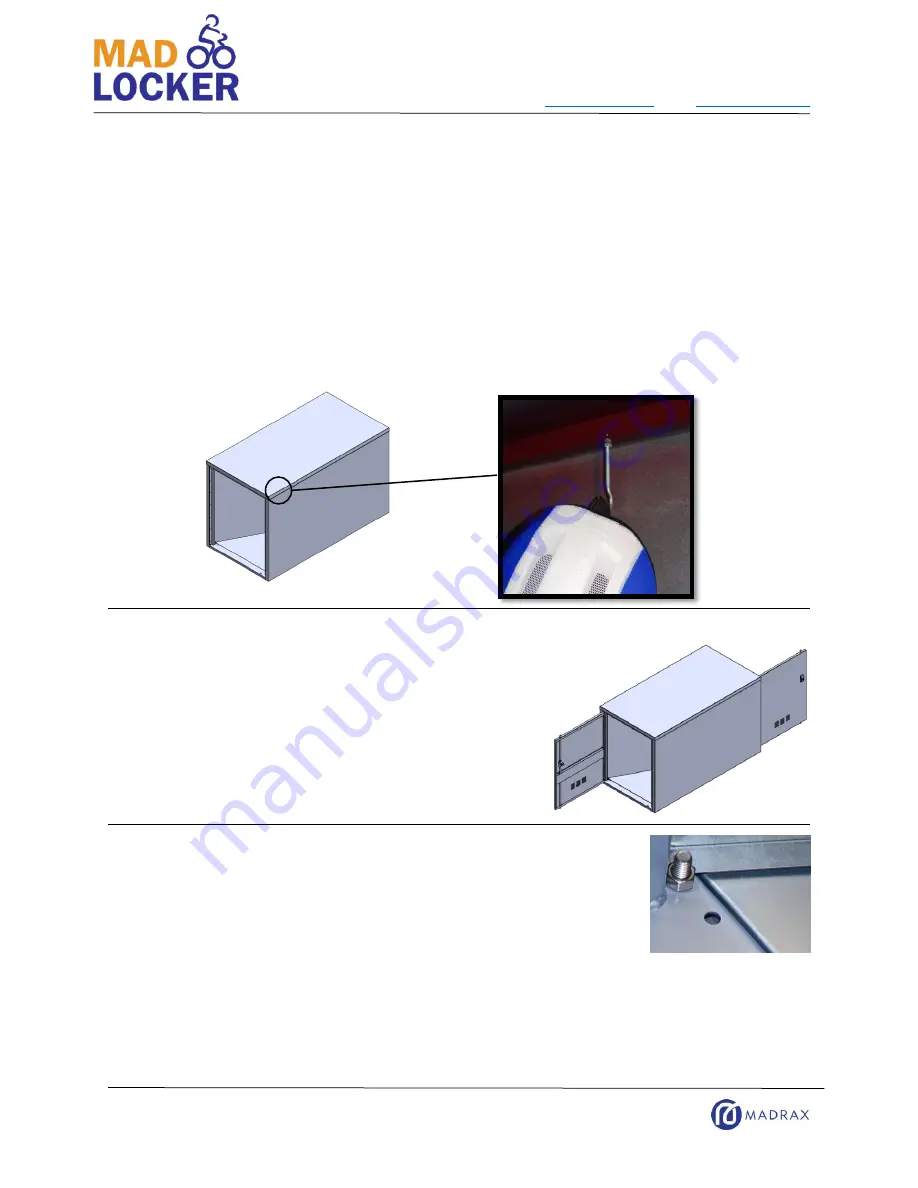
There is a hole


on the lock side, nearest to the door, where the 

SIDE

 and the 

ROOF PANEL

 should 

be screwed together. Install the 

accessory hook(s)

 and 

jamb nut 

into this hole by inserting the 

hook and tightening the nut.  

Install the 

ROOF PANEL

 with 

1/4”

-20 x 1/2" Button Head Socket Cap Screws.  

Verify proper 

SIDE

DOOR JAM ASSEMBLY

ROOF PANEL

 and 

BACK PANEL

 alignment at corners 

and edges. 

Tighten all fasteners installed to this point.


STEP 10 

 
Install the 

DOOR PANEL(S)

 with 

1/4”

-20 x 1/2" Button Head 

Socket Cap Screws

 and tighten these fasteners


STEP 11 

Level the locker by adjusting the bottom nut on the 

LEVELING FEET

 and 

securing by tightening the inside nut.  

Verify that the spacing around the 

DOOR PANEL(S)

 is nearly equal on all 

sides, the 

DOOR PANEL(S)

 swing freely, and the lock(s) and lock bar(s) 

engage properly and securely. If there is binding in the door closure, 
loosen all door hinge fasteners, straighten hinge(s) and re-tighten. 

Use 

Spike Anchors

 to attach the locker to the concrete surface through the holes provided in 

the threshold. 


Summary of Contents for MADLOCKER ML1-1

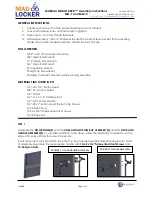
Page 1: ... Straight Tip Screwdriver Padding to protect painted surfaces during assembly MATERIALS INCLUDED IN KIT 1 4 20 x 1 2 Button Head 3 8 x 5 Anchor Spikes 1 2 13 Nut 1 2 13 x 3 1 2 Carriage Bolt 1 4 Flat Fender Washer 1 4 20 x 1 Button Head Socket Cap Screws 10 24 Nylon Nuts 10 24 x 3 4 Tamper Resistant Screws 1 4 20 Hex Nut STEP 1 Assemble the DOOR PANEL S with the CAM AND LOCKING BAR ASSEMBLY S and ...

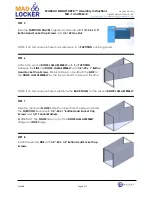
Page 2: ... tight especially the handle hardware STEP 3 If this is a bank of lockers please see Locker Connection Instructions before installing the feet Install the 1 2 13 x 3 1 2 Carriage Bolt and 1 2 13 Nut which are used as LEVELING FEET into the DOOR JAM ASSEMBLY S finger tighten with the head of the bolt approximately 1 below the DOOR JAM ASSEMBLY S STEP 4 The top of the SIDE has 6 holes Be sure it is ...

Page 3: ...ITION between the SIDE and DOOR JAM ASSEMBLY with 1 4 20 x 1 Button Head Socket Cap Screws Similar to Step 4 only attach the SIDE to the DOOR JAM ASSEMBLY by the top and bottom screw at this time NOTE If an ML1 was purchased substitute the BACK PANEL for the second DOOR JAM ASSEMBLY STEP 7 Slide the optional FLOOR inside the locker from the side and under the PARTITION Secure with 1 4 20 x 1 Butto...

Page 4: ...rews Verify proper SIDE DOOR JAM ASSEMBLY ROOF PANEL and BACK PANEL alignment at corners and edges Tighten all fasteners installed to this point STEP 10 Install the DOOR PANEL S with 1 4 20 x 1 2 Button Head Socket Cap Screws and tighten these fasteners STEP 11 Level the locker by adjusting the bottom nut on the LEVELING FEET and securing by tightening the inside nut Verify that the spacing around...

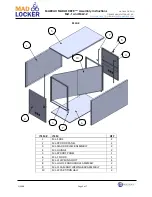
Page 5: ... SALES MADRAX COM 3 30 18 Page 5 of 7 ML2 2 ITEM ITEM QTY 1 ML S SIDE 2 2 ML DP DOOR PANEL 2 3 ML DJA DOOR JAMB ASSEMBLY 2 4 ML H HINGE 2 5 ML RP ROOF PANEL 1 6 ML F FLOOR 1 7 ML LF LEVELING FOOT 4 8 ML LH LOCK AND HANDLE ASSEMBLY 2 9 ML CL CAM AND LOCKING BAR ASSEMBLY 2 10 ML P2 PARTITION HALF 2 1 2 3 4 5 6 7 8 9 10 ...

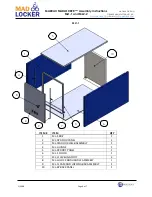
Page 6: ...IL SALES MADRAX COM 3 30 18 Page 6 of 7 ML1 1 ITEM ITEM QTY 1 ML S SIDE 2 2 ML DP DOOR PANEL 1 3 ML DJA DOOR JAMB ASSEMBLY 1 4 ML H HINGE 1 5 ML RP ROOF PANEL 1 6 ML F FLOOR 1 7 ML LF LEVELING FOOT 4 8 ML LH LOCK AND HANDLE ASSEMBLY 1 9 ML CL CAM AND LOCKING BAR ASSEMBLY 1 10 ML BP BACK PANEL 1 1 2 3 4 5 6 7 8 9 10 ...

Page 7: ...EP 2 Before installing the leveling feet thread one leveling foot through the hole of a foot connector Do this for all door jambs on the side closest to the adjoining locker When the lockers are assembled the foot connector will pivot and the slot will connect the adjoining lockers CONFIDENTIAL DRAWING AND INFORMATION IS NOT TO BE COPIED OR DISCLOSED TO OTHERS WITHOUT THE CONSENT OF GRABER MFG INC...

Reviews: