33
BATTERY
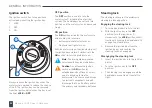
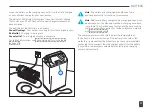
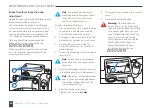
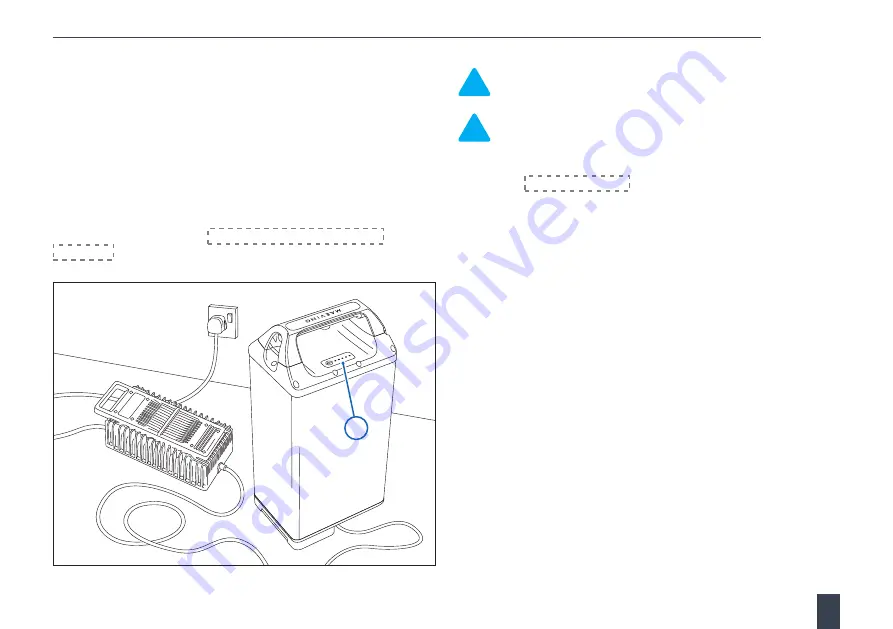
Leave the battery on the charging base until it is either fully charged
or has sufficient charge for your next journey.
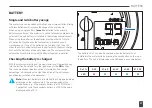
The battery’s LED display (3) confirms the current State of Charge
(SoC) and each LED will flash until the next charge increment has
been achieved.
The definition of the LED state is as follows:
Green (flashing)
- The charger is waiting to start the charge process.
Red (solid)
- Charging is in progress.
Green (solid)
- The charging process is complete.
For further information, see Checking the battery is charged
on page 27.
Note
: The battery and charging base both have to be
positioned correctly for charging to commence.
Note
: Additional battery chargers and charging base units can
be purchased on the Maeving website. A charging base dock
is available. The charging base locates into the dock, making
charging your battery easier. For further information, please
visit www.maeving.com.
The charging process will not start unless the temperature of
the battery is in the correct range. If the battery is too cold or too
warm (e.g., removed from the bike after a journey and immediately
connected to the charger), then the charger will wait for the battery
temperature to become acceptable before starting the charging
process automatically.
!
!
!
!
!
!
3
Summary of Contents for RM1
Page 1: ......
Page 76: ...Maeving RM1 Owner s Handbook 76 SERVICE AND MAINTENANCE General repair notes...
Page 83: ......
Page 84: ......

