5
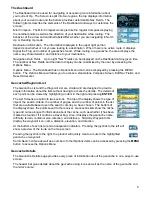
The Dashboard
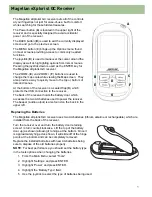
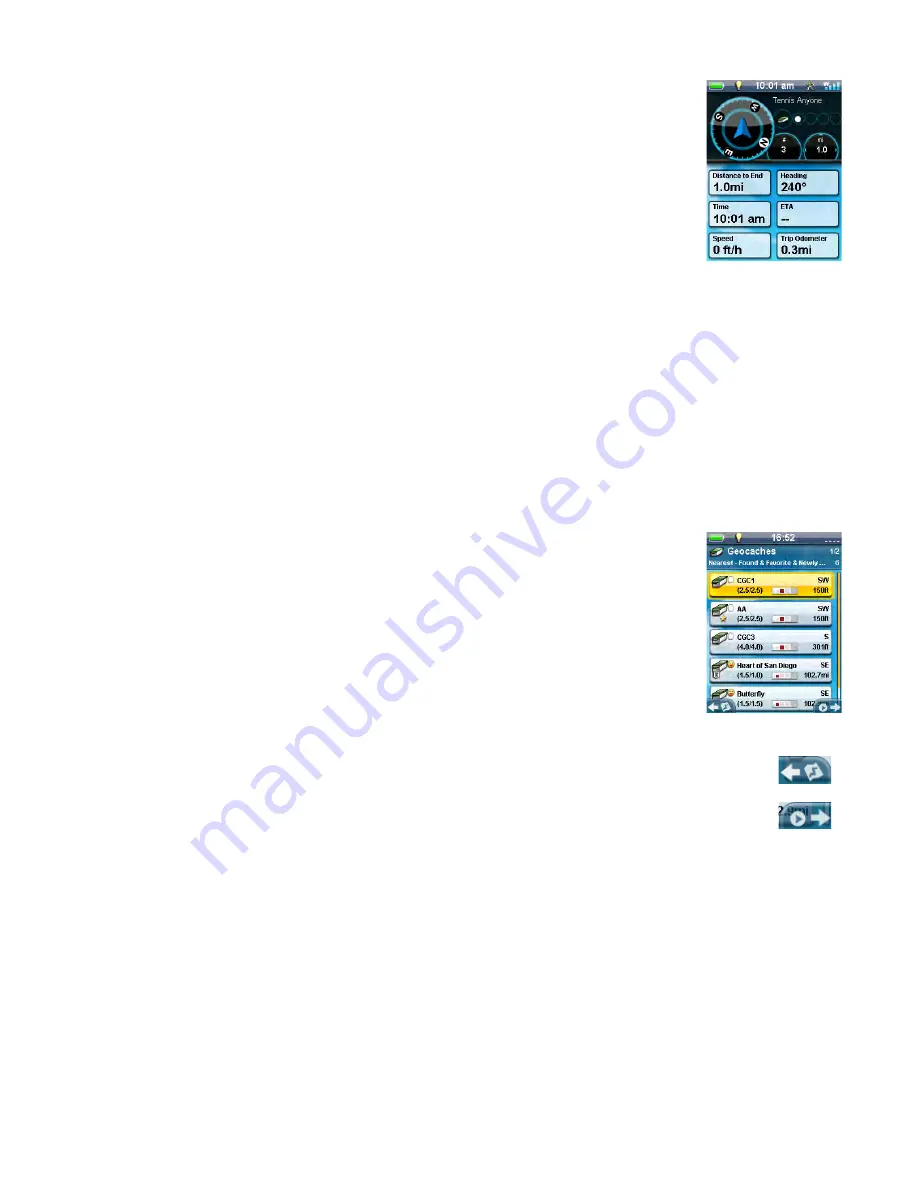
The Dashboard can be used for navigating or accessing more information about
your current trip. The Screen is split into two regions, the top displays information
about your current route and the bottom provides customizable Nav Fields. The
following items describe the elements of the Dashboard and ways to customize the
screen.
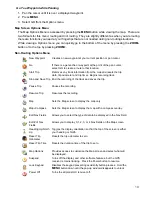
Mini Compass.
The Mini Compass works just like the regular Compass displaying
the cardinal points as well as the direction of your destination while routing. The
behavior of the arrow and cardinal labels differ whether you are navigating in North
Up or Heading Up mode.
Destination Information.
The information displayed in the upper right portion
depends on whether or not you are routing to a destination. When there is no active route, it displays
Signal the Frog and number of geocaches found. While routing to a geocache, the area displays the
name, key characteristics, and distance to your destination.
Navigation Data Fields.
Up to eight "Nav" Fields can be displayed on the Dashboard at any given time.
The number of Nav Fields and the data to display can be customized by the user by accessing the
Options Menu.
Options Menu.
The Dashboard has an Options Menu that can be displayed by pressing the MENU
button. The Options Menu will allow you to access a stand-alone Compass Screen, Edit Nav Fields, and
Reset Odometer.
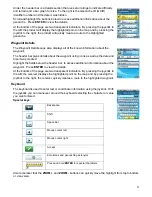
Geocache/Waypoint List
The Geocache List and the Waypoint List are similar and are designed to provide
ample information about the item without having to access the details. The details of
each point can be viewed by highlighting an item in the light and pressing
ENTER
.
The List Screens are split into two sections. The top of the display shows the type of
object, the search criteria, the number of pages, and the number of points in the list
that are available based upon the search criteria you have chosen. The bottom of
the display shows the points saved to the receiver. Geocaches lists show the cache
type and name along with information about the cache, such as whether it has been
marked as found or if it contains a travel bug. Also, it displays the geocache name,
difficulty, terrain, container size, direction, and distance. Similarly, Waypoint lists
display the waypoint icon, name, distance, elevation, and direction.
At the bottom of each list are two transparent indicators. Pressing the joystick to the left will
show a preview of the route on the map screen.
Pressing the joystick to the right, the product will quickly create a route to the highlighted
geocache or waypoint.
Sort & Search criteria as well as a number of other Options items can be accessed by pressing the
MENU
button to access the Options Menu.
Geocache Details
The Geocache Details page provides every piece of information about the geocache in one, easy-to-use
screen.
The header bar gives details about the geocache using icons as well as the name of the geocache and
the hider’s name.
Summary of Contents for eXplorist GC
Page 1: ......


