background image

Summary of Contents for 9112WUV

Page 1: ...nce MAINTENANCE 11 Oven or broiler door 11 Oven bottom 11 Broiler bottom 11 Oven light 11 Electrical connection 11 CARE AND CLEANING 12 14 Cleaning chart 12 13 How to remove oven for cleaning 14 Conti...

Page 2: ...8 2002 Canada In our continuing effort to improve the quality and performance of our cooking appliances it may be necessary to make changes to the appliance without revising this manual WARNING If the...

Page 3: ...ot NEVERallow children to sit or stand on any part of the appliance Children must be taught that the appliance and utensils in it can be hot Let hot utensils cool in a safe place out of reach of small...

Page 4: ...le for cooktop or oven usage without breaking due to the sudden change in temperature This appliance has been tested for safe performance using conventional cookware Do not use any devices or accessor...

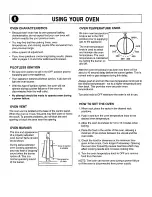
Page 5: ...p to 12 hours 12 00 The timer does NOT control the oven To set the tamer 1 Press the TIMER pad A beep will sound when the TIMER pad is pressed 0 00 will appear in the display 2 Press or press and hold...

Page 6: ...s escapes during this delay Always push in and turn the oven temperature knob just to the desired temperature not to a higher temperature and then back This provides more accurate oven temperatures Tu...

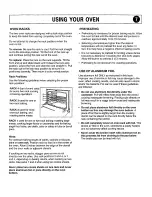
Page 7: ...lecting a temperature higher than the desired temperature will not preheat the oven any faster In fact this may have a negative effect on baking results It is not necessary to preheat for broiling unl...

Page 8: ...cooking progress at the minimum time recommended inthe recipe If necessary continue checking at intervals untilthe food is done If the oven door is opened too frequently heat will escape from the oven...

Page 9: ...se of aluminum foil Placed 2 cookie sheets On one rack Used glass dark stained warped or dull finish metal pans Use a shiny cookie sheet Follow cookware manufacturer s instructions for oven temperatur...

Page 10: ...s However do not preheat the broiler pan and insert To Broil 1 Turn the oven temperature knob to BROIL Broil longer cooking foods chicken or pork chops at a lower temperature to prevent 0verbrowning T...

Page 11: ...lower into place OVEN LIGHT The oven light switch is located on the control panel Push in rocker switch to turn oven light on and off i Before replacing oven light bulb DISCONNECT POWER TO OVEN Be su...

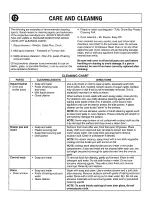
Page 12: ...ay discolor or dull if soil is not immediately removed This is especially important for white surfaces When surface is cool wash with warm soapy water rinse and dry For stubborn soil use mildly abrasi...

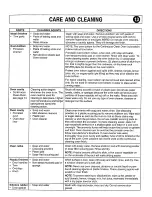
Page 13: ...ng oven bottom can be removed and cleaned at the sink Do not soak or immerse Oven bottom in water or place under running water Brush off heavy soil with a nylon or plastic pad Donot use paper towels c...

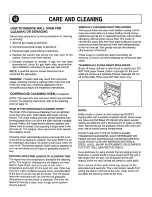
Page 14: ...use Time may vary from a few minutes to several hours Soil deposited at the end of a cycle may still be visible This wilt usually fade with continued oven use until the soil gradually disappears or ca...

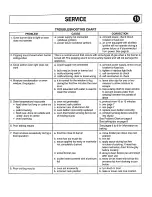
Page 15: ...ted with water is used to clean the window a connect power Supply check circuit breaker or fuse box b tighten or replace light bulb c call serviceman to check d call serviceman to check a leave door a...

Page 16: ...associated with the removal from your home of your major appliance for repairs This major appliance is designed to be repaired in the home and only in home service is covered by this warranty 8 Repair...

Reviews: