16
16026839
© 2006 Maytag Services
WARNING
!
To avoid risk of electrical shock, personal injury or
death; disconnect power to unit before servicing,
unless testing requires power.
Disassembly Procedures
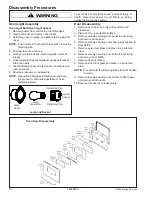
Infinite Switch
1. Remove control panel, see "Control Panel" procedure
for removal.
2. Label and disconnect wire terminals from infinite
switch.
3. Remove knob on infinite switch being replaced.
4. Remove screws in front securing infinite switch to
control panel.
5. Reverse procedure to reinstall infinite switch.
Indicator Lights
1. Remove control panel, see "Control Panel" procedure
for removal.
2. Label and disconnect wire terminals from indicator
light.
3. Slide indicator light while holding the lens from the
front to release from control panel.
4. Reverse procedure to reinstall indicator light.
Rocker Switch
1. Remove control panel, see "Control Panel" procedure
for removal.
2. Label and disconnect wire terminals from rocker
switch.
3. Squeeze tabs on rocker switch and push outward to
release from control panel.
4 . Reverse procedure to reinstall indicator light.
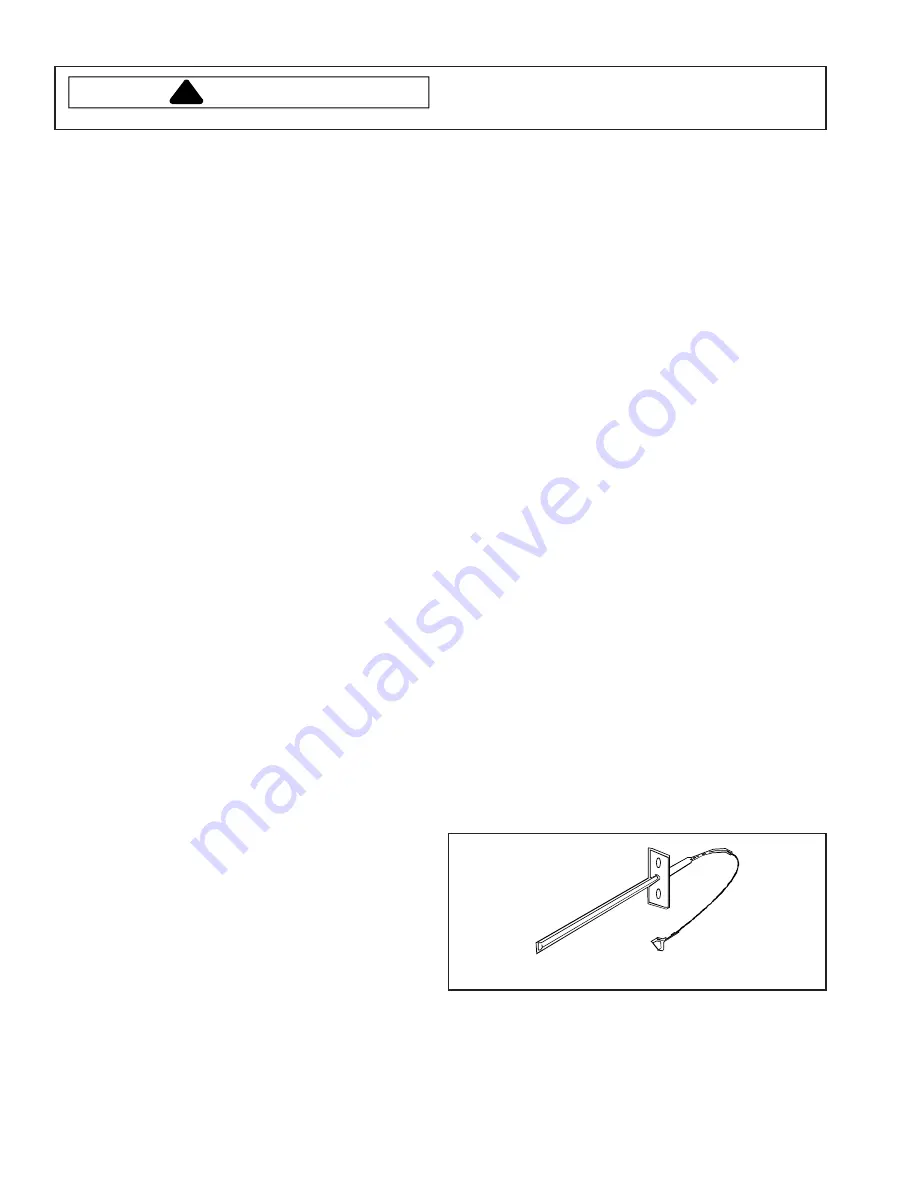
Oven Sensor
1. Disconnect power before servicing.
2. Open oven door and remove screws securing sensor
to oven cavity.
NOTE: Gently
pull wiring through cavity wall.
3. Disconnect oven sensor at the connector terminal
and remove.
4. Reverse procedure to reinstall sensor.
NOTE:
Verify connection is pushed through the
insulation.
Oven Sensor
Bake Element
1. Turn power off.
2. Remove screws securing bake element to rear of
oven wall.
3. Pull element forward to allow disconnection of
terminals on each element leg.
4. Reverse procedure to reinstall bake element.
Removing and Replacing Oven
1. Turn off power to the oven at the circuit breaker.
2. Pull the oven forward out of the cabinet opening.
3. Disconnect or unplug the power cord leading from
unit to fuse box or junction box depending on unit.
4. Replace the oven using the installation instructions
and anti-tip bracket(s).
Maintop Assembly
1. Turn power off.
2. Open oven door and remove screws securing
maintop to oven chassis, located on the outside
edges of the maintop.
3. Raise the front edge of the maintop and pull forward
approximately 6-inches.
4. Label and disconnect wire terminal plugs from the
maintop assembly.
5. Lift maintop assembly from the oven chassis.
6. Reverse procedure to reinstall maintop assembly.
Control Panel
1. Remove maintop assembly, see "Maintop Assembly"
procedure.
2. Remove screws securing control panel heat shield.
3. Remove screws securing bottom outside edges of the
control panel.
4. Pull unit out from the wall far enough to allow the
back outside screws to be loosened.
5. Loosen the back outside screws securing control
panel to backguard.
6. Grasp front lower outside edges of the control panel
and push inward on the outside edges of the
backguard to release the control panel front.
NOTE:
Front edges of the control panel are difficult to
release from backguard.
7. Once the control panel bottom edges are free, pull
control panel forward and raise the control panel
upward to release from screws securing top back
edges and allow control panel to tip forward.
8. Remove infinite switch control knobs, infinite
switches, indicator lights, rocker switches, and
electronic control/clock (as necessary) and transfer
the new control panel.
9. Reverse procedure to reinstall control panel.
Control Board Assembly
1. Remove control panel, see “Control Panel”
procedure, steps 1 through 6.
2. Remove screws securing control board bracket to
control panel.
3. Label and disconnect terminal plug from control board
assembly.
4. Reverse procedure to reinstall control board
assembly.


