1-800-MAGLINE (624-5463)
Page 21 www.magliner.com
CooLift
®
Item
Qty.
Part
Number
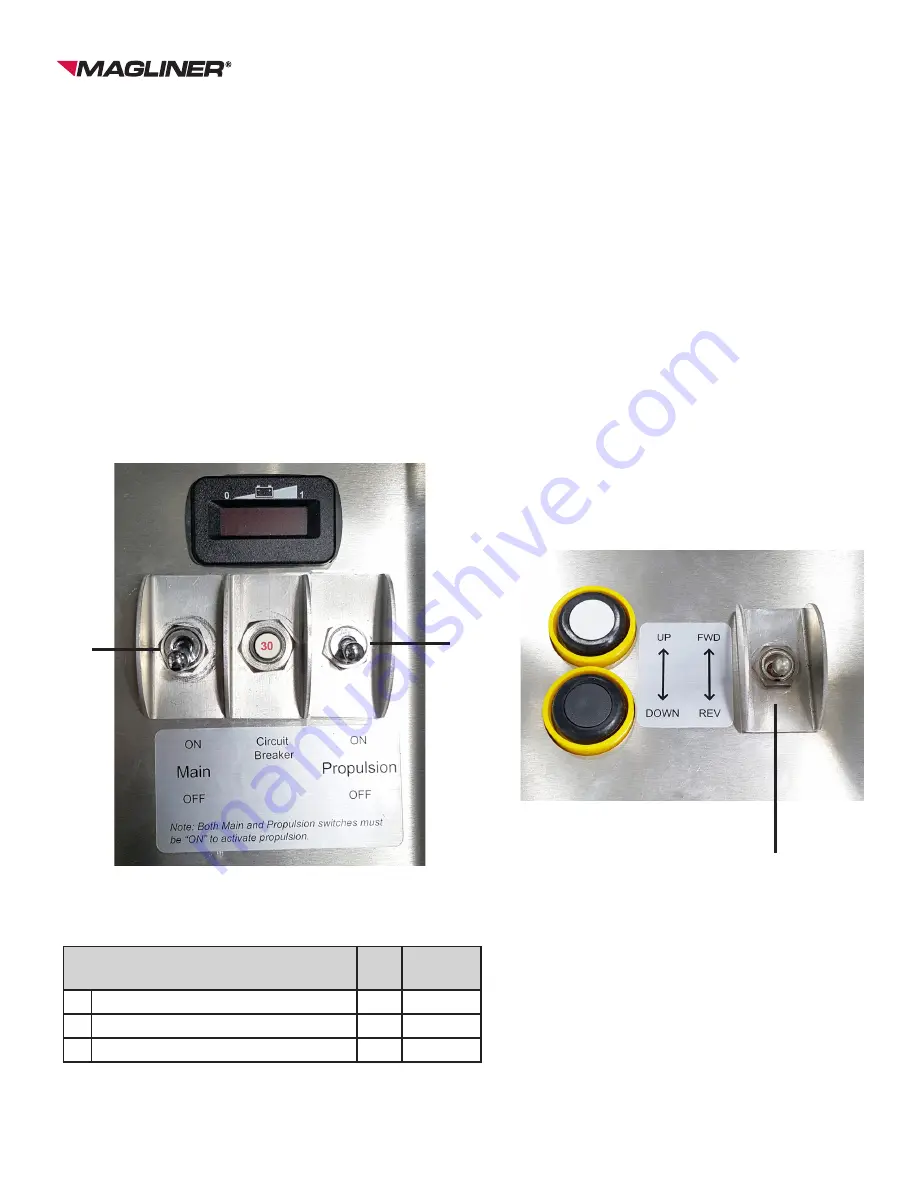
A
Main power on/off switch
1
62016
B
Propulsion power on/off switch
1
62038
C Propulsion directional switch
1
62080
A
B
REPLACING POWER SWITCHES, DIRECTIONAL SWITCH
TOOLS NEEDED: 14mm WRENCH
1)
Place the CooLift on a level flooring surface and engage the holding brake.
2)
Turn off main power switch.
Remove back panel.
Disconnect the batteries.
3) Disconnect the wiring connections from the back of the damaged switch and connect them to the
new replacement switch making sure to follow the same connection layout.
4) When all of the new connections have been made, the damaged switch should be able to
be removed by grasping it firmly in one hand and removing the hex nut on the outside of the
enclosure shelf with the 14mm wrench.
5) Note the locations of the backup hex nut, the locking ring and the lock washer on the damaged
unit and replicate it on the new replacement component.
6) Hold the replacement switch in place on the enclosure shelf and tighten the hex nut on the outside
with the 14mm wrench.
7) Recheck all connections for correct wiring placement and tightness. Reconnect the batteries.
C


