1-800-MAGLINE (624-5463)
Page 18 www.magliner.com
CooLift
®
CHANGING BATTERY CELLS IN BATTERY BOX
TOOLS NEEDED:
#3 PHILLIPS HEAD SCREWDRIVER
TWO 8mm WRENCHES
1) Remove battery box from CooLift (see Replacing Battery Box), set on workbench and make sure
battery charger is not connected to the charging port.
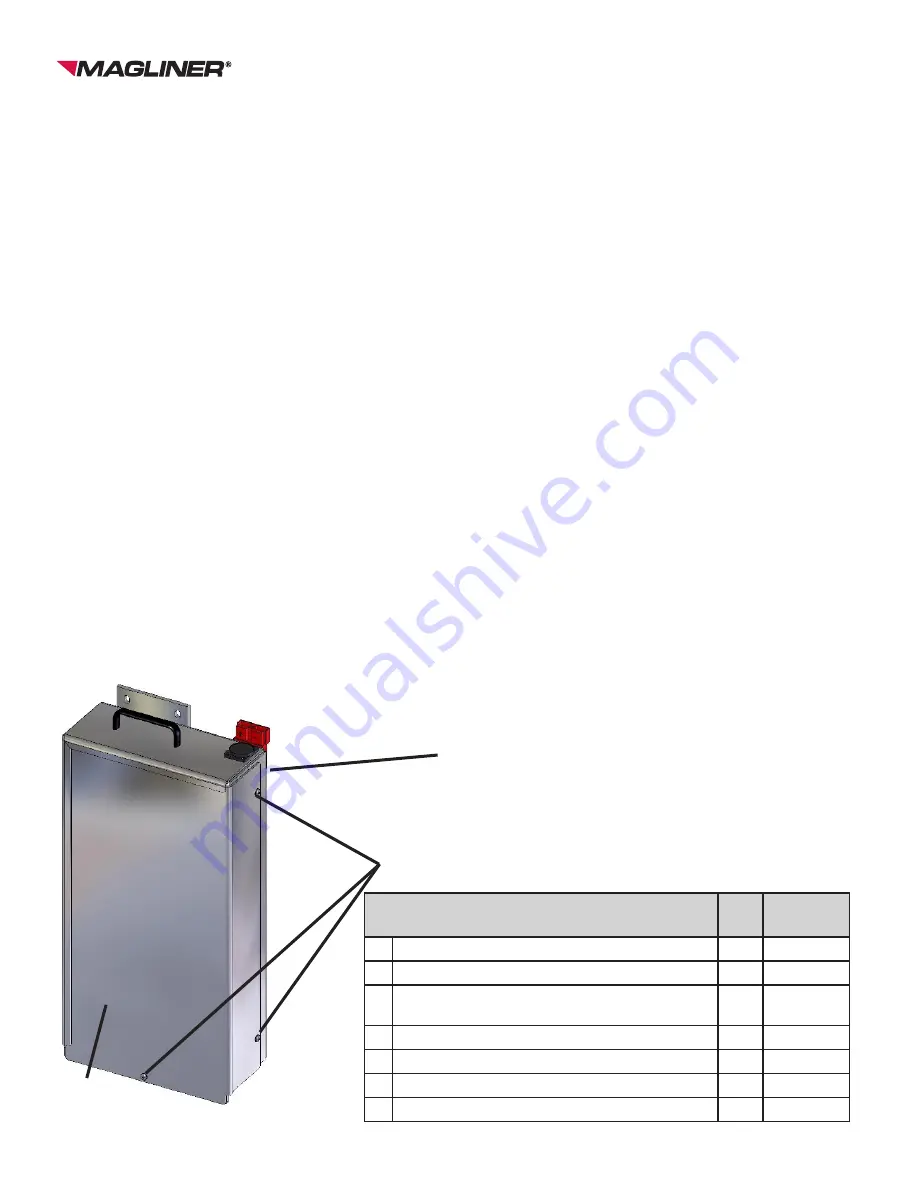
2) Remove the battery box cover (A) from the battery box assembly (B) by removing the three
mounting screws (C) using the #3 Phillips head screwdriver.
3) Maneuver the defective battery cell(s) (F) such that the terminals can be reached without hitting
the wrench or wrenches on the battery box case which requires shifting forward approximately
1-1/2” inches.
4) Depending upon location of battery cell to be replaced, either a #3 Phillips head screwdriver
and an 8mm wrench or two 8mm wrenches will be needed to remove the wire from the battery
terminals.
5) Regardless of the cell that will be changed it is a good practice to remove the black wire (D) in the
wiring harness connected to the positive terminal on the top battery first.
6) Remove the wires connecting both terminals of the defective battery using the appropriate
wrenches or screwdriver wrench combination.
7) Slide the defective cell out of the battery box taking care to maneuver over any rubber grommet
(E) and around the wiring.
8) Position the new battery cell (F) in place within the battery box (B) allowing enough room to make
the connections and securely tighten them (see illustration for wiring configuration).
9) Maneuver the newly connected battery into place, position the cover back on the battery box and
secure with the previously removed screws (C) with the #3 Phillips head screwdriver.
A
C
B
Item
Qty.
Part
Number
A Battery box cover
1
309102
B Battery box assembly (includes batteries)
1
309100
C
Screw - pan head screw #8-32 x 1/2” long
with external locking washer
3
80218
D Wiring harness for battery interconnect
1
62024
E Grommet - 5/8” ID x 1-1/8” OD x 3/8” wide
2
309024
F Battery cell - 12v - 18Ah
2
61018
G Wiring harness
1
62023


