background image

EN

AUX

SLEEP  0 MINUTE

BRIGHT

– 

P

P P

P P

P P

P P

P P

P P

P C

C P

P P

P P

P P

P P

P P

P P

P          

+

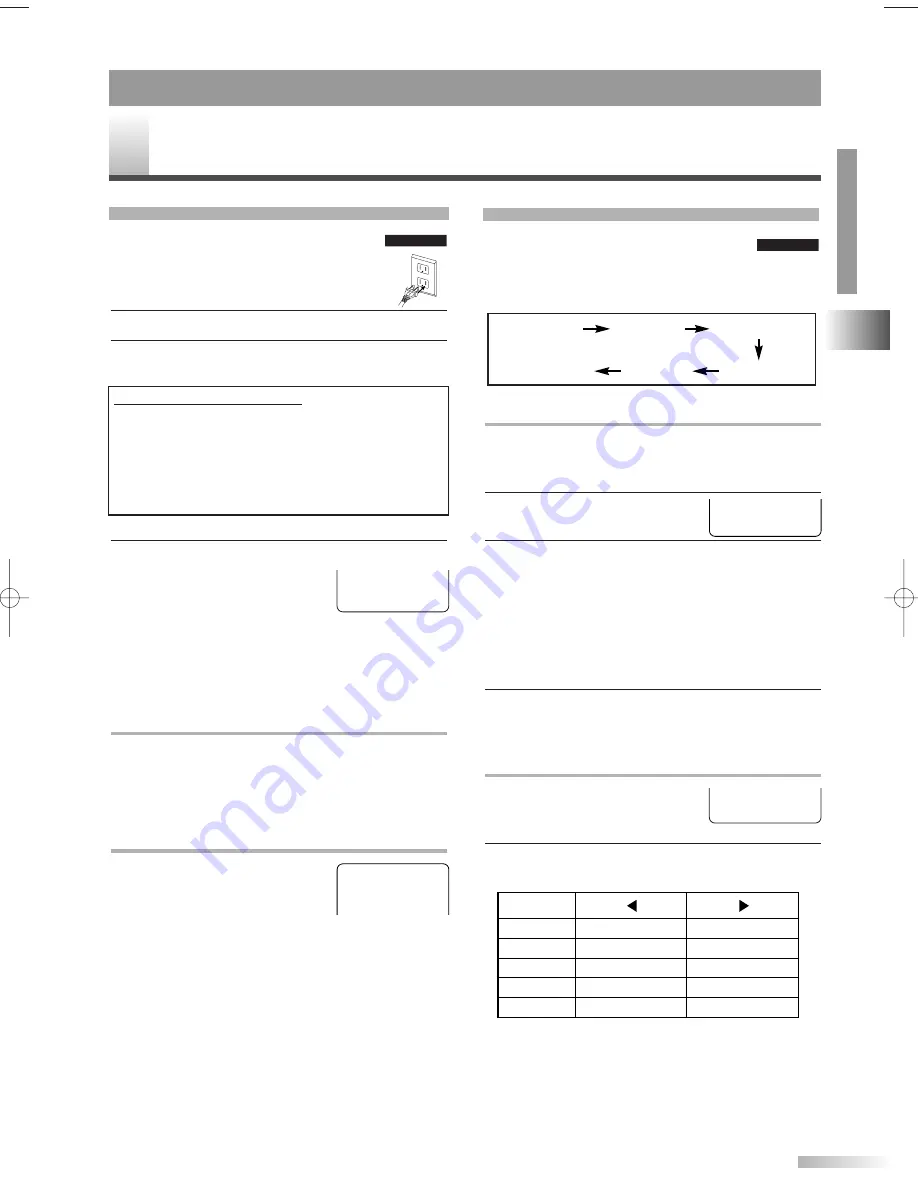
SLEEP TIMER  SETTING

The Sleep Timer function is used to turn off the
unit without pressing 

[STANDBY-ON 

y

y

]

after a

desired time.

1

Press 

[PICTURE / SLEEP]

to 

display the Sleep Timer menu.

2

Within 5 seconds, set your desired sleep time
using 

[

s

B

]

.

• 

[

B

]

...Increase by 30 min. (Up to 120 min.)

• 

[

s

]

...Decrease by 30 min.

NOTE:

• To cancel the Sleep Timer, use

[CLEAR]

or

[

s

/

B

]

to set the time to "0".

3

To confirm the remainder time to shutdown,
press 

[PICTURE / SLEEP]

.

PICTURE CONTROL

1

Press 

[PICTURE / SLEEP]

repeatedly until desired control 
is displayed.

2

Use 

[

s

B

]

to adjust to your desired level within

5 seconds.

• Even if any power failure occurs, the unit will

retain its memory for this feature.

COLOR

TINT
SHARPNESS

BRIGHT

CONTRAST

to pale

to purple
to soft

to decrease brightness

to decrease contrast

to brilliant

to green
to clear

to increase brightness

to increase contrast

VOLUME

20

C        C        C        C        C    C        

C        C        C        C        C        C        C        C        C        C        

TV/VCR

TV/VCR

9

T

V OPERATION AND SETTINGS

TV/VCR SECTION

WATCHING A TV PROGRAM

TV/VCR

TV/VCR

OPERA

TING CONTR

OLS AND FUNCTIONS / 

TV OPERA

TION AND SETTINGS

TV/VCR SECTION

1

After antenna or cable connection is
completed, connect the power cord into
a standard AC outlet.

2

Press 

[STANDBY-ON 

y

y

]

to turn on the unit.

3

Use 

[CH.

K

L

]

or 

the Number buttons

to

select your desired channel number.

4

Use 

[VOL.

X

Y

to adjust the volume.

Press 

[MUTE]

to instantly

mute the sound. Press it again
to restore the previous sound
level.

NOTE:

• Even if you turn off the unit in the DVD mode, the unit

will be in the TV/VCR mode when you turn it on again.

TO WATCH CABLE OR SATELLITE CHANNEL

If the unit is connected to a cable box or satellite
box, use 

[CH.

K

L

]

to select CH3 or CH4 accord-

ing to the output channel setting of the device and
select desired channel on that device.

TO WATCH EXTERNAL INPUT

When an external equipment is
connected to the front AUDIO/
VIDEO input jacks, press

[SELECT]

or 

[CH.

K

L

]

repeat-

edly until "AUX" appears on the
screen.

NOTE:

• If there is no air signal input from the antenna termi-

nal and no operation for 15 minutes, the unit will turn
itself off automatically.

SLEEP TIMER / PICTURE CONTROL

You can set Sleep Timer and picture
adjustment with 

[PICTURE / SLEEP]

.

• The menu changes as described below every time

you press 

[PICTURE / SLEEP]

.

Sleep Timer

BRIGHT

CONTRAST

COLOR

TINT

SHARPNESS

To use the number buttons

•Single digit channels: (Ex. 02, 03, 04 and so on)

Press 

[0]

first to select a single digit channel.

•Two digit channels: (Ex. 12, 38, 95 ...)

Press two digits directly.

•Three digit channels: (Ex. 115, 125 ...)

Press 

[+100]

first, then press the last two digits.

T1204CE(EN)_NEW.QX3  06.3.24  0:33 PM  Page 9

Summary of Contents for CMWC20T6

Page 1: ...er Recording 1 year 8 events programmable Daily Weekly recording One Touch Recording Auto Clock Setting Screen Saver Auto Power On and Off Parental Lock Resume Play DVD Closed Caption Decoder Virtual...

Page 2: ...unit and to protect it from overheating and these openings must not be blocked or covered The open ings should never be blocked by placing the unit on a bed sofa rug or other similar surface This uni...

Page 3: ...erhead power lines or other elec tric light or power circuits or where it can fall into such power lines or circuits When installing an outside antenna system extreme care should be taken to keep from...

Page 4: ...d place to a warm place or after heating a cold room or under conditions of high humidity If you play a videotape or DVD in a moist unit it may damage the tape or DVD and the unit When the condensatio...

Page 5: ...EWIND EJECT 21 COPYING A VIDEO CASSETTE from another source 21 DVD SECTION ABOUT THE DISCS 22 PLAYABLE DISCS 22 UNPLAYABLE DISCS 22 PLAYING A DISC 23 BASIC PLAYBACK 23 DISC MENU TITLE MENU 23 SPECIAL...

Page 6: ...you watch a program recorded on another source VCR or video camera use the AUDIO VIDEO input jacks on the front of the unit Connect the Audio Video output jacks of another source to the AUDIO L R and...

Page 7: ...for the devices to be connected to the unit To connect to a MD or DAT deck set DOLBY DIGITAL to PCM for the audio output in the setup mode and to con nect to a Dolby Digital decoder set to BITSTREAM...

Page 8: ...24 33 REC Button TV VCR P 16 34 SELECT Button TV VCR P 9 35 CH K L Buttons TV VCR P 9 36 VOL X Y Buttons TV VCR P 9 37 MUTE Button TV VCR P 9 38 SET UP Button TV VCR P 10 DVD P 29 39 FWD D Button TV V...

Page 9: ...e power cord into a standard AC outlet 2 Press STANDBY ON y y to turn on the unit 3 Use CH K L or the Number buttons to select your desired channel number 4 Use VOL X Y to adjust the volume Press MUTE...

Page 10: ...the menu NOTE Once the unit is turned off it will periodically check and set the correct date and time AUTO CLOCK CH SEARCH 08 10 13 _ _ TV VCR SETUP TIMER PROGRAMMING B SETTING CLOCK CHANNEL SET UP...

Page 11: ...L THE CLOSED CAPTION SYSTEM 1 Press SET UP Use K K L L to point to CAPTION 2 Press ENTER repeatedly to select OFF 3 Press SET UP to exit the menu 11 EN TV VCR SETUP TIMER PROGRAMMING B SETTING CLOCK C...

Page 12: ...TV PG TV 14 TV MA D Suggestive Dialog TV PG TV 14 only L Coarse Language S Sexual Situation V Violence Selection Rating Category Explanations TV Y Appropriate for all children TV Y7 Appropriate for ch...

Page 13: ...buttons 4 Press ENTER repeatedly The channel number changes to red deleted or blue added every time you press the button To delete another channel repeat steps 3 to 4 5 Press SET UP to exit the menu N...

Page 14: ...DISPLAY TV VCR TV VCR PLAY B 12 00AM CH 123 SP COUNT 0 00 00 3 2 1 4 5 CHECKING THE STATUS While receiving a broadcast or playing a VHS tape you can check the status dis played on the screen by press...

Page 15: ...ng function If noise lines black and white streaks appear on the playback picture use CH K K L L until the streaks disappear Manual tracking adjustment This is available in Pause Still Slow mode too T...

Page 16: ...ng will not change even if you turn off the unit SEARCH FUNCTION ZERO RETURN TV VCR TV VCR This function allows you to search easily a beginning point that you want to review by rewinding or fast forw...

Page 17: ...e tape should be greater than 1 minute for SP recording 2 minutes for LP recording and 3 min utes for SLP recording In some cases the index mark at the beginning of video tape cannot be detected Examp...

Page 18: ...the unit is connected to a cable box or satellite box the unit must be on CH3 or CH4 Select the channel to be recorded on the cable box or satellite box 2 Press SPEED to select the desired tape speed...

Page 19: ...ayback Press STANDBY ONy y and SELECT to select the desired mode If the tape runs out before the end time the recording stops immediately and the cassette will be ejected TO CONFIRM THE PROGRAM 1 Pres...

Page 20: ...en press ENTER 3 Press REC and use K K L L to select the desired program 4 Press REC repeatedly until your desired begin end time appears Each press will shift forward the begin end time for recording...

Page 21: ...onnect the unit and a source for playing device as shown the following diagram WARNING Unauthorized recordings of copyrighted video tapes may be an infringement of copyright laws 1 Insert a pre record...

Page 22: ...the recording status of a disc the disc may not be played back at all or normally the picture or sound may not be smooth etc 9 If there is too much recording space left on a disc the used portion is l...

Page 23: ...ITLE The DVD main menu the title menu will appear You can call up the menu even during playback 2 Use K K L L s s B B to select an item and press ENTER NOTES If disc menu is available on the disc audi...

Page 24: ...AUDIO STREAM 8 ANGLE 1 ANGLE 8 OFF SUBTITLE STREAM 1 SUBTITLE STREAM 32 OFF ON OFF 1 2 CHAPTER SEARCH TITLE SEARCH TIME SEARCH MARKER SEARCH OFF CHAPTER TITLE OFF A A B OFF ZOOM 1 1 3 ZOOM 2 2 0 ZOOM...

Page 25: ...ears on the TV screen it means this function is not available on the disc 3 Press RETURN to exit the menu STEREO SOUND MODE You can select sound output mode 1 Press MODE during playback 2 Use K K L L...

Page 26: ...from a specific point on a disc TRACK SEARCH 1 During playback press MODE repeatedly until SEARCH menu appears 2 Within 60 seconds use the Number buttons to select the desired track number Playback wi...

Page 27: ...04 23 TOTAL REPEAT PLAYBACK REPEAT TRACK 1 During playback press MODE repeatedly until REPEAT menu appears 2 Use K K L L to select your desired repeat mode OFF Repeat function off TRACK Current track...

Page 28: ...LAY again to show current Title The elapsed and remaining playing time of the current title will be displayed 3 Press DISPLAY again The bit rate and the current repeat setting will be displayed If you...

Page 29: ...AUDIO p30 PARENTAL p30 OTHERS p31 CUSTOM QUICK INITIALIZE Press SET UP twice LANGUAGE SETTING 4 Use K K L L to select the desired item then press ENTER AUDIO Sets the audio language SUBTITLE Sets the...

Page 30: ...ack of DVD discs 4 Use K K L L to select an item then press ENTER repeated ly until your desired setting appears DRC Dynamic Range Control ON To compress the range of soft to loud sound default OFF Ou...

Page 31: ...with parental lock Be sure to check if the parental lock function operates in the way that you have set PASSWORD CHANGE 4 Enter current password with the Number buttons then press ENTER 5 Use K K L L...

Page 32: ...3m within 15 Check if antenna or cable is connected properly Check for the broken pin or wire of antenna cable Check for source of reception disturbance Press SELECT to select the correct mode Perform...

Page 33: ...ation and captions will be lost Possibility of a illegal copy or an erroneous copying process accidentally performed by the fabricator You are in TEXT mode Select CAPTION mode or OFF This unit cannot...

Page 34: ...our help line mentioned on the front page to locate an Authorized Service Center NOTES Remember to read the instructions included with the video head cleaner before use Clean video heads only when pr...

Page 35: ...Greenlandic 5758 Guarani 5360 Gujarati 5367 Hausa 5447 Hebrew 5569 Hindi 5455 Hungarian HUN 5467 I K Icelandic ICE 5565 Indonesian 5560 Interlingua 5547 Interlingue 5551 Inupiak 5557 Irish IRI 5347 I...

Page 36: ...und output 2 speakers 1W 8 ohm OTHER SPECIFICATIONS Terminals Antenna input VHF UHF CATV 75 ohm unbalanced F type Video input RCA connector 1 Audio L R input RCA connector 2 Headphone 1 8 stereo 3 5 m...

Page 37: ...37 MEMO...

Page 38: ...s of God THIS WARRANTY DOES NOT COVER PACKING MATERIALS ANY ACCESSORIES EXCEPT REMOTE CONTROL ANY COSMETIC PARTS COMPLETE ASSEMBLY PARTS DEMO OR FLOOR MODELS FUNAI CORP AND ITS REPRESENTATIVES OR AGEN...

Reviews: