

7
8
NOTE:
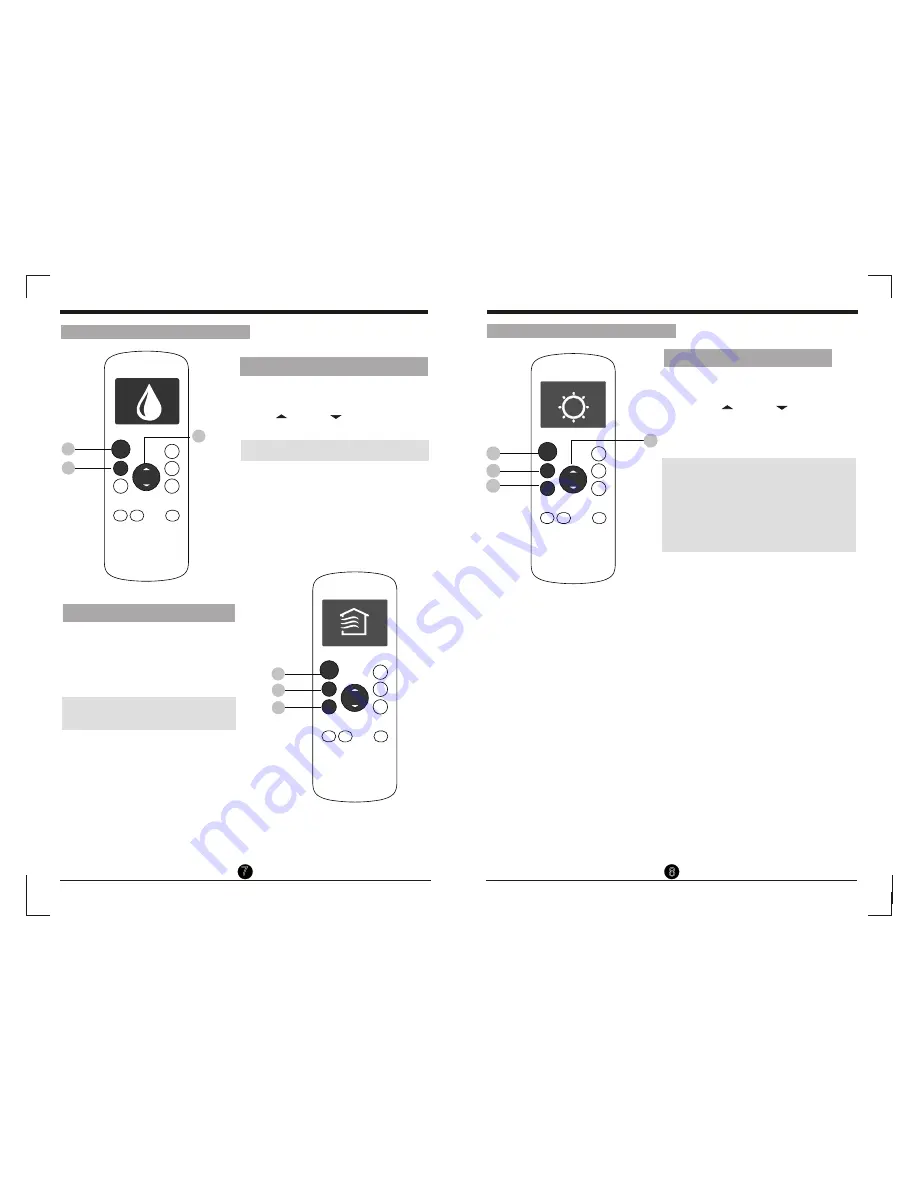
FAN SPEED
n t be changed
DRY mode.
3. Press the
FAN
button to select
fan speed: AUTO, LOW, MED,or HIGH.
4. Press the
ON/OFF
button to start the
unit.
1. Press the
MODE
button to select
HEAT
mode.
2. Set your desired temperature using
the
Temp
or
Temp
button.
HEAT operation
NOTE:
NOTE:
Heat mode is for Cooling & Heating
models only.
As outdoor
drops,the
performance of your unit s HEAT function
may be affected. In such instances, we
recommend using this air conditioner in
conjunction with other heating appliance.
,
1
1
2
3
3
1
3
2
4
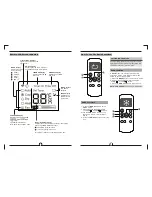
How To Use The Basic Functions
ON/OFF
TEMP
SHORT
CUT
TIMER
ON
TIMER
OFF
MODE
FAN
LED
ON/OFF
TEMP
SHORT
CUT
TIMER
ON
TIMER
OFF
MODE
FAN
SLEEP
LED
ON/OFF
TEMP
SHORT
CUT
TIMER
ON
TIMER
OFF
MODE
FAN
SLEEP
LED
SLEEP
SWING
SWING
SWING
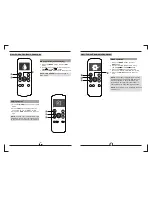
How To Use The Basic Functions
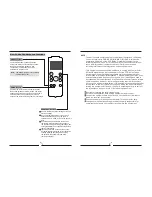
DRY operation(dehumidifying)
1.
Press
the
MODE
button
to
select
DRY
mode.
2.
Set
your desired
temperature
using the
Temp
or
Temp
button.
3.
Press
the
ON/OFF
button
to
start the
unit.
2
,
in
c a
FAN operation
1.
Press
the
MODE
button
to
select FAN
mode.
2.
Press
FAN
button
to
select the
fan
speed:
AUTO,
LOW,
MED
or
HIGH.
3.
Press
the
ON/OFF
button
to
start the
unit.
NOTE:
You
can
,
t
set
temperature
in
FAN
mode. As a
result,
your remote
control s
,
LCD
screen
will not
display
temperature.
the
temperature
Summary of Contents for RG57H/BG
Page 9: ......


