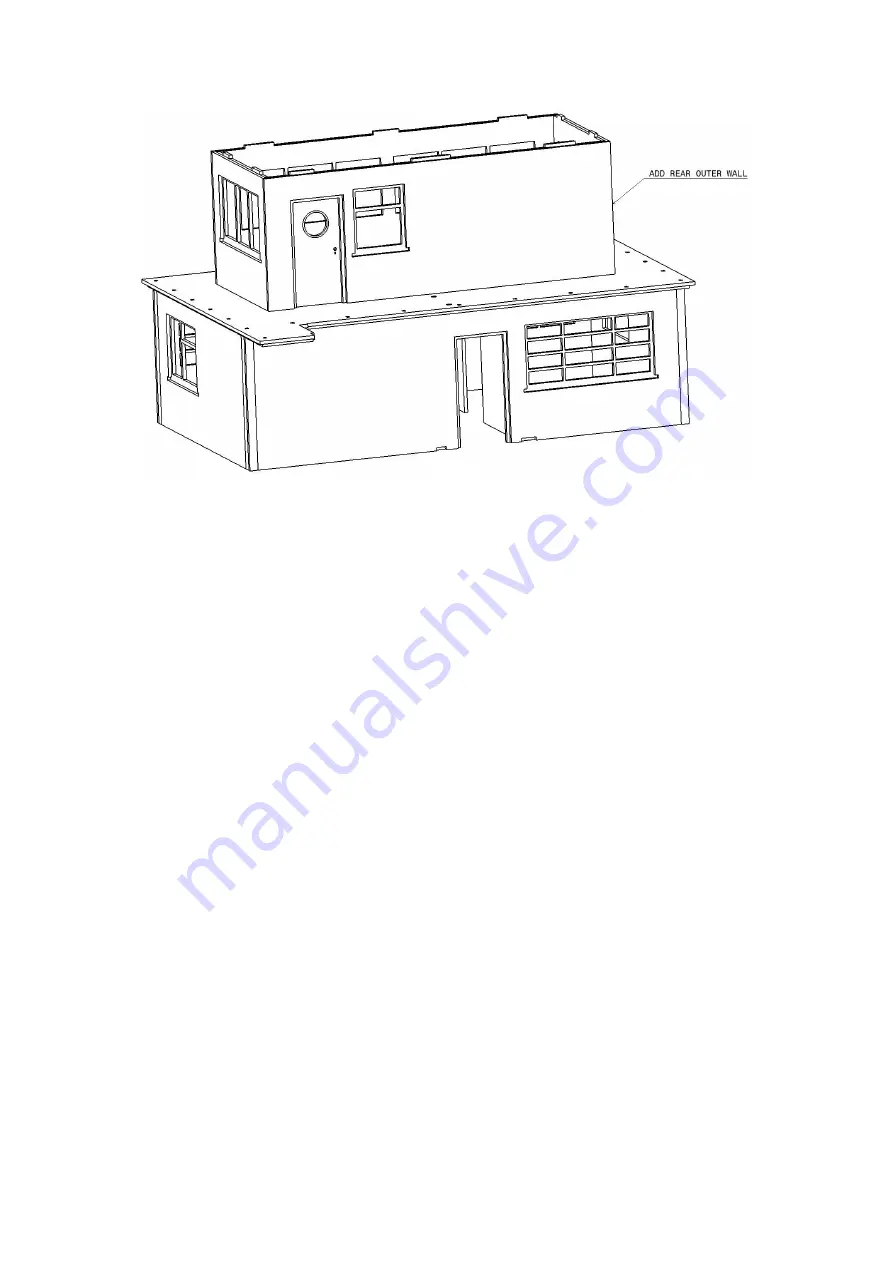
Turn the model around and make sure it is on a flat surface. Add the
front plinth. This is the one without holes. Check it fits easily before
applying glue and then press home. Make sure it lies flat on the build
surface so is square to the wall. We add the plinth before adding the
doors as this gives us a nice location for the bottom edge of the door.
It is a good idea here to place a sheet of paper on the build surface
as it is possible to glue the whole model down by accident. With
paper it is much easier to remove it without damaging your bench.
allow this to dry thoroughly before proceeding.
Summary of Contents for 013
Page 7: ...Follow this with the rear wall as shown...
Page 12: ...Now on goes the front wall Follow this with the rear wall...
Page 32: ......
Page 39: ...Add on the 4 panel end rail Followed by the 6 panel front rail...
Page 40: ...Add the other end rail build The last part is the small 2 panel rail as shown...
Page 42: ......
Page 43: ......


