50
mTripod
Installation and assembly
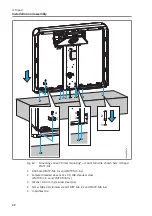
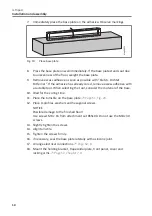
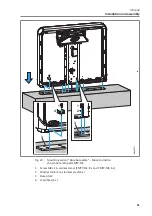
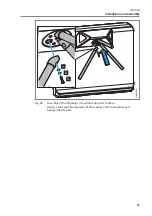
7. Immediately place the base plate on the adhesive. Observe markings.
M
ag0093
3
Fig. 19: Place base plate
8. Press the base plate on well immediately. If the base plate stands out due
to unevenness of the floor, weight the base plate.
9. Remove excess adhesive as soon as possible with “Klebt + Dichtet
Entferner”. If the adhesive has already cured, remove excess adhesive with
a suitable tool. When selecting the tool, consider the material of the base.
10. Wait for the curing time.
11. Place the turnstile on the base plate.
ä
12. Place U-profiles, washers and hexagonal screws.
NOTICE
Possible damage to the finished floor!
Use screws M8 x 16 from attachment set BSS100. Do not use the M8 x 30
screws.
13. Slightly tighten the screws.
14. Align turnstile.
15. Tighten the screws firmly.
16. If necessary, seal the base plate laterally with a silicone joint.
17. Arrange electrical connections.
ä
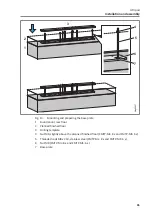
18. Mount the holding bracket, trapezoidal plate, front panel, cover and
locking arms.
ä
Summary of Contents for MHTM FlowMotion mTripod
Page 6: ...6 mTripod...
Page 78: ...78 mTripod...
Page 81: ...81 mTripod...
Page 82: ...82 mTripod...
Page 83: ...83 mTripod...

