100
MAINTENANCE
Replacement
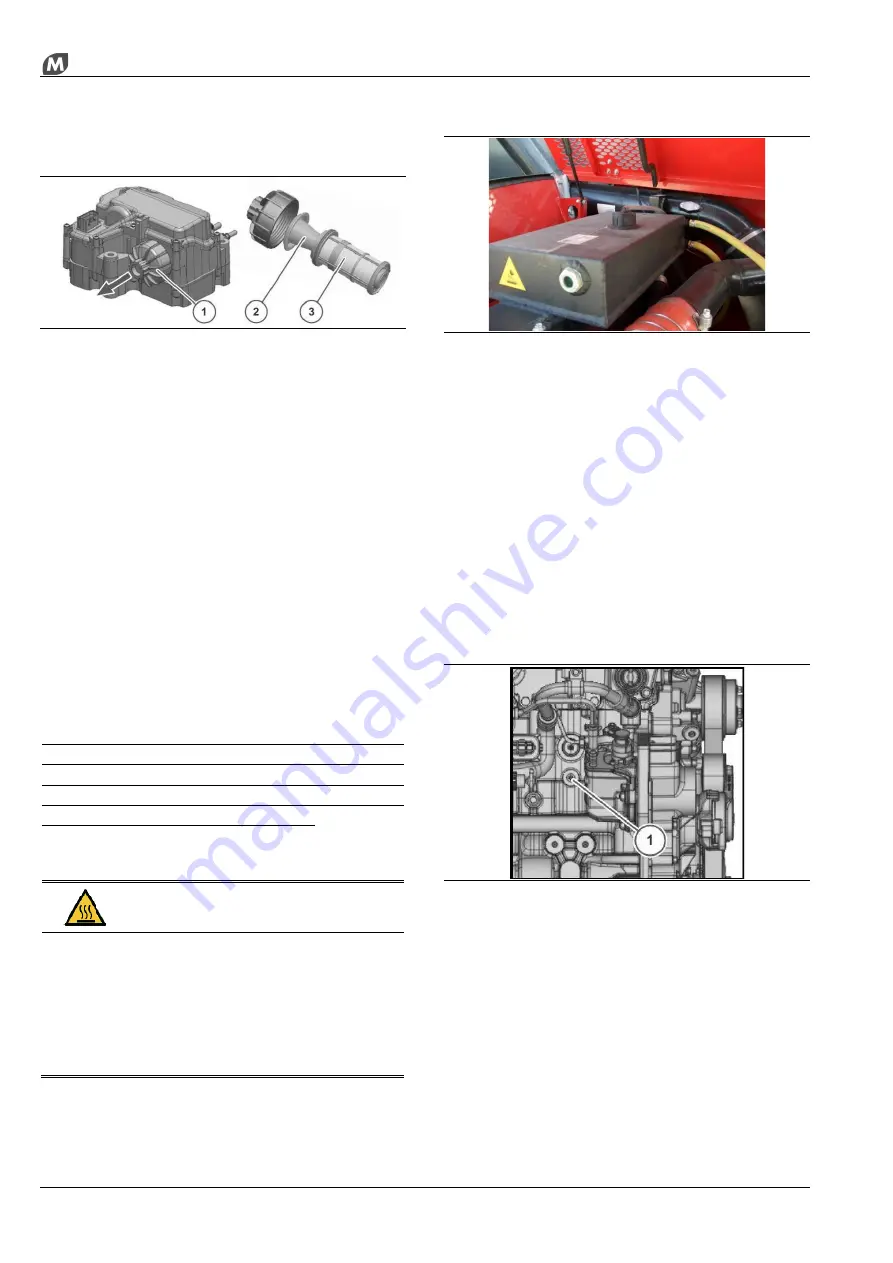
1
cover -
2
compensator -
3
filter cartridge.
Proceed with replacement of the filter cartridge of the
AdBlue supply pump by following the indications
given:
-
switch the engine off,
-
disconnect the electric terminals,
-
place a suitably sized container under the pump and
filter to hold the liquid flowing out.
-
remove the cover using a 27 mm HH wrench,
-
remove the compensator and filter element
completely,
-
replace the filter element and refit it together with the
compensator,
-
fit the cover by applying a 22±2.5 Nm tightening
torque,
-
reconnect the electrical system,
-
start up the engine.
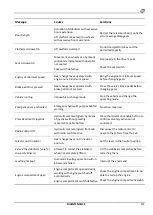
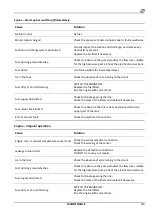
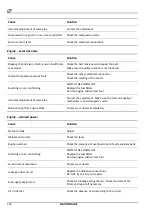
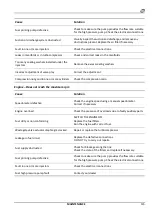
For drive units satisfying the stage IV and stage V
anti-pollution standards, in order to protect the
AdBlue purification system, wait at least 5 minutes
after the I.C. engine is switched off, before acting on
the main electric circuit to disconnect it.
Coolant
DANGER OF BURNS
The coolant is pressurised and at high temperature
with the engine switched on. When the cap is
removed, the liquid may flow out violently and cause
serious burns.
Make sure the engine is cold before working on the
cooling system.
Checking
Set the vehicle in the parking position.
Check the level in the expansion tank placed above the
radiator. The level is correct when it is half-way on the
inspection window.
Open the tank, check the coolant additive
concentration ratio using the instrument concerned
(e.g. hydrometer, refractometer)
If necessary, top up with a suitable mixture depending
on the use.
Refit the cap and make sure it is tightened properly.
Run the engine to bring it to the required
temperature. Switch off the engine and check for leaks
in the circuit.
Bleeding the cooling system
Set the vehicle in the parking position.
Remove the radiator cap carefully to release the
residual pressure.
Place a suitably sized container under the drainage cap
to collect the coolant flowing out.
Remove screw
1
and drain out the coolant. If the screw
is not accessible, drain through the engine oil radiator
(coolant duct).
Refit the screw by applying mastic.
Refit the radiator cap.
Summary of Contents for RTH 4.18
Page 6: ......
Page 27: ...SECTION ON PRODUCT INFORMATION 27 DIMENSIONS RTH 4 18 RTH 5 18 ...
Page 28: ...28 SECTION ON PRODUCT INFORMATION RTH 5 21 RTH 5 23 ...
Page 29: ...SECTION ON PRODUCT INFORMATION 29 RTH 5 25 RTH 6 21 ...
Page 30: ...30 SECTION ON PRODUCT INFORMATION RTH 6 23 RTH 6 25 ...
Page 78: ......

