66
OPERATION
OPERATING TECHNIQUES
Telescopic boom extension
synchronisation
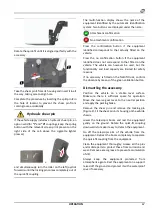
At every daily start up, carry out synchronisation of the
boom according to the procedures described below:
before starting with any operation, use the relevant
joystick to impart the extensions closure command;
after ensuring that the extensions are closed
completely, keep the command active for 2/3 seconds,
then release the joystick: synchronisation of the
extensions is thus complete.
ELECTROCUTION
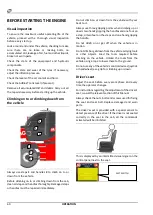
If the vehicle is very close to electricity lines, current
may flow through it causing injuries or even death.
Keep the vehicle at a distance of at least 10 m from
the electricity lines. Always check for the presence of
overhead electricity lines before operating the boom.
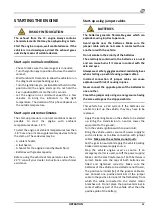
Lack of vehicle stability can cause serious or fatal
injuries. To ensure vehicle stability, the following
conditions must be met.
Inflate the tyres to the correct pressure.
Always level the vehicle, whether on wheels or on
stabilisers.
Do not try to by-pass the safety systems unless
strictly necessary for the safety of the vehicle and the
operators.
Do not tamper with the accessory identification
systems.
Do not operate the vehicle with the boom in a
position other than for transport.
Installing the accessory
If fitted incorrectly, a piece of equipment can
suddenly detach from the vehicle during operation.
This can cause injury or even death.
Do not operate the vehicle without the shear pin
fitted in the quick-fit coupling.
Position the equipment on a stable level surface.
Make sure there is sufficient space for operation.
Check the equipment to make sure it is clean and
intact before fitting it.
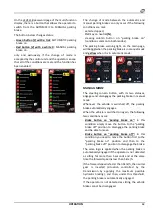
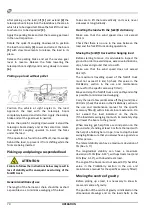
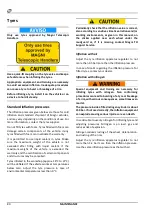
Bring the vehicle perpendicular to the equipment with
the boom completely retracted and lowered. Retract
the slewing cylinder to make hooking easier.
Stop the vehicle with the quick-fit coupling about a
metre away from the equipment. Move the reverse
gear lever to the neutral position and apply the
parking brake.
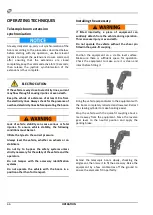
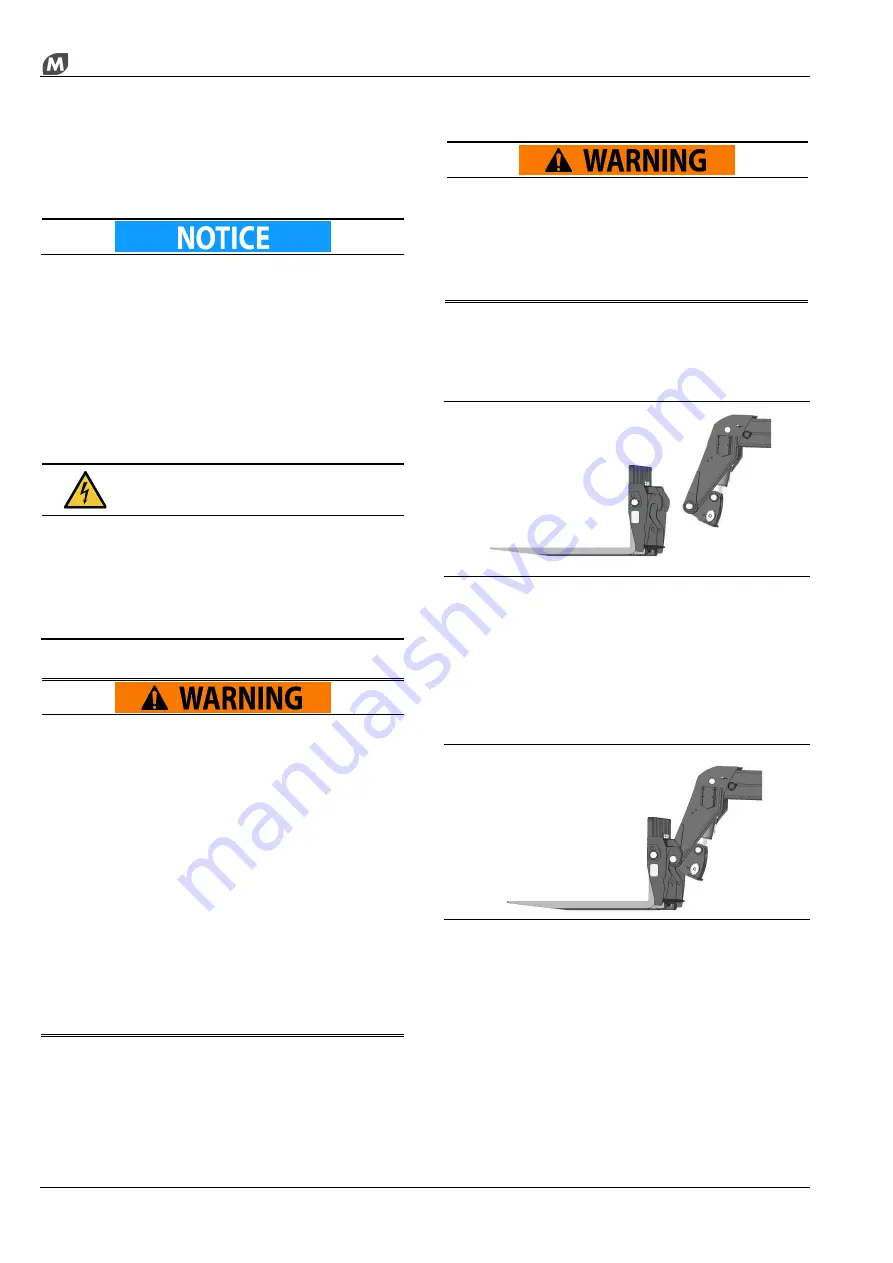
Extend the telescopic boom slowly, checking the
alignment, then raise it to fit the accessory. Raise the
equipment by a few centimetres off the ground to
ensure the elements fit in perfectly.
Summary of Contents for RTH 4.18
Page 6: ......
Page 27: ...SECTION ON PRODUCT INFORMATION 27 DIMENSIONS RTH 4 18 RTH 5 18 ...
Page 28: ...28 SECTION ON PRODUCT INFORMATION RTH 5 21 RTH 5 23 ...
Page 29: ...SECTION ON PRODUCT INFORMATION 29 RTH 5 25 RTH 6 21 ...
Page 30: ...30 SECTION ON PRODUCT INFORMATION RTH 6 23 RTH 6 25 ...
Page 78: ......


