


9557A
9558A
9559A
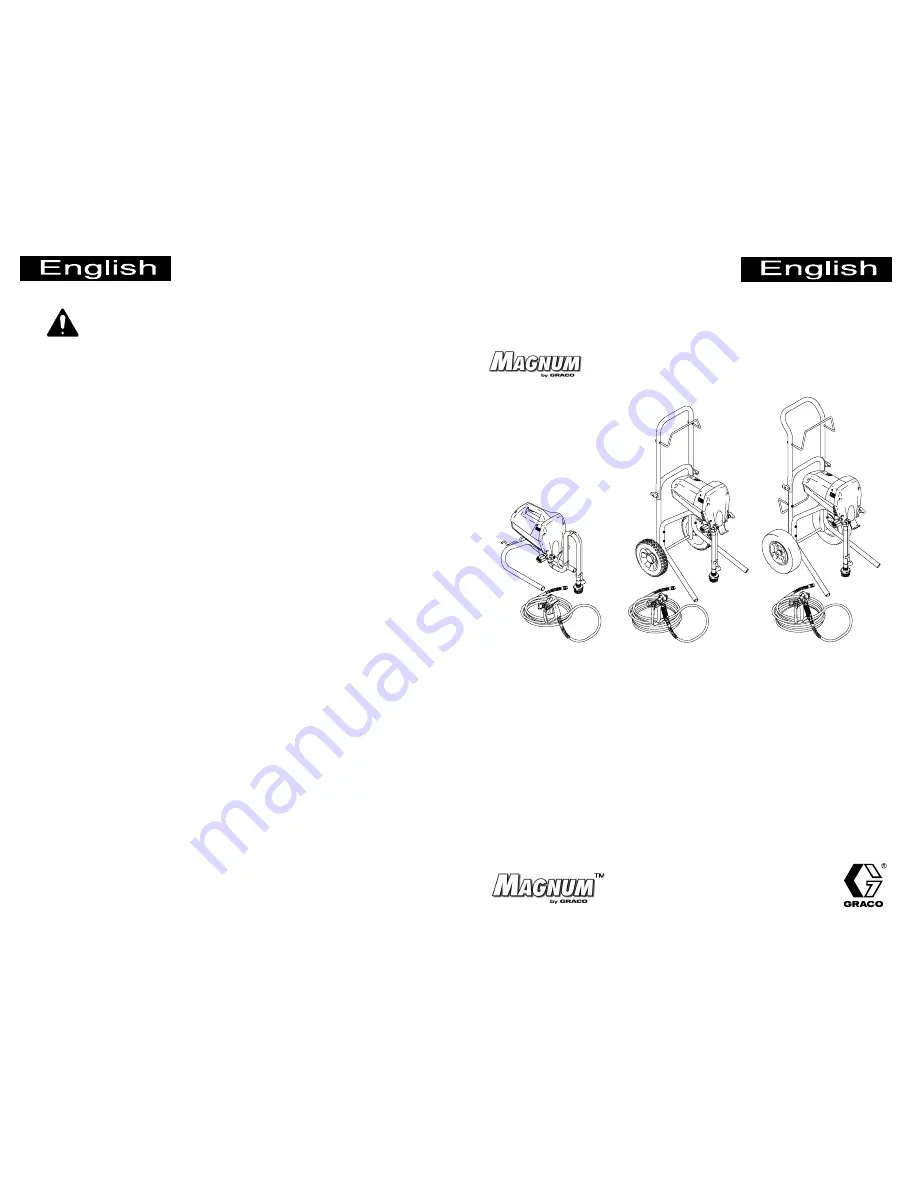
M
AGNUM
XR9
M
AGNUM
XR7
M
AGNUM
XR5
Operator’s Quick Guide
t
Warnings
2
. . . . . . . . . . . . . . . . . . . . . . . . . . .
Required Tools and Accessories
2
. . . . . . .
System Components
2
. . . . . . . . . . . . . . . . .
Setup
3
. . . . . . . . . . . . . . . . . . . . . . . . . . . . . .
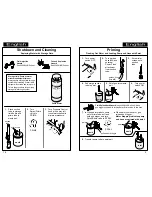
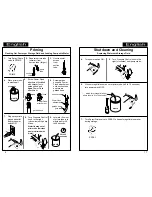
Priming
4
. . . . . . . . . . . . . . . . . . . . . . . . . . . .
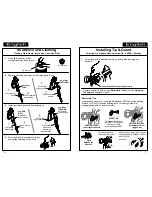
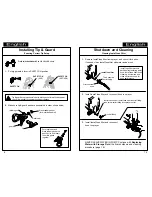
Installing Tip & Guard
6
. . . . . . . . . . . . . . . .
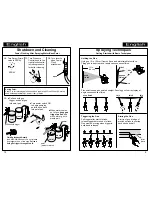
Spraying Techniques
8
. . . . . . . . . . . . . . . . .
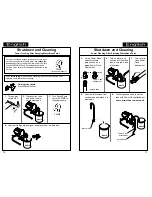
Shutdown and Cleaning
10
. . . . . . . . . . . . .
Preparing for Storage
18
. . . . . . . . . . . . . . .
Basic Troubleshooting
19
. . . . . . . . . . . . . .
XR Series Airless Sprayers
Contents
All written and visual data contained in this document reflect the latest
product information available at the time of publication. Graco reserves the
right to make changes at any time without notice.
GRACO INC.
P.O. BOX 1441 MINNEAPOLIS, MN
55440–1441
PRINTED IN USA 309203 Rev. C 07/2000
To find your Graco/M
AGNUM
authorized service center
D
See the enclosed Graco/M
AGNUM
Authorized Service Centers list
D
Visit our website at www.graco.com
D
Call us at 1–888–541–9788
NEED HELP?
Call us at
1-888-541-9788
This guide is intended as a reference. To prevent injury
and equipment damage and to maximize sprayer
performance and service life, read the enclosed
Operating Instructions before you use this sprayer.
Important Notice


