MICRImage Check Reader
CABLING PROCEDURE
The pin lists for all connections are shown in Appendix A. Perform the following steps:
1.
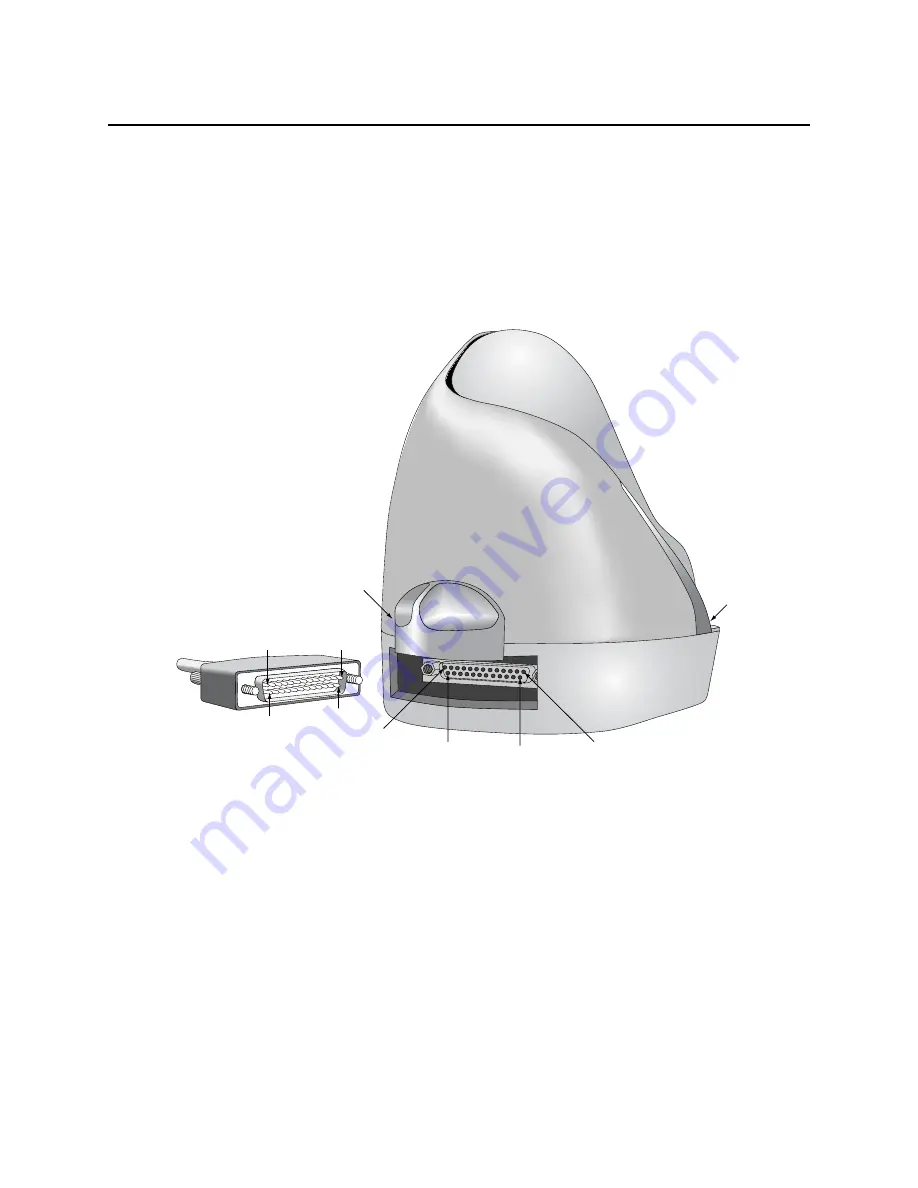
Connect the male DB25 connector to the MICRImage as shown in Figure 2-2.
Easy-Access Latch
Pin 1
Pin 1
LED
Pin 14
Pin 14
Pin 25
Pin 25
Pin 13
Pin 13
Figure 2-2. DB25 Connection
2.
Connect the DB9 connector to the PC as shown in Figure 2-3, 2-4, and 2-5.
3.
Connect RJ45 Jack to the network connection as indicated in Figure 2-5.
4.
On the AC power adapter, connect the jack to the plug on the cable.
5.
On the AC power adapter, connect the plug to the wall outlet.
6.
The LED indicator on the MICRImage Reader should turn on to a steady green. The LED
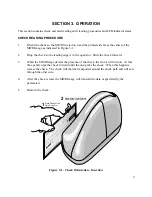
indicator is located on the slot where the check is first inserted for reading (see Figure 2-1).
6
Summary of Contents for MICRImage
Page 8: ...Figure 1 1 MICRImage Check Reader with MSR viii...
Page 12: ...MICRImage Check Reader 4...
Page 30: ...MICRImage Check Reader 22...
Page 32: ...MICRImage Check Reader 24...
Page 34: ...MICRImage Check Reader 26...


