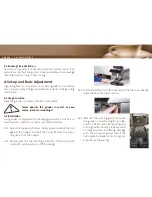
7.5 Cleaning the Grinder Casing
Clean your grinder externally from time to time with a damp
cloth.
Observe the safety instructions under 1.2!
Be careful of sharp edges while cleaning. The
danger of injury exists!
7.5.1 Grind the remaining coffee beans.
Pull out the electrical plug.
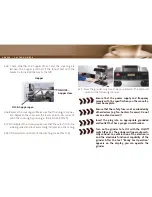
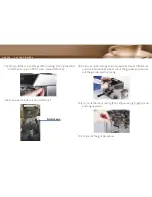
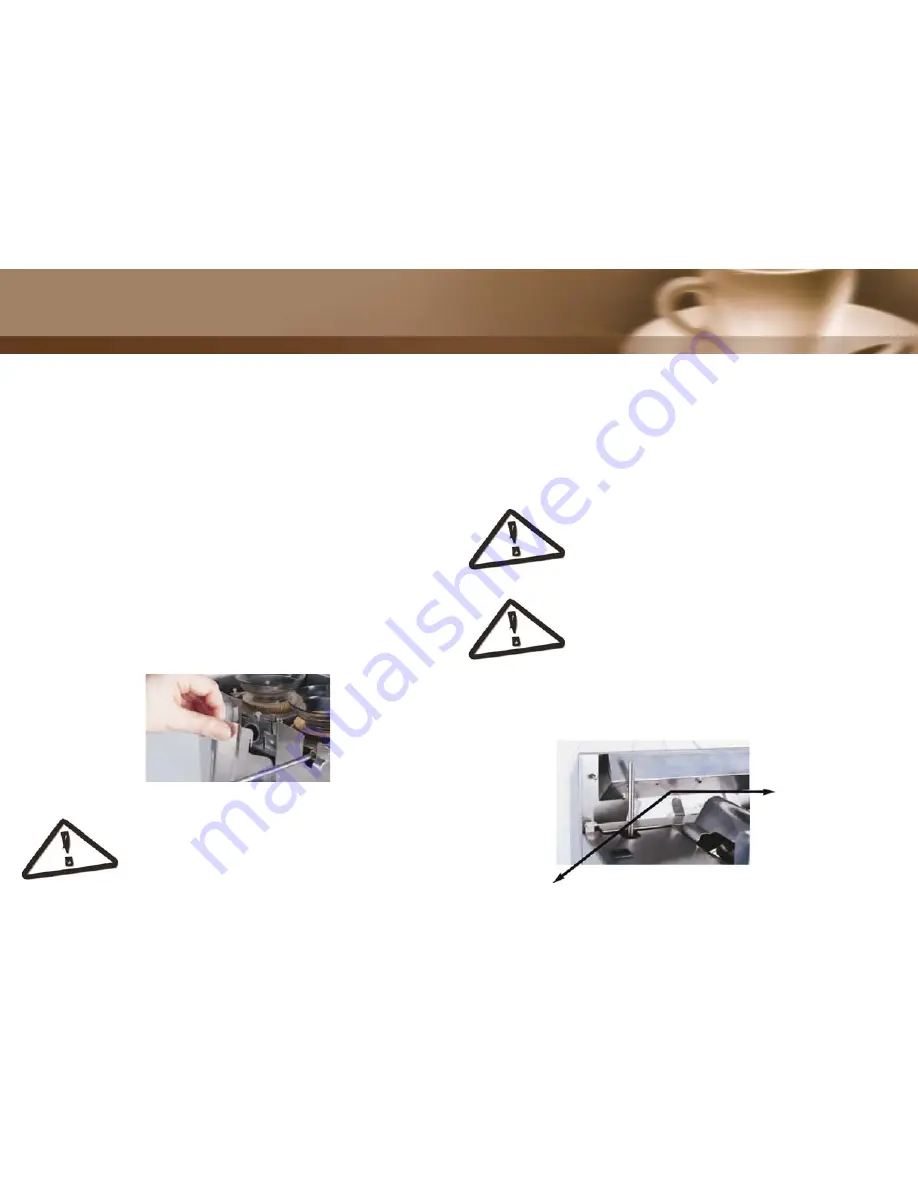
7.5.2 Pull off the rotating knobs (Pos. 7+8). Close the rotary latch
slide turning it to the right.
Hopper
7.3 Cleaning of the spout and hopper
7.3.1 Grind the remaining coffee beans. Close the hopper. Open
the lid by applying pressure above the lock against the hop-
per and then pulling the lid off upwards.
7.3.2 Wipe the inside and outside of the hopper with a damp
cloth. Do not rinse. For cleaning, use only cleaning agents ap-
proved for food product applications.
7.3.3 To dry, rub the hopper with a dry, non-fl uffy cloth.
7.3.4 Pull off the rotating knobs (Pos.7+8) and the screen (Pos. 6).
Afterwards, dismantle the spout (Pos.13) by pushing it up-
wards and unhooking it.
7.4 Cleaning the Grinder Placement Surface Area
1. Pull out the electrical plug!
2. Remove the residue tray.
3. Place the grinder somewhere else.
4. Clean the grinder placement surface area.
5. Return the grinder and the residue tray.
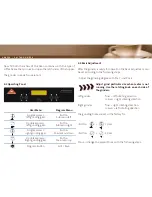
LOCK: hopper open
UNLOCK:
hopper close
H O R E C A
|
G A S T R O G R I N D E R


