background image

8. Maintenance and Repair

Always pull the main plug from the socket be-
fore carrying out maintenance or cleaning work 
on the grinder!

Inspect the grinder regularly for damage, par-
ticularly to the electrical cable, plug, etc.

Any required repairs may only be conducted by 
authorized specialist personnel. For this reason, 
please contact a customer service repair facility, 
your dealer or us directly as the manufacturer.

9. Spare Parts

Spare parts are usually ordered from your customer service cen-
tre or your local dealer. To ensure quick and correct processing of 
your order, the following information is absolutely essential:

1.  

Type designation, serial number and voltage of the  


grinder (on the rating plate underneath the grinder).

2.  

An exact description of the part to be replaced or the  

 article 

number. 

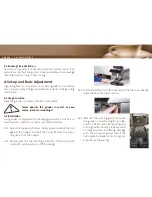
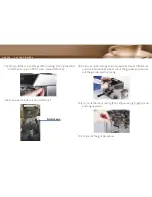
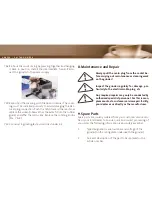
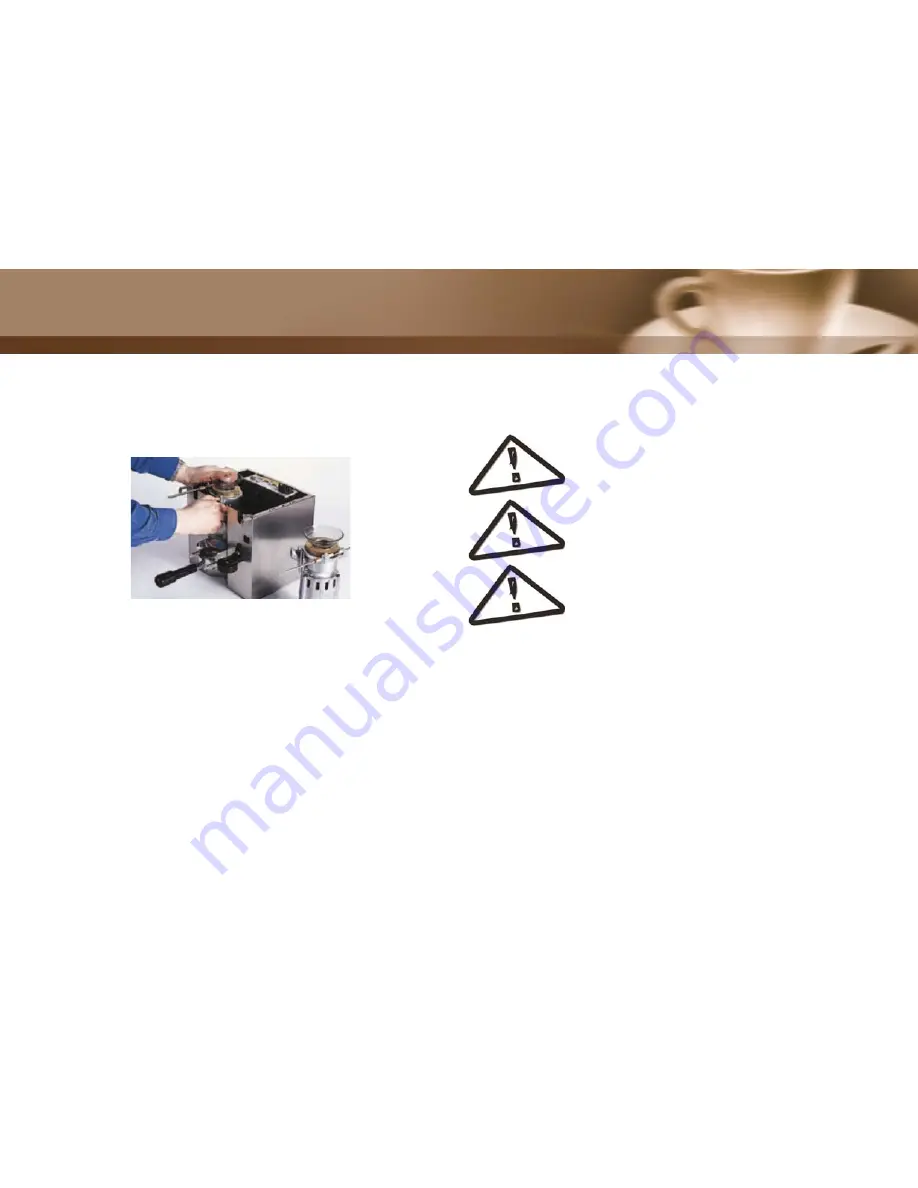
7.5.8 Re-hook the spout casing by pressing together and hanging 

it back in position. Install the intermediate funnel. Recon-
nect the grinder to the power supply.

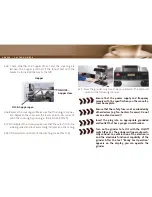
7.5.9 Reposition the covering with the bean container. The cover-

ing must be installed precisely to avoid damaging the elec-
trical plug connection. Push the latch toward the rear. Now 
replace the screen (observe that the axles fi t into the rubber 
guide) and affi x the latch clips. Replace the rotating knobs 
(Pos. 7 & 8).

7.5.10 Conduct a grinding test as described under 4.4.

H O R E C A    

|

    G A S T R O   G R I N D E R

Summary of Contents for K60 ES

Page 1: ...The professional art of grinding since 1924 Operating Instructions K60 ES Grind on Demand H O R E C A G A ST R O G R I N D E R...

Page 2: ...suring you of high qual ity grinding of espresso and other types of coffee beans Read through and observe the operating instructions so you and your customers will thoroughly enjoy the K60 ES Please s...

Page 3: ...ate 11 Warranty Conditions Table of Contents 1 Safety 1 1 Symbols 1 2 Safety Instructions 1 3 Usage Purpose 1 4 User Requirements 2 Technical Data 3 Description 3 1 Main Components and Operating Eleme...

Page 4: ...n cannot appreciate the dangers that can exist in the op eration of electrical grinders For this reason never leave children unsupervised with electronic appliances such as this grinder Never submerge...

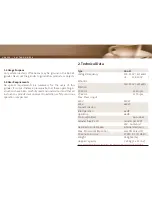
Page 5: ...s expected H O R E C A G A ST R O G R I N D E R 2 Technical Data Type K60 ES Voltage Frequency 200 230V 50 60Hz UL 115 120V 50 60Hz 100 120V 50 60Hz Rotation 50 Hz 1480 rpm 60 Hz 1770 rpm Max Power In...

Page 6: ...On Off Switch on the back of the machine Pos 12 Spout Pos 13 Port a Filter Holder Mounting Pos 14 Cover 3 2 Safety Devices The grinder is equipped with 2 fuse elements 5x20 These blow in the event of...

Page 7: ...time too long allow cooling 4 Set up and Basic Adjustment A grinding test run is carried out on each grinder in our factory This is why you may nd ground material residue in the grinding mechanism 4 1...

Page 8: ...ics and the electronic functional capability of the grinder After the text Ready For Operation appears on the display you can operate the grinder 4 2 5 Check whether the hopper Pos 2 and the covering...

Page 9: ...knob on each side of the grinders Left grinder ner left rotating direction coarser right rotating direction Right grinder ner right rotating direction coarser left rotating direction The grinding time...

Page 10: ...rinder 2 Double Shot sec plus sec minus Press PROG to save Submenu PROG sight ground coffee grinder 1 Single Shot sight ground coffee grinder 1 Double Shot Press Press sight ground coffee grinder 2 Si...

Page 11: ...l circuit breaker is tripped Cause of fault Foreign body in the grinder Beans stuck in the grinder Spout is plugged Plug is not plugged in the circuit board Plug cord is defective Magnet switch is def...

Page 12: ...mend cleaning your espresso grinder once a week with our GRINDZ Grinder Cleaner Simply take the recommended dose 35 40g and drop it into an empty grinder hopper You can also use the cap of the jar for...

Page 13: ...e lock against the hop per and then pulling the lid off upwards 7 3 2 Wipe the inside and outside of the hopper with a damp cloth Do not rinse For cleaning use only cleaning agents ap proved for food...

Page 14: ...ct all electrical connections 7 5 5 Vacuum out and wipe the intermediate funnel Afterwards pull the intermediate funnel out of the grinder and vacuum out the grinder and the casing 7 5 6 Unhook the sp...

Page 15: ...owing information is absolutely essential 1 Type designation serial number and voltage of the grinder on the rating plate underneath the grinder 2 An exact description of the part to be replaced or th...

Page 16: ...cover costs resulting from repairs con ducted by non authorized personnel EC Declaration Conformity As defined by EMC directive 89 392 EWG MAHLK NIG GmbH Co KG Tilsiter Stra e 142 22047 Hamburg Telef...

Page 17: ...nce 1924 MAHLK NIG GmbH Co KG Tilsiter Stra e 142 D 22047 Hamburg Germany Tel 040 69 69 40 0 Fax 040 69 39 721 of ce mahlkoenig de www mahlkoenig de March 2008 Subject to change without prior notice H...

Reviews: