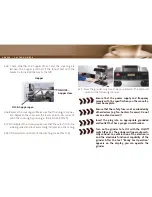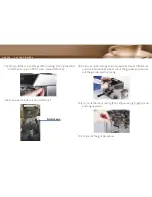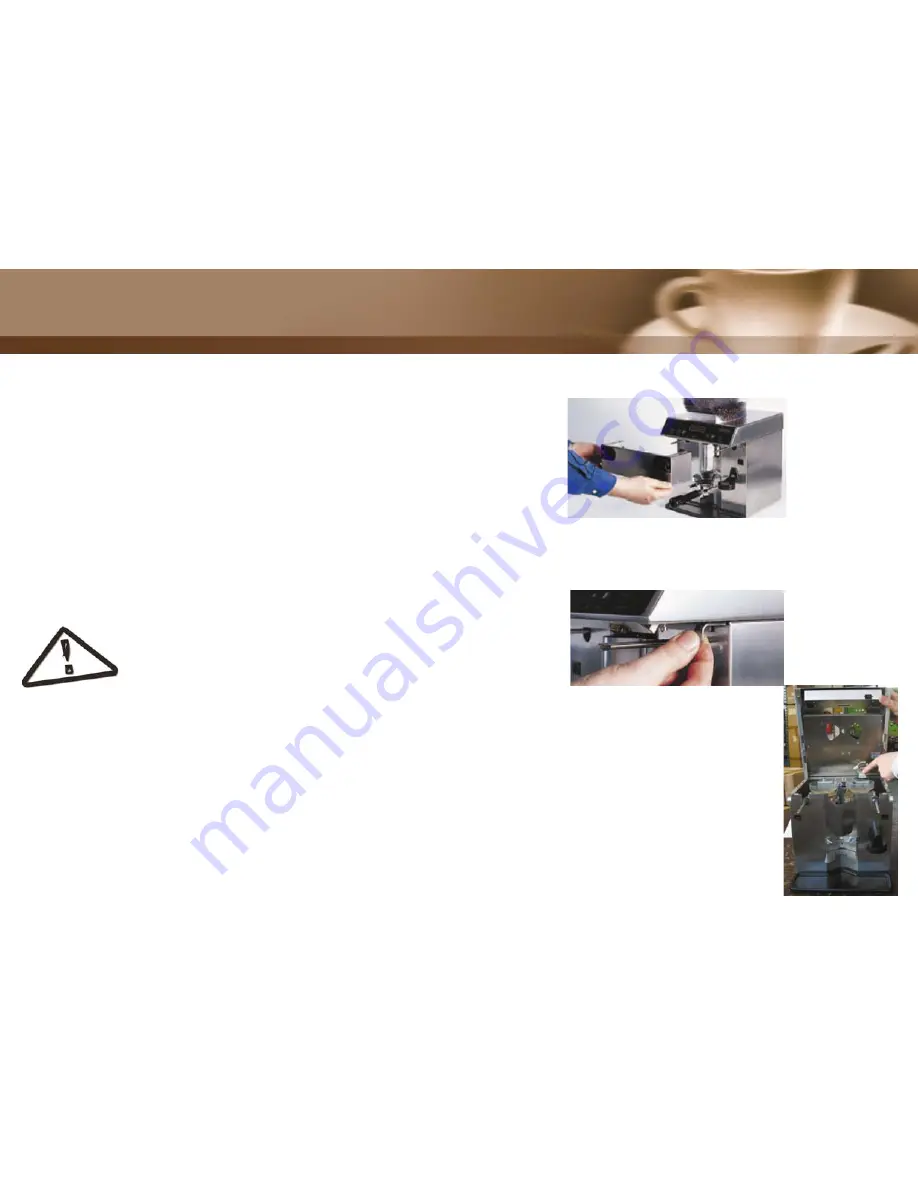
4.2.3 Pull out the latch bolts (Pos.9) and pull the top cover directly
upwards from the lower section.
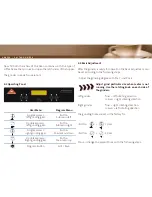
4.2.4 Remove the packing guard. Examine
the grinder connector plug for a proper
and fi rm fi t. Store the transport guard,
as the grinder can only be transported
or shipped without suffering damage
with the transport guard. Install the
intermediate hoppers onto the grind-
ers as far as they will go.
3.3 Running Time Limitation
As soon as a grinder is activated, a second counter starts. If 30
seconds are reached, the grinder stops and displays the message,
”Running time too long - allow cooling”
4. Set-up and Basic Adjustment
A grinding test run is carried out on each grinder in our factory.
This is why you may fi nd ground material residue in the grinding
mechanism!
4.1 Usage Location
Place the grinder on a level, vibration-free surface.
Never operate the grinder in moist, or even
worse, in wet surroundings!
4.2 Installation
Your grinder is shipped with a packing guard which must be re-
moved prior to operation. To do so, proceed as follows:
4.2.1 Open the hopper as follows: Apply pressure above the lock
against the hopper and pull the lid up. Remove the acces-
sory parts from the hopper.
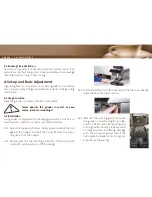
4.2.2 Now remove the the rotating knobs (Pos. 7/8) and pull the
screen (Pos. 6) towards you off the casing.
H O R E C A
|
G A S T R O G R I N D E R


