8 Installation and commissioning
24
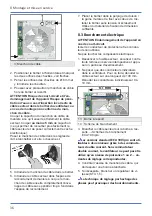
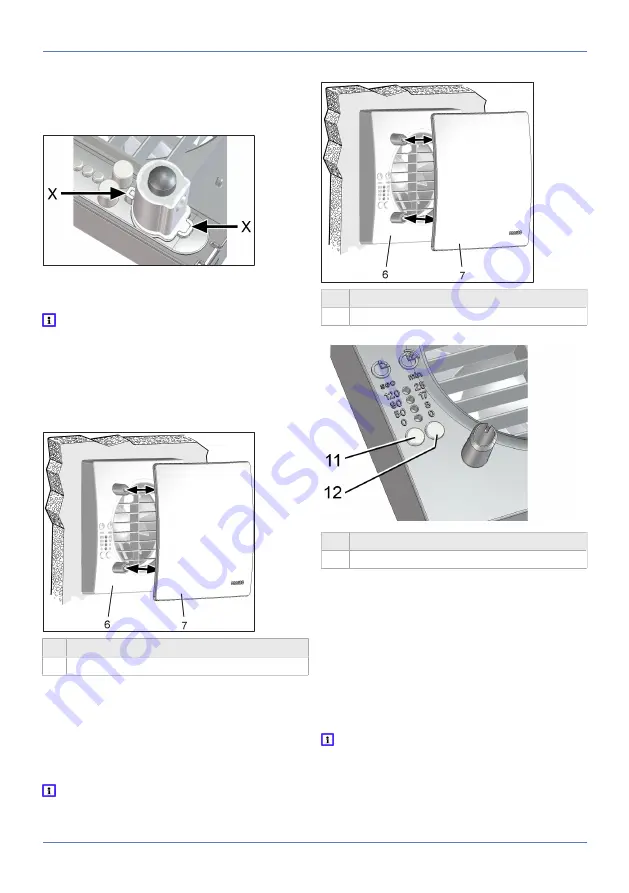
1. Push the electronic cover on the housing cut-
outs I, II and III onto the 3 locking tabs, until
the tabs engage. In addition, press the elec-
tronics cover firmly on to the housing at the
points indicated by the word "PRESS".
2. For device versions F, KF, H, KH, B and KB,
insert the supplied sensor in the correct posi-
tion (→ arrows X), into the connector socket.
H
and KH:
Do not touch/push on the mem-
brane on the flat side of the sensor wall, other-
wise it will be damaged.
3. Attach housing cover.
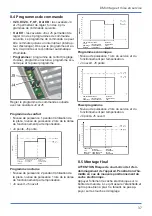
4. Use the setting keys to set the start delay and/
or overrun time →
.
6
Cover
7
Designer cover
5. Fit designer cover.
8.6 Commissioning
1. Switch the mains fuse on.
2. Run function test.
8.7 Start delay and overrun time
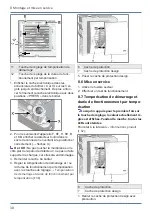
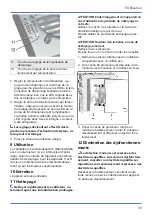
The first time the setting button is pressed,
the currently set value is displayed. During op-
eration the LEDs are off.
For delivery status →
.
6
Cover
7
Designer cover
1. Carefully remove designer cover
11
Setting button for start delay
12
Setting button for overrun time
2. Setting the start delay: Press the left setting
button repeatedly, until the LED of the desired
start delay time lights up. Wait until the LED
flashes twice and goes out. The value is now
saved.
3. Setting overrun time: Press the right setting
button repeatedly, until the LED of the desired
overrun time lights up. Wait until the LED
flashes twice and goes out. The value is now
saved.
The settings take effect starting with the
next switching process (sensor, light switch).
4. Fit designer cover.


