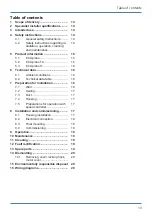


9 Operation
18
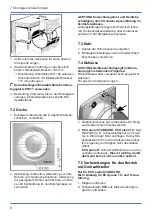
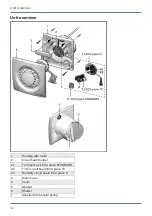
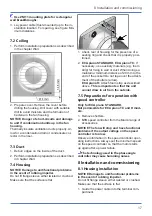
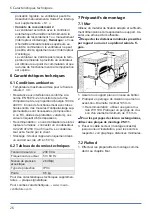
2. Insert housing into wall breakthrough/wall
sleeve and secure with two screws. Do not in-
sert the housing such that it is twisted or
crushed. Make sure you use mounting mater-
ial which is sized for the purpose.
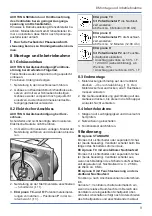
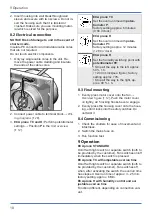
8.2 Electrical connection
NOTICE Risk of damage to unit in the event of
short-circuits.
Insulate PE conductor and individual cable cores
that are not required.
Do not touch electric components.
1. Only lay single cable cores in the unit. Re-
move the power cable cladding and insulate
the ends of the cable cores.
2. Connect power cable to terminal block →
3.
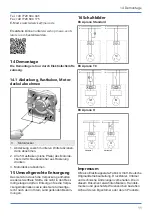
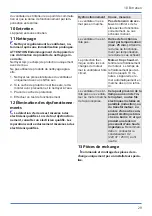
ECA piano TC and H:
Perform potentiometer
settings → Position
P
in the
.
ECA piano TC
Set the overrun time with
poten-
tiometer P
:
factory setting approx. 6 minutes
(9:00 o'clock)
ECA piano H
Set the overrun time with
poten-
tiometer P1
:
factory setting approx. 12 minutes
(12:00 o'clock)
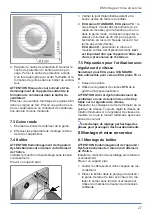
ECA piano H
Set the humidity switching point with
potentiometer P2
:
• Stop all the way to the left, approx.
50 % r. h.
• 12:00 o'clock(see figure), factory
setting approx. 70%
• Stop all the way to the right, ap-
prox. 90 % r. h.
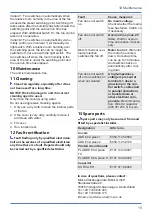
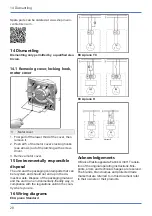
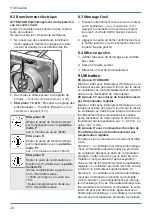
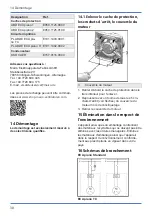
8.3 Final mounting
1. Evenly press motor cover onto the fan →
. Push the motor cover
on tightly, all 5 locking hooks have to engage.
2. Evenly press the housing cover onto the hous-
ing, until it locks into the safety catches. Do
not twist it.
8.4 Commissioning
1. Check the shutters for ease of movement and
intactness.
2. Switch the mains fuse on.
3. Run function test.
9 Operation
ECA piano STANDARD
On/off with light switch or separate switch (both to
be provided by the customer). Fan switches on/off
immediately when the switch is pressed.
ECA piano TC with adjustable overrun time
On/off with light switch or separate switch (both to
be provided by the customer). Fan switches off
when, after activating the switch, the overrun time
has elapsed. Overrun time of approx. 3...25 min.,
factory setting: approx. 6 Min.
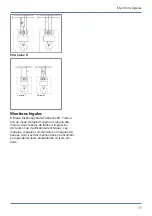
ECA piano H with humidity control and ad-
justable overrun time
Function different, depending on connection vari-
ant.


