
Maico Elektroapparate-Fabrik GmbH
●
Steinbeisstr. 20
●
78056 Villingen-Schwenningen
●
Germany
●
S49 7720 6940
●
technik@maico.de
finding only permissible when carried out
by trained specialists.
The degree of protection stated on the
rating plate is only guaranteed if
installation is undertaken correctly and if
the connection cable is correctly guided
through the cable grommet (the grommet
must completely enclose the cable
sheathing). The fan insert must also be
engaged and the housing cover installed.
The sound-absorbing inserts ER-
SE UP and ER-SE AP are used
to reduce sound emissions.
•
ER-SE UP article no. 0192.0678
Sound-absorbing insert for use in
recess-mounted housings of variants
ER-UP/G, ER-UPD and ER-UPB.
•
ER-SE AP article no. 0192.0679
Sound-absorbing insert for use in
surface-mounted housings of variants
ER-60/100AP…, ER-60/100APB….,
Centro-AP… and Centro-APB… .
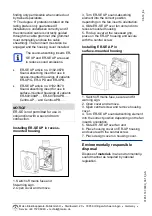
Installing ER-SE UP in recess-
mounted housing
1. Switch off mains fuse and
fit warning sign.
2. Open cover and remove.
3. Turn ER-SE UP sound-absorbing
element into the correct position
depending on the fan insert’s orientation.
4. Slide ER-SE UP over fan unit and into
recess-mounted housing.
5. Fold up cover at the recessed grip,
place on the ER-UP housing and secure
with the central screw.
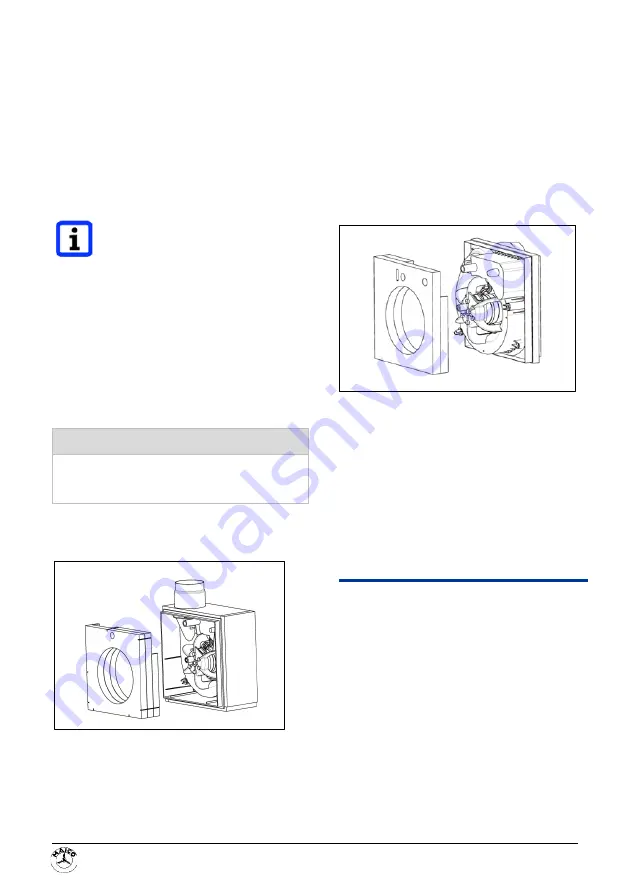
Installing ER-SE AP in
surface-mounted housing
1. Switch off mains fuse, secure and fit
warning sign.
2. Open cover and remove.
3. Open central screw and remove housing
cover.
4. Turn ER-SE AP sound-absorbing element
into the correct position depending on the fan
insert’s orientation.
5. Slide ER-SE AP over fan unit.
6. Place housing cover on ER-UP housing
and secure with the central screw.
7. Place design cover on housing cover.
Environmentally responsible
disposal
Dispose of
materials
in an environmentally-
sound manner as required by national
legislation.
NOTICE
ER-SE is not permitted for use in
conjunction with a second room
connection.
0
18
5
.1
16
7
.00
0
0
_0
6
.18
_
A
S
0
6
.1
8_
Es


