background image

 INSTRUCTION MANUAL FOR DISHWASHERS


Page 4 of 14


UK 

Chap 2


PREFACE


Warnings: 

Keep all documentation in the vicinity of the appliance; make it available to the technicians and 
operators  charged  with  operating  it  and  keep  it  in  good  condition  in  a  safe  place,  along  with 
extra copies for frequent reference 

The  operator  must  read,  understand  and  familiarise  himself  with  the  contents  of  this 
manual before working on or with the appliance

The appliance is intended solely for professional heavy duty dishwashing applications and must 
be  installed,  operated  and  serviced  only  by  qualified  persons  according  to  the  manufacturer's 
instructions.  

Warranty:


The  manufacturer  is  not  liable  for  any  damage  or  injury  resulting  from  failure  to  observe  the 
instructions or improper use of the machine  
Failure to observe the instructions in the enclosed documentation may compromise the safety of 
the appliance and immediately voids the warranty  
Installation  and  repair  by  unauthorised  technicians  and  the  use  non-original  spare  parts 
immediately void the warranty. 

Storage:


Transport and storage: -10°C to 55°C with peaks up to 70°C (for no longer than 24 hours) 

Chap 3


INSTALLATION 


Proper  installation  is  essential  to  the  good  operation  of  the  appliance.  Some  of  the  data  required  for 
installation of the appliance are given on the nameplate on its RH body panel, and a copy is included 
on the cover page of this manual.


The appliance may only be installed by qualified persons authorised to do so


For  Australia  and  New  Zealand  this  machine  must  be  installed  in  accordance  with 
AS/NZS3500.1


3.1


Unpacking 

Check the condition of the packaging, and note any evident damage on the shipping bill. Remove the 
packaging  and  check  that  the  appliance  is  in  good  condition;  immediately  report  any  damage  to  the 
reseller and the shipping agent by fax or registered letter with return receipt. If the damage is such as to 
compromise  the  safety  of  the  appliance,  do  not  install  or  operate  it  until  it  has  been  inspected  by  a 
qualified technician. 


The  packaging  (plastic  bags,  expanded  polystyrene,  nails,  etc.  )  are  hazardous  and 
must not be left within the reach of children or pets.


3.2


Positioning 

  Check that there are no objects  or materials in the installation area which may 

be damaged by the steam emitted by the appliance during operation, or if there 
are, make sure they are properly protected. 

  Before  positioning  the  appliance,  set  up  the  electrical  power  supply,  water 

supply and drain connections. 

  For  flush-mounting  single  panel  machines,  leave  a  space  of  at  least  10  mm 

between the machine walls and the adjacent surfaces. 

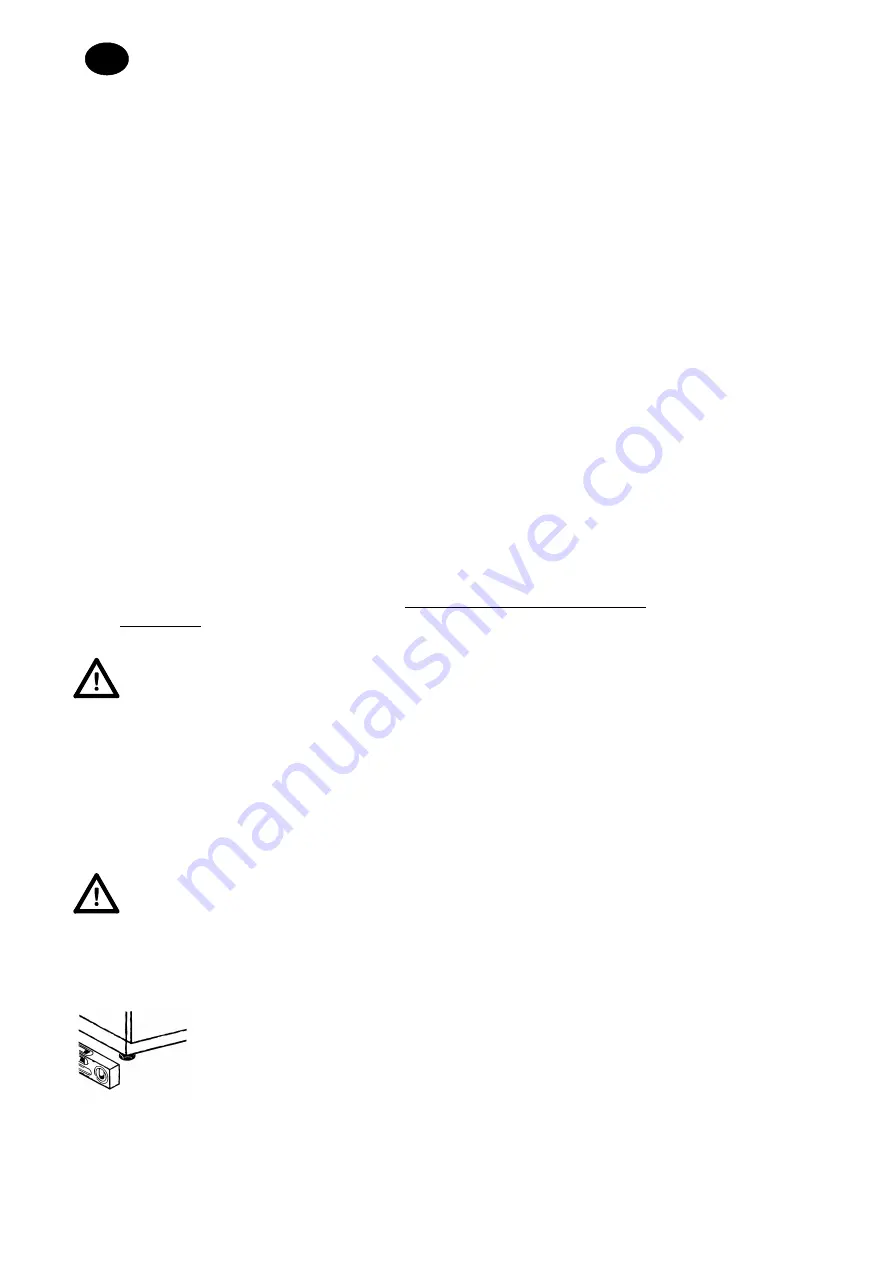
  The floor or build-in unit must be rated to support the weight of the appliance 

  To ensure that it is stable, level the appliance with its four feet. 

  The appliance is intended for fixed installation only; any other approaches must 

be agreed with and approved by the manufacturer. 

Summary of Contents for AMH51D

Page 1: ...www caterparts com All spares available from Copyright Notice All rights reserved No parts of this manual may be reproduced in any form without express written permission of Maidaid Halcyon A trading name of Buttress Group Ltd AMH51D JUNE 2021 User Installation Guide REF 918746 PUMPED WASTE ...

Page 2: ......

Page 3: ......

Page 4: ...WASHER 8 4 8 1 Appliances with no drain pump 8 4 8 2 Appliances with drain cycle optional 8 4 9 TURNING THE DISHWASHER OFF 8 4 10 RESIN REGENERATION OPTIONAL 8 4 11 DISPLAYING INFORMATION 9 4 12 LIST OF VIEWABLE MESSAGES 9 4 13 END OF SHIFT 9 CHAP 5 MAINTENANCE 10 5 1 GENERAL RULES 10 5 2 CLEANING 10 5 3 CLEANING THE FILTER UNIT 10 5 4 CLEANING THE ARMS 10 CHAP 6 SELF DIAGNOSTICS 11 CHAP 7 SETTING...

Page 5: ... with no experience or knowledge provided they are supervised or after they have received training in the safe use of the appliance Children must not play with the appliance Cleaning and maintenance by the user must not be performed by unsupervised children The machine must NOT be kept powered up when not in use If the machine is not fitted with a plug or other device for completely disconnecting ...

Page 6: ...ing the installer must issue a written declaration stating that the machine has been installed and tested in accordance with established legislation and good practice DO NOT change the position or tamper with the elements of the machine as this could compromise the machine safety Noise pressure level according to EN ISO 4871 o LpA Max 55db Kpa 2 5db for undercounter versions o LpA Max 65db Kpa 2 5...

Page 7: ...H body panel and a copy is included on the cover page of this manual The appliance may only be installed by qualified persons authorised to do so For Australia and New Zealand this machine must be installed in accordance with AS NZS3500 1 3 1 Unpacking Check the condition of the packaging and note any evident damage on the shipping bill Remove the packaging and check that the appliance is in good ...

Page 8: ...o Zmax in the point of interface between the user s supply system and the public system The installer or appliance user is responsible for checking that the appliance is connected exclusively to a supply with system impedance Zsys less than or equal to Zmax Zmax Utensil washers 0 21 Ω Hood 0 24 Ω Undercounter 0 41 Ω The power cable which must be exclusively type H07RN F with current capacity at 60...

Page 9: ... request the version with batteries with stainless steel pipes Free drain 3 5 Connection to the drain line The drain line must consist of a free drain sump with siphon suited to the flow capacity of the drain hose supplied with the appliance The hose must be able to reach the sump without stretching restriction folding crushing pressing or forcing in any way The tub drains under gravity so the dra...

Page 10: ...shes in the rack facing downwards Place plates and the like in the sloping rack with the inner surface facing upwards Place the cutlery in the cutlery basket handle end down Do not place silver and stainless steel cutlery in the same cutlery basket as this will turn the silver brown and may corrode the steel Wash the dishes immediately after use in order to prevent any residue from hardening and s...

Page 11: ... the integral filter Fig 7A Pull up and remove the overflow pipe Fig 8B Wait for the tub to empty completely If necessary extract the tub filter and clean Fig 8C 4 8 2 Appliances with drain cycle optional If present remove the integral filter Fig 7 If present remove the overflow by pulling upwards Fig 9 Close the door Select the cycle dr Press START 3 to start the cycle The machine runs a drain cy...

Page 12: ...for five seconds in sequence the following are shown t wash temperature b rinse temperature CC wash cycles carried out during the life of the dishwasher 4 12 List of viewable messages Door open Number of cycles carried out Rinse temperature End of cycle Wash temperature Automatic start enabled Short wash Continuous wash Medium wash Final drain Long wash Regeneration cycle or request No salt in the...

Page 13: ...suitable non corrosive commercial products 5 3 Cleaning the filter unit Run this procedure at the end of the day or when you see the filters are dirty 1 Remove and clean the baskets 2 Empty out the tub as explained in Machine draining 3 Remove and carefully clean all the filters 4 Do not use abrasive products to clean the tub 5 Restore all removed parts when finished 5 4 Cleaning the arms The wash...

Page 14: ... then on Tank thermometer fault Probe short circuited The machine does not read the tank temperature value Switch the dishwasher off and then on Boiler thermometer fault Probe open The machine does not read the boiler temperature value Switch the dishwasher off and then on Boiler thermometer fault Probe short circuited The machine does not read the boiler temperature value Switch the dishwasher of...

Page 15: ...rature regulation for programmes Rinse pump versions have different settings for each programme t1 t2 t3 Thermo Stop Enabling the Thermostop function which guarantees the correct rinse temperature Energy Saving Enabling the Energy Saving function which guarantees energy savings when the dishwasher is on but not in use Detergent Pump Manual operation of detergent doser Rinse Aid Pump Manual operati...

Page 16: ...rted waste disposal and recycling for this type of product Corporate users are requested to contact their supplier and check the terms and conditions of the purchase contract The product may not be scrapped together with other commercial waste Symbols Object Material Recyclable directly Sheet Steel 80 Cardboard packaging PAP Wooden pallet ISPM15 Plastic parts PP PP FV Compounds W E E E Motors Asse...

Reviews: