background image

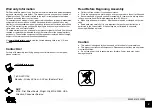
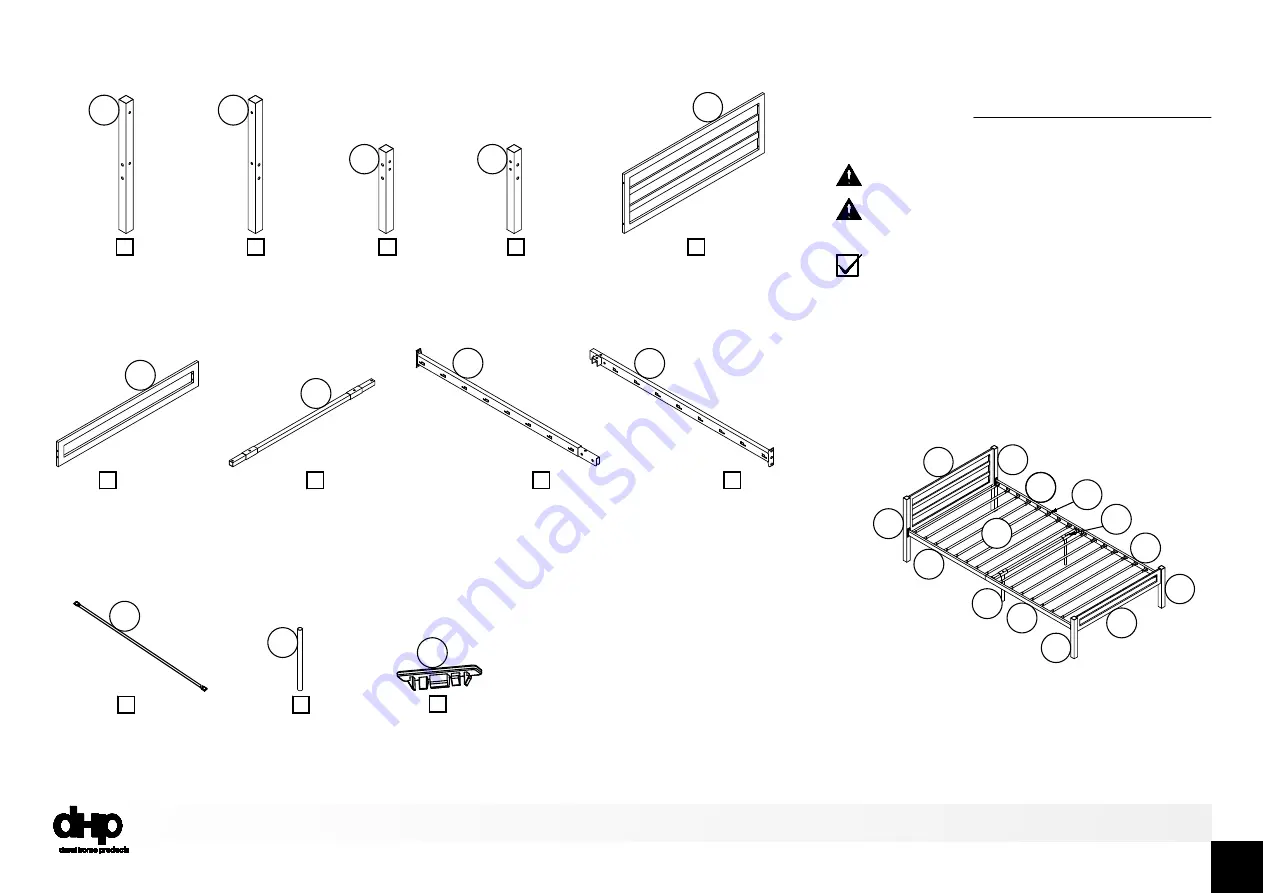
There are inner box(es) that include components

required to complete this assembly.

Parts

All in 1 big box!

Replacement Parts, visit www.dhpfurniture.com/eng/support-home

Before you throw the package, please use the

Check Box to identify the parts and ensure that

you have all the parts needed for the assembly.

B34

4061419WE00

4

X 1

T931460

Post 1

X 1

T931470

Post 2

X 1

T924800

End Guard Rail 01

X 1

T931500

End Guard Rail 02

X 2

T931520

Side Rail 01

A

B

C

X 32

T392590

Plastic Plug

Y

X 1

T931480

Post 3

F

O

D

I

T

E

G

A

B

C

D

I

T

F

F

E

E

E

G

L

Y

O

X 1

T931490

Post 4

X 1

T931510

Centre Brace

X 2

T931530

Side Rail 02

X 16

T919470

Slat

X 2

T931540

Leg

L

Summary of Contents for 4061419WE

Page 1: ...ement parts free of charge Lot Number Thank you for purchasing from DHP THIS INSTRUCTION BOOKLET CONTAINS IMPORTANT SAFETY INFORMATION PLEASE READ AND KEEP FOR FUTURE REFERENCE 1 Gray Twin Premium Met...

Page 2: ...have other rights which vary from state to state To obtain warranty service purchaser must present original bill of sale Components repaired or replaced are warranted through the remainder of the ori...

Page 3: ...B344061419WE00 3...

Page 4: ...identify the parts and ensure that you have all the parts needed for the assembly B344061419WE00 4 X 1 T931460 Post 1 X 1 T931470 Post 2 X 1 T924800 End Guard Rail 01 X 1 T931500 End Guard Rail 02 X 2...

Page 5: ...hardware until the entire assembly is completed unless otherwise indicated in the step by step instructions Hardware Pack Hardware Pack T4061419WE 00 1 4 B344061419WE00 5 X 8 5 16 X 3 4 2 X 4 1 4 X 3...

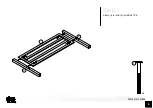
Page 6: ...Step 1 Attach I to A B with BOLTS 3 B344061419WE00 6 X4 B A I 3...

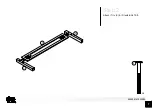
Page 7: ...Step 2 Attach T to C D with BOLTS 3 B344061419WE00 7 C D T X4 3...

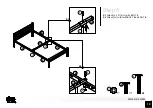
Page 8: ...Step 3 Slide F into E secure with BOLTS 2 and BOLTS 5 B344061419WE00 8 F F E E X4 5 2 2 2 2 5 5...

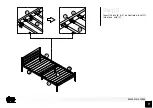
Page 9: ...Step 4 B344061419WE00 9 Wide side of the slot should be facing up F F F E E A B C D B E 1 X8 Attach sub assembly E F x 2 from STEP THREE to A D B C with BOLTS 1 Open slot should be facing up...

Page 10: ...Step 5 B344061419WE00 10 G 5 1 G E E E F F G E 5 2 Step 5 5 1 Attach L x 2 to G with BOLT 2 5 2 Attach G to E with BOLT 4 and NUT 6 B344061419WE00 10 G L 5 1 G E E E F F L G E L 5 2 2 4 6 4 X2 X2 2 2...

Page 11: ...Step 6 Insert O into E F as illustrated lock O into place with Y B344061419WE00 11 O E Y E O E E F F F F...

Page 12: ...ion reassembled to move They are illustrated on this page and available for replacement WARNINGS For safety reasons and to prevent injuries years and older Helpful Hints Weight Limit 225 Lb 102 Kg B34...

Page 13: ...ociones Registra tu producto y descubre cual es el premio para este trimestre Como registrarse www twitter com DHPfurniture www pinterest com dhpfurniture para tener acceso a promociones de DHP Gracia...

Page 14: ...T931490 Barandal de extremo 1 T924800 Barandal de extremo 2 T931500 Barandilla lateral 1 T931520 Barandilla lateral 2 T931530 Pata T931540 Tubos T919470 Precauciones Lea antes de comenzar a ensamblar...

Page 15: ...sando los TORNILLOS 1 Paso 5 5 1 Una L x 2 con G usando los TORNILLOS 2 5 2 Una G con E usando los TORNILLOS 4 y los TUERCA 6 Paso 6 Inserte O en E F como se indica bloquee O en su lugar con Y B344061...

Reviews: