Pg 19 of 38
1-800-892-3986
IS9052
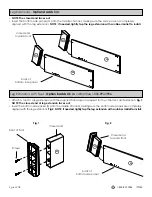
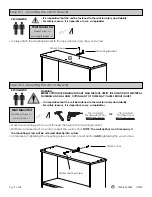
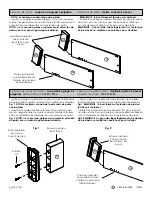
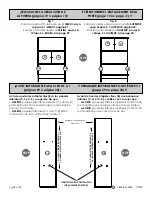
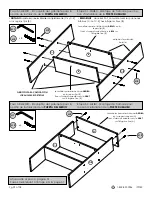
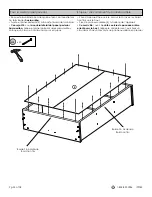
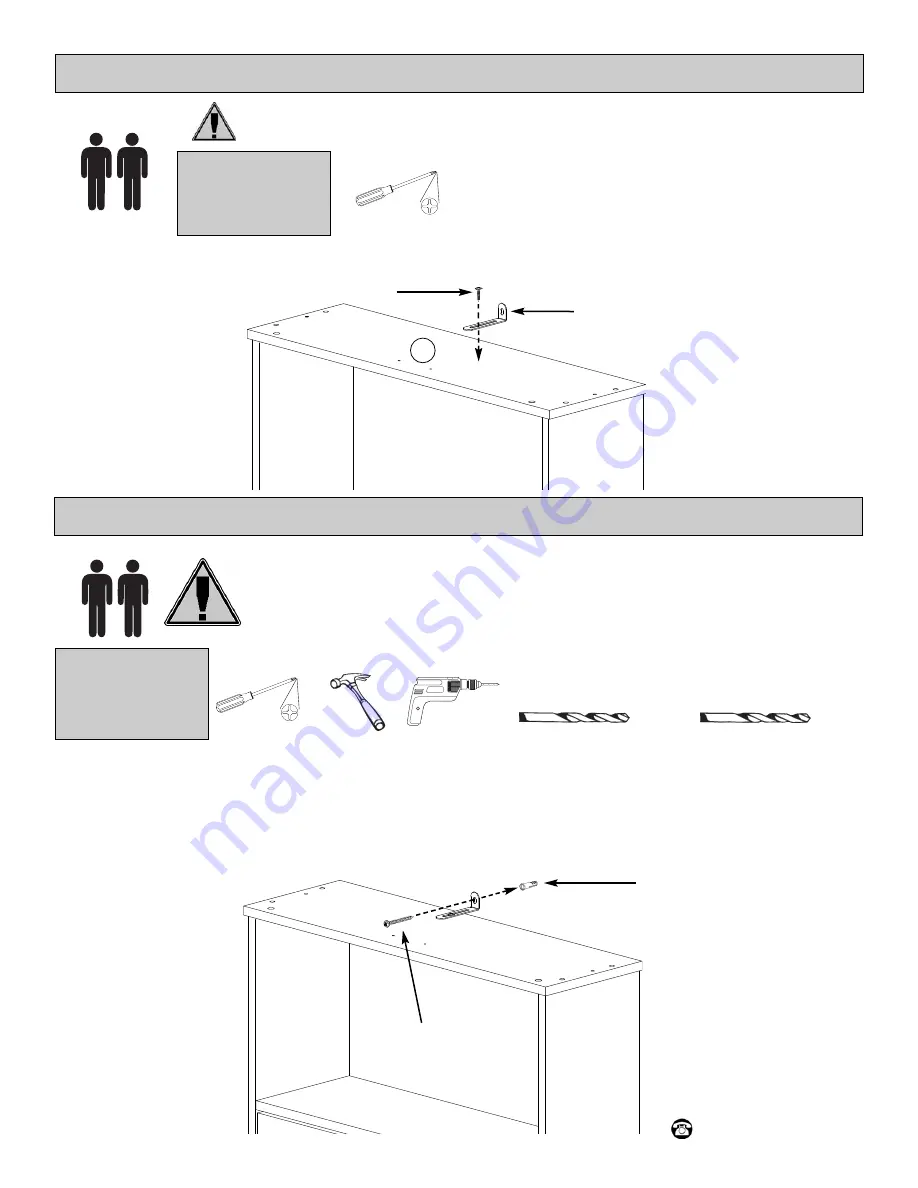
Step 12.1 - Mounting the unit to the wall.
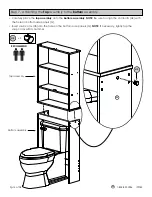
RECOMMEND
Mounting Bracket
Wood Screw
• Loosely attach the mounting bracket to the top panel (A) using the wood screw.
A
• It is imperative that the unit be fastened to the wall for safety and stability.
• For safety reasons, it is imperative to use a stepladder.
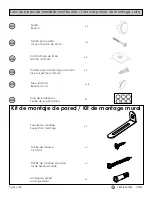
Wood Screw x 1
Mounting Bracket x 1
Wall Mount Kit
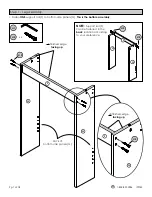
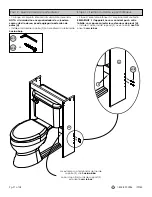
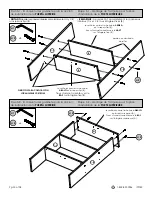
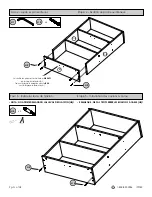
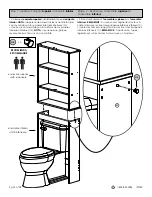
Step 12.2 - Mounting the unit to the wall.
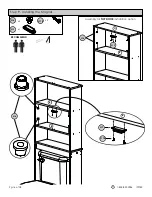
RECOMMEND
WARNING:
BEFORE CUTTING OR DRILLING INTO ANY WALL SURFACE, VERIFY THE LOCATION OF ELECTRICAL,
PLUMBING AND GAS LINES. CUTTING ANY OF THESE MAY CAUSE SERIOUS INJURY.
• It is imperative that the unit be fastened to the wall for safety and stability.
• For safety reasons, it is imperative to use a stepladder.
Wall Mount Kit
1/4 in. drill bit
for drywall anchor
• Mark the mounting point on wall through the hole in the mounting bracket.
• Drill hole in marked spot on wall and insert the wall anchor.
NOTE: The wall anchor is not necessary if
the mounting screw will be screwed directly into a stud.
• Complete by tightening the mounting screw into stud or wall anchor
AND
tightening the wood screw.
Wall Mounting Screw
Wall Anchor
1/8 in. drill bit
for direct stud
Mounting Screw x 1
Wall Anchor x 1
OR


