Installation Manual
©
2011
Maipu Commnunication Technology Co., Ltd,
All Rights Reserved
16
�
Picture
Picture
Picture
Picture 3-3
3-3
3-3
3-3 Installation
Installation
Installation
Installation Picture
Picture
Picture
Picture
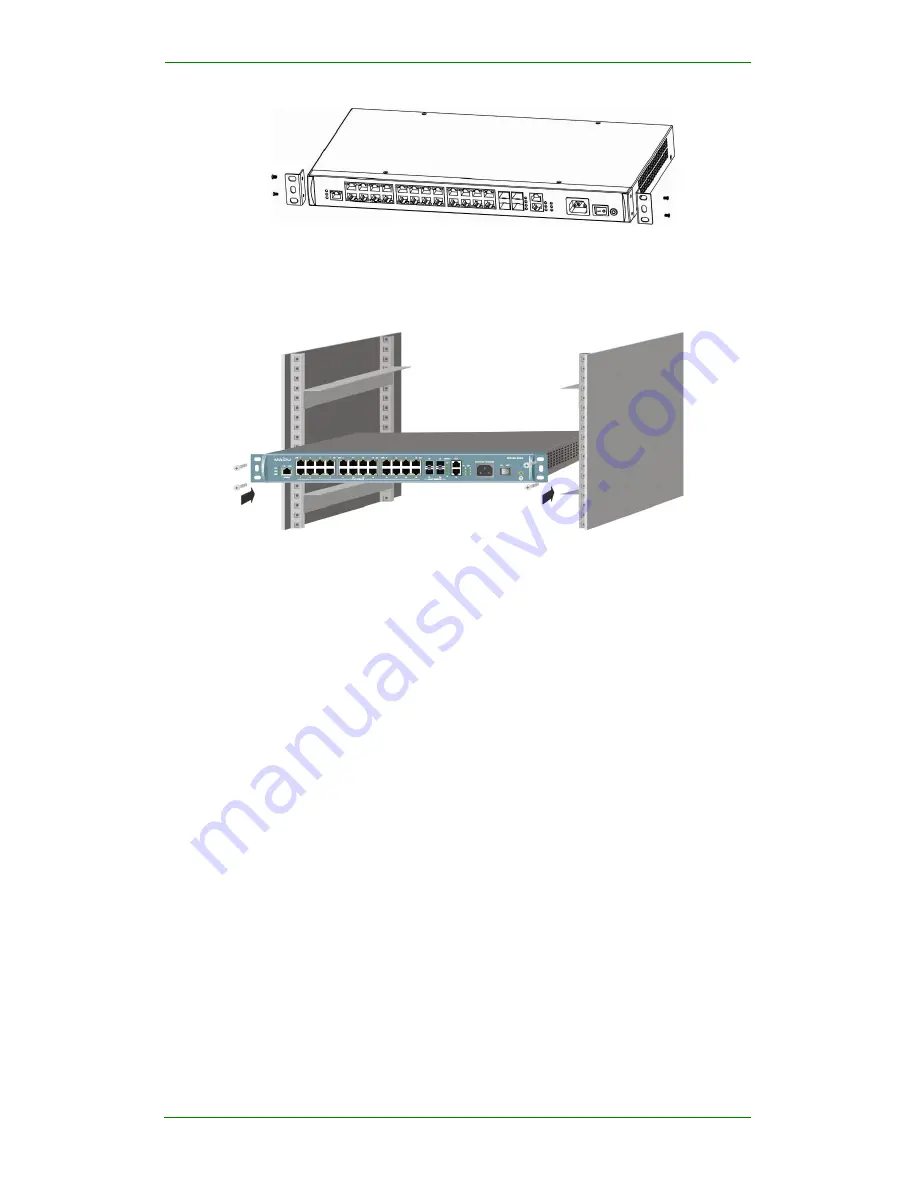
Step 4: The hanger of the switch is not used to bear the load but fasten. Switch is installed
in a 19” cabinet. There must be slides in chassis (fastened in frame) to support switch
␇
␇
␇
␇
Note
Note
Note
Note::::
The
The
The
The heaviest
heaviest
heaviest
heaviest device
device
device
device should
should
should
should be
be
be
be installed
installed
installed
installed near
near
near
near the
the
the
the bottom
bottom
bottom
bottom of
of
of
of the
the
the
the cabinet.
cabinet.
cabinet.
cabinet.
For
For
For
For cooling,
cooling,
cooling,
cooling, there
there
there
there should
should
should
should be
be
be
be 1U
1U
1U
1U distance
distance
distance
distance between
between
between
between two
two
two
two installed
installed
installed
installed devices.
devices.
devices.
devices.
3.3
3.3
3.3
3.3 C
C
C
Cable
able
able
able
This chapter describes how to connect cable to switch.
3.3.1
3.3.1
3.3.1
3.3.1 Connect
Connect
Connect
Connect to
to
to
to S
S
S
Switch
witch
witch
witch C
C
C
Console
onsole
onsole
onsole P
P
P
Port
ort
ort
ort
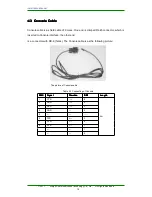
There is a EIA/TIA-232 console port on SM3100-28TC-AC switch. User can use this port
to configure the switch.
Step1: A character terminal which can be a RS-232
Step2: Connect RS-232 port to console port
3.4
3.4
3.4
3.4 Connect
Connect
Connect
Connect to
to
to
to G
G
G
Ground
round
round
round
SM3100-28TC-AC Switch well-connected can protect switch from lightningand jamming,
user must correctly connect the ground carefully.


