background image

AVVERTENZA:

PER PREVENIRE IL RISCHIO DI INCENDIO O DI SHOCK ELETTRICO, NON ESPORRE

L’UNITÀ A  PIOGGIA  O  UMIDITÀ.    NON  CERCARE  DI APRIRE  LA  STRUTTURA,

ALL’INTERNO  È  PRESENTE  ALTO  VOLTAGGIO  PERICOLOSO.  PER

L’ASSISTENZA/RIPARAZIONI  RIVOLGERSI  A  P ERSONALE  QUALIFICATO

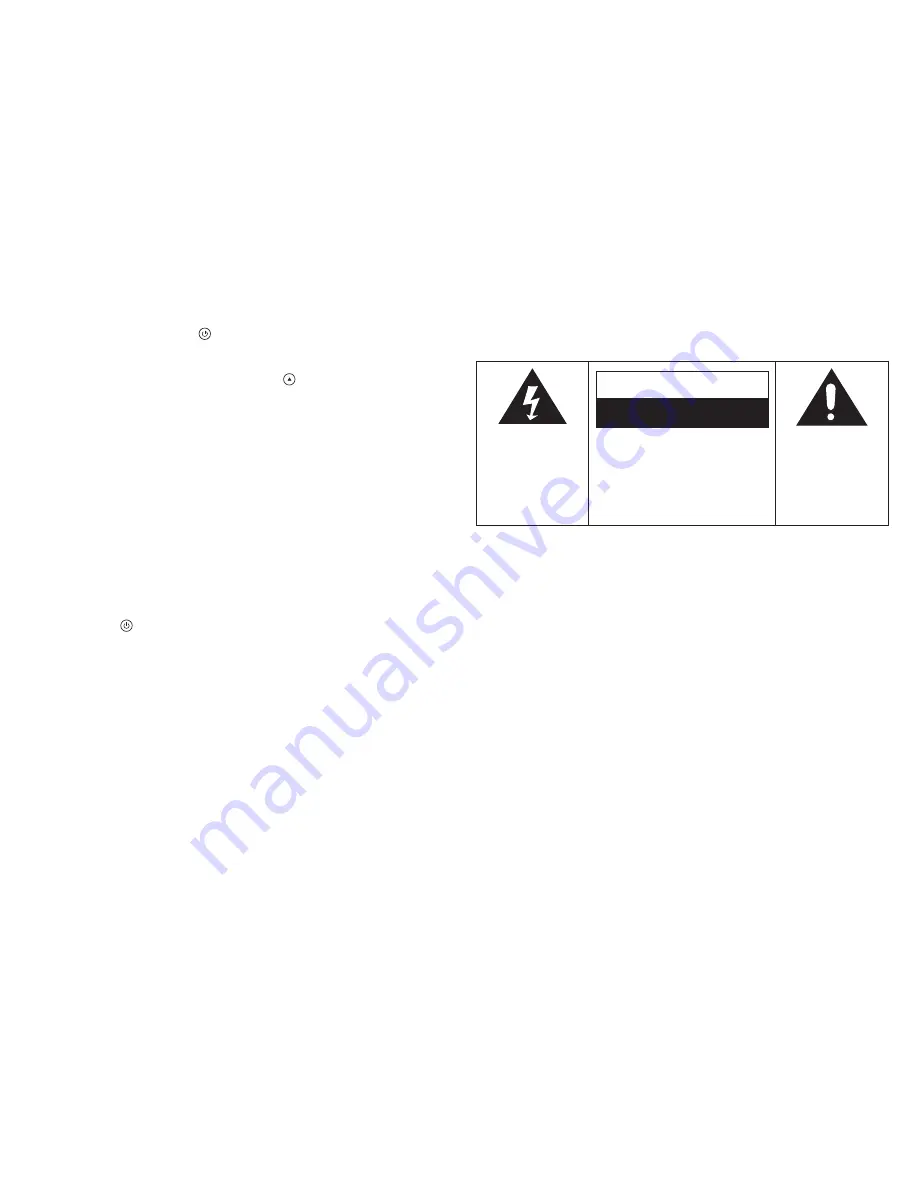
Il simbolo del fulmine con la
freccia all’interno di un triangolo
equilatero indica la presenza di
“voltaggio pericoloso” non
isolato all’interno del prodotto
che può avere abbastanza
potenza da causare rischio di
folgorazione

ATTENZIONE

ATTENZIONE:  PER  RIDURRE  IL

RISCHIO DI SCHOCK ELETTRICO

NON RIMUOVERE LA COVER (O IL

P A N N E L L O   P O S T E R I O R E ) .

ALL’INTERNO NON CI SONO PARTI

U T I L I Z Z A B I L I .   P E R   L A

MANUTENZIONE RIVOLGERSI A

PERSONALE  QUALIFICATO.

Il punto esclamativo all’interno
di un triangolo equilatero
indica la presenza di
importanti istruzioni per il
funzionamento e la
manutenzione (riparazione)
nel manuale allegato all’unità.
.

RISCHIO DI SHOCK ELETTRICO

NON APRIRE

Specifiche tecniche

Gamma di frequenza 

: AM 522 - 1620 kHz
: FM 87.5 - 108 MHz

Porta USB 2.0

: Full Speed 512MB - 4GB
  (Supporta FAT16, FAT32)

Porta SD Card 

: Full Speed 512MB - 4GB

Alimentazione

: AC 230V ~ 50Hz

Consumo

: 85W

GIRADISCHI 

: Velocità 33/45/78

LETTORE CD

:Riproduce dischi CD/DA-CDR-CDRW-MP3

RISPOSTA FREQUENZA  :20Hz – 20KHz

Antenne

: Antenna esterna FM a filo
: Antenna AM in ferrite

Dimensioni altoparlante

: 6 1/2” tipo dinamico x 2

Impedenza altoparlante

: 4 Ohm

Potenza altoparlante

: 40W

Dimensioni altoparlante

: 2 1/2” tipo tweeter x2

Impedenza altoparlante

: 8 Ohm

Potenza altoparlante

: 10W

Potenza di uscita

: 13W x 2 (RMS)

*Note : AM = MW

*IL DESIGN E LE SPECIFICHE TECNICHE POSSONO SUBIRE MODIFICHE SENZA PREAVVISO.

13

TROUBLESHOOTING

There is no power

1. Make sure radio is plugged in correctly.

2. Look at the STAND BY INDICATOR and check to see if it is red.
3. If the red light is on, press the 

POWER

 /


 to turn the unit on.

There is no sound

1. Make sure the mute function is turned off.
2. Check that the volume is turned up by pressing 

VOLUME UP

 / 

 on the remote.

Note: Volume range on some units start at level 15 and ends at level 40.

3. Make sure INT./EXT. switch on back of radio is switched to INT. (Unless you are using external speakers,

in which case it should be on EXT. )

4. Check to make sure power is turned on.

CD does not play

1. Check to make sure CD is inserted correctly (label side facing up).

2. Check to see that surface of CD is clean.

3. Make sure function switch is set to CD mode.

USB - There is no music playing when PLAY/PAUSE (USB) is pressed.

1. Make sure the MP3 device/Flash Drive has stored music files.

2. The unit will only play Flash Drives up to 512MB – 4GB

3. Reset USB by switching the unit Off or switching to another Mode.

4. Check if the file(s) is WMA file(s). The unit does not play WMA format, only MP3 format.

Remote not working

1. Replace battery.

2. Be sure to point the remote towards remote sensor when operating.

3. Remove obstacles in the path of the remote and radio so the remote signal has a straight path to the 

radio.

Turntable will not work

1. Check it the AC Power source is connected.
2. Press the 

POWER

 /


  (on front of unit or on RC) to turn the unit on, the STAND BY INDICATOR light

should be off.

3. Check that the unit is in PHONO Mode. Try moving the Tone Arm to the right until a click is heard.

No Sound is coming from the unit

1. The white protective needle cover has not been removed

2. The Volume is not turned up

The Tone Arm will not move

1. The black tie-wrap has not been removed from underneath Tone Arm.

2. Tone Arm hold down clip has not been released

Trademarks – MPEG Layer-3 audio coding technology licensed from Fraunhofer IIS and Thomson

12

Summary of Contents for JB 3710TT/CD/USB/SD

Page 1: ...910 280900 0220 100 MODELLO JB 3710TT CD USB SD MANUALE D ISTRUZIONI MODEL JB 3710TT CD USB SD INSTRUCTION MANUAL ...

Page 2: ...dere l unità Nessun suono 1 Assicurarsi che la funzione mute sia disattivata 2 Controllare il livello del volume premendo il tasto VOLUME UP sul telecomando Note Il livello del volume di alcuni apparati parte da 15 ed arriva a 40 3 Assicurarsi che l interruttore INT EXT sul retro della radio sia posizionato su INT A meno che utilizziate altoparlanti esterni In questo caso deve essere posizionato s...

Page 3: ...one su USB Scheda SD di default su USB se entrambi i dispositivi sono rilevati si interromperà la riproduzione è tornerà all inizio del brano in riproduzione il sistema leggerà il contenuto del dispositivo USB Scheda SD e creerà una cartella per memorizzare il brano MP3 Riprende la riproduzione del CD e la registrazione Inizierà a lampeggiare il corrispondente simbolo USB CARD 2 Premere il tasto S...

Page 4: ...ontrol is located in the outside of the Styrofoam packaging 3 Remove plastic bag covering radio and remote control 4 Untie antenna wire on back of radio 5 Remove Styrofoam shipping material from turntable 6 Remove black tie wrap from under the TONE ARM 7 Remove white protective needle cover by gently pulling towards the front of the unit Remarks a ESD remark In case of malfunction due to electrost...

Page 5: ... not fall and liquids are not spilled into the enclosure through openings 17 Damage Requiring Service The appliance should be serviced by qualified service personnel when A The power supply cord of the plug has been damaged or B Objects have fallen or liquid has been spilled into the appliance or C The appliance has been exposed to rain or D The appliance does not appear to operate normally or exh...

Page 6: ...e Il braccio deve essere posizionato nel suo alloggio a mano ACCESSORI FORNITI Adattatore per dischi 45 giri se richiesto Per riprodurre un disco 45 giri prendere l adattatore con il pollice e l indice e tirarlo verso l alto Posizionarlo sul perno Adesso si può mettere il disco sul giradischi UTILIZZARE LA PRESA AURICOLARI Ascolto Con auricolari cuffie non inclusi UTILIZZARE IL LETTORE CD Riprodur...

Page 7: ...utomatica Premere e tenere premuto il tasto FF o FB fino a quando l unità non inizia a scorrere automaticamente le stazioni radio e si sintonizza su una stazione con un buon segnale Se la stazione radio si riceve in modalità stereo viene visualizzato il simbolo ST Ripetere se necessario quanto descritto al punto 3 fino alla sintonizzazione della stazione radio desiderata 4 Sintonizzazione manuale ...

Page 8: ...to TIMER sul telecomando per attivare disattivare la funzione timer Il simbolo apparirà sparirà rispettivamente SLEEP Potete impostare un intervallo di tempo trascorso il quale l unità si metterà in modalità standby Premere ripetutamente il tasto SLEEP sul telecomando per selezione le diverse opzioni di intervallo di tempo in minuti Il display visualizzerà in sequenza SLEEP 90 80 70 60 50 40 30 20...

Page 9: ...posizione corretta come indicato all interno il coperchio del vano batteria 3 Rimettere il coperchio del vano batteria NOTA Non utilizzare batterie differenti Non utilizzare insieme batterie nuove ed usate IMPOSTARE L OROLOGIO Collegato l unità alla corrente per prima cosa impostare l orologio 1 Premere il tasto POWER per mettere l unità in modalità standby Il display visualizza l ora se l orologi...

Page 10: ...the click sound to activate the turntable 4 Move the tone arm over the record and lower it to the point you want the record to start 5 At the end of the record the TONE ARM will stop automatically You must return it to the TONE ARM REST by hand ACCESSORY SUPPLIED Adaptor for 45 rpm records if required To play a 45 rpm record remove the adaptor by placing thumb forefinger in recesses and pulling it...

Page 11: ...ve the ability to copy one single MP3 track to and from on USB SD card 1 In CD playback mode press REC to start ripping to USB SD card default USB if both device are detected playback will be stopped and skipped back to the beginning of current track system will scan the contents of USB SD card and create folder to store MP3 track Resume CD playback and start ripping from the moment The correspond...

Page 12: ...terne 14 Non utilizzo Scollegare il cavo di alimentazione quando non si utilizza l unità per lunghi periodi 15 Oggetti e liquidi Prestare attenzione che non cadano oggetti o liquidi sull unità 16 Danni che richiedono assistenza L unità deve essere riparata da personale qualificato quando A Il cavo di alimentazione è danneggiato o B Sono caduti oggetti o versati liquidi all interno dell unità o C L...

Page 13: ... plugged in correctly 2 Look at the STAND BY INDICATOR and check to see if it is red 3 If the red light is on press the POWER to turn the unit on There is no sound 1 Make sure the mute function is turned off 2 Check that the volume is turned up by pressing VOLUME UP on the remote Note Volume range on some units start at level 15 and ends at level 40 3 Make sure INT EXT switch on back of radio is s...

Reviews: