background image

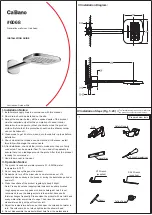
Monaco Installation Guide - Surface Profiles-  vJUN16


5


The Majestic Shower Company Limited


Two North Place, Edinburgh Way, Harlow, Essex CM20 2SL England


Tel44 (0) 8448 001 500


Fac44 (0) 1279 635 074 info@majesticshowers.com www.majesticshowers.com


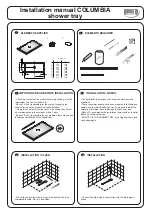
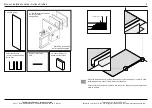
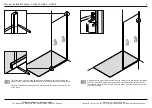
Put the brackets to one side and use the suction lifters to remove the glass panel. 
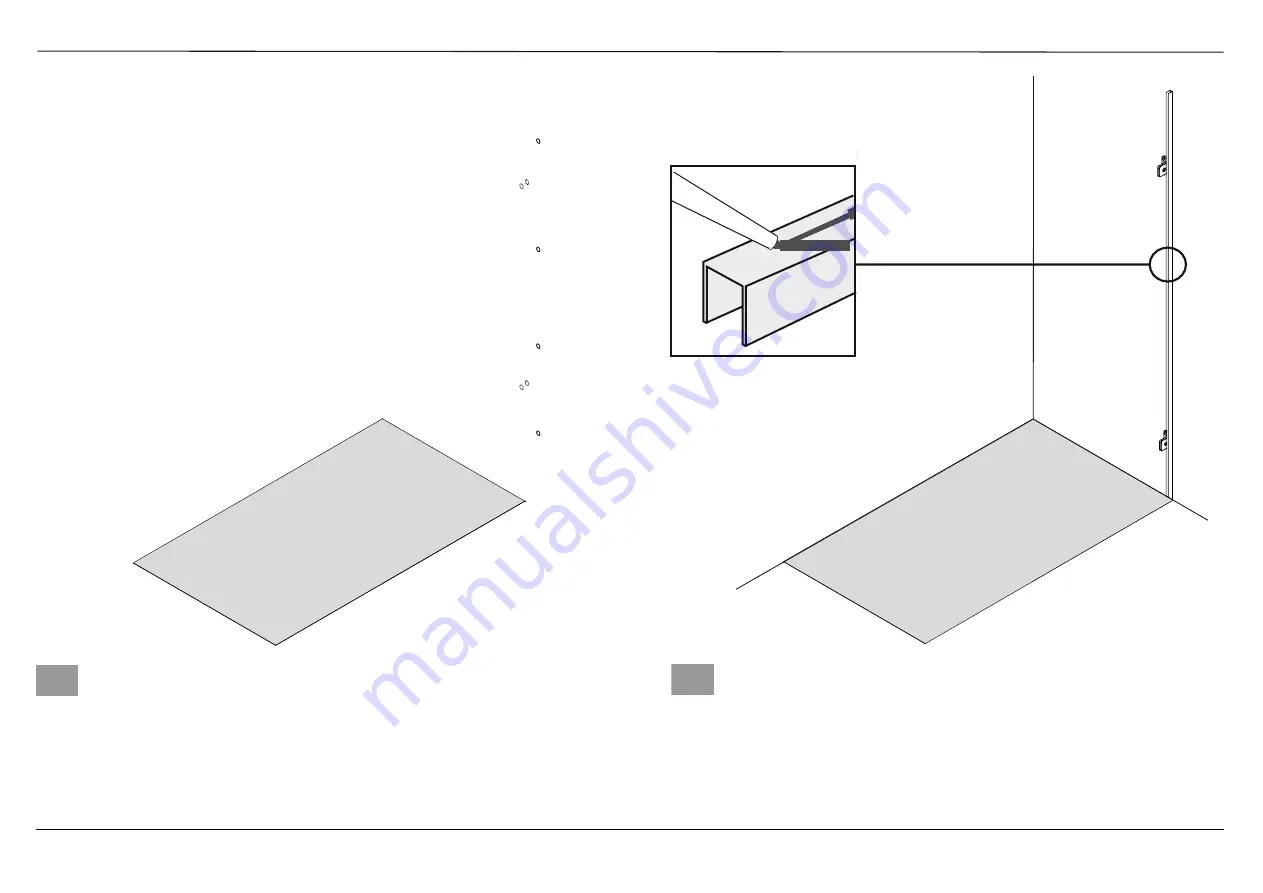
Remove the floor profile, having marked its position and unscrew and remove the 
wall profile.


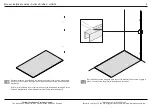
Drill 7 mm holes where the brackets will be mounted and insert wall plugs. Cut the 
floor and wall profiles where marked earlier and file the cut ends smooth.


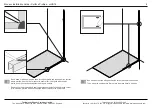
Run a bead of silicone along the back face of the wall profile and screw it tightly in 
place. Loosely screw the glass-to-wall brackets to the wall.


   6 


   7 


Summary of Contents for Monaco

Page 1: ...to undertaking installation check the accuracy of the following against specifications for the particular installation location Verticality and flatness of walls Where wall profiles are used some lea...

Page 2: ...in the required position for the fixed panel If a tray is used preferably position it about 10mm inboard of the edge Ensure that the mitred end is pushed into the corner tape the channel in place and...

Page 3: ...l to ensure that the wall profile is plumb vertical Mark the screw holes for the vertical profile Remove the profile drill 4 5mm holes and insert the wall plugs Reposition the vertical wall channel an...

Page 4: ...forwards in the floor profile but the glass must be inside the vertical wall profile by at least 5mm along its entire height Mark the floor channel at the end of the glass and mark the wall channel a...

Page 5: ...ts to one side and use the suction lifters to remove the glass panel Remove the floor profile having marked its position and unscrew and remove the wall profile Drill 7 mm holes where the brackets wil...

Page 6: ...f the floor profile and reposition it on the tray where marked Use the 10 mm spacer to ensure that it is aligned with the wall profile push the mitred ends together and tape in position Remove the 10m...

Page 7: ...bracket with silicone as shown Loosely fix the face plates of the brackets through the holes in the glass ensuring that the clear plastic gaskets are inserted either side of the glass Fully tighten t...

Reviews: