3
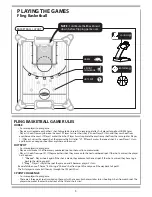
NOTE:
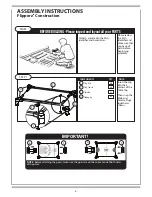
Before
attaching the
goals, make
sure the goals
are on the
correct end of
both sides of
the game. See
image on front
of the manual.
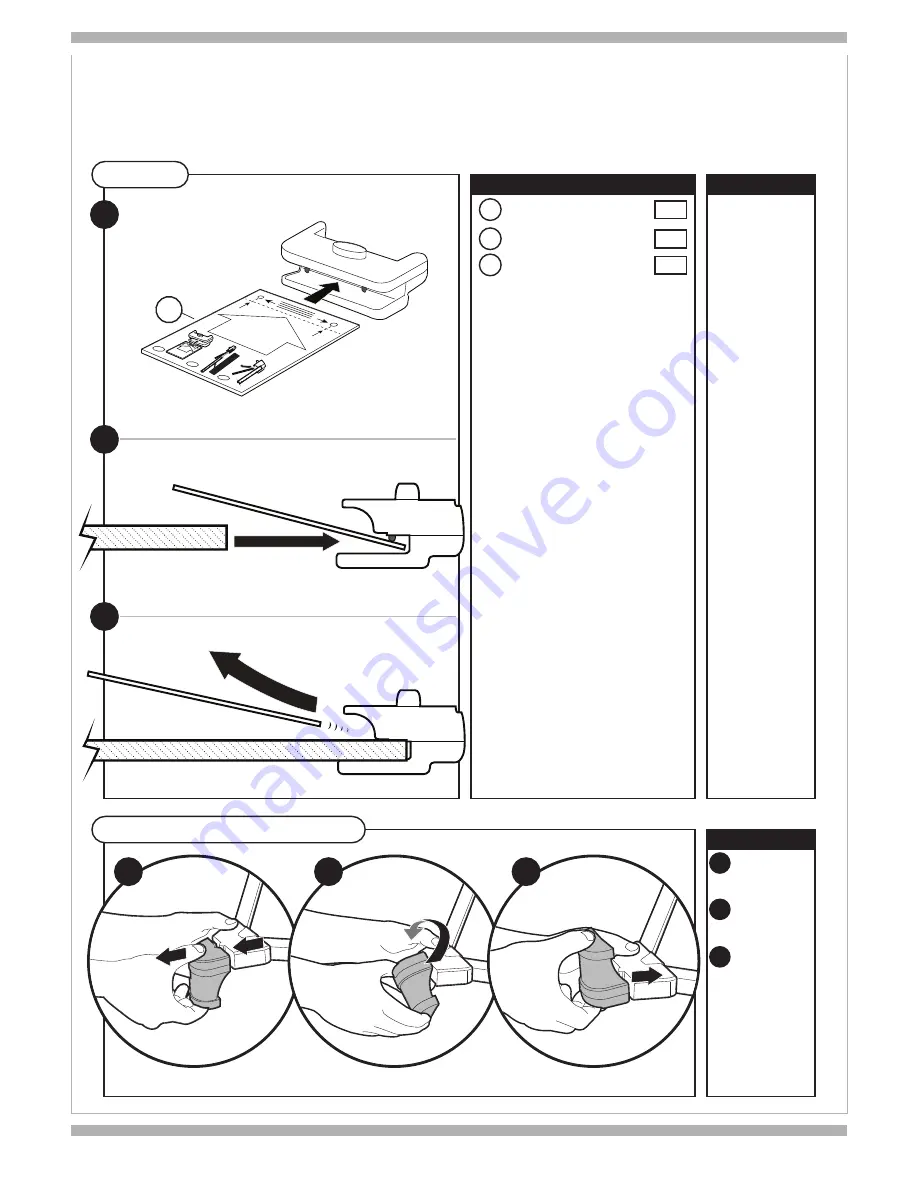
Snap in the
Hockey Goal &
the Basketball
Stand as shown.
NOTE:
If
assembled
incorrectly,
remove screws
and
re-assemble.
NOTE:
STEP 2
COMPONENTS
QTY.
Hockey Goal
x1
5
Stand - Basketball
x1
6
Assembly Card
x1
7
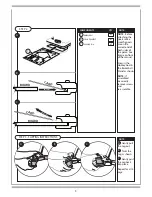
Gently pull
the Leg out.
Twist the
Leg as shown.
Gently push
the Leg back
into place.
Repeat for all 4
Legs.
NOTE:
STEP 3 - FLIPPING INSTRUCTIONS
A
B
C
A
B
C
BO
ARD
CA
RD
INSER
T
NOT
E:
B
ef
or
e A
ttaching the goals
, mak
e sur
e the goals
ar
e o
n the c
or
rec
t end of
b
oth sides o
f th
e game
.
See
ima
ge on fr
on
t of the manual.
If assembled inc
or
rec
tly
, remo
ve scr
ew
s and r
e-assemble
.
BOARD
CARD
REMOVE
1
2
3
BOARD
CARD
INSERT
BOARD
CARD
R
EMOV
E
A
B
C
7


