6. Before You Start
6.1. How to Charge the Battery
• Before you use the Thermal Imager for the first time, charge the battery
for three and a half hours.
• The battery status shows on the six-segment charge indicator.
• To charge the battery, use follow before:
1. Connect the ac power adapter into an AC wall outlet and connect the
DC output to the Thermal Imager’s AC power socket. The charge light
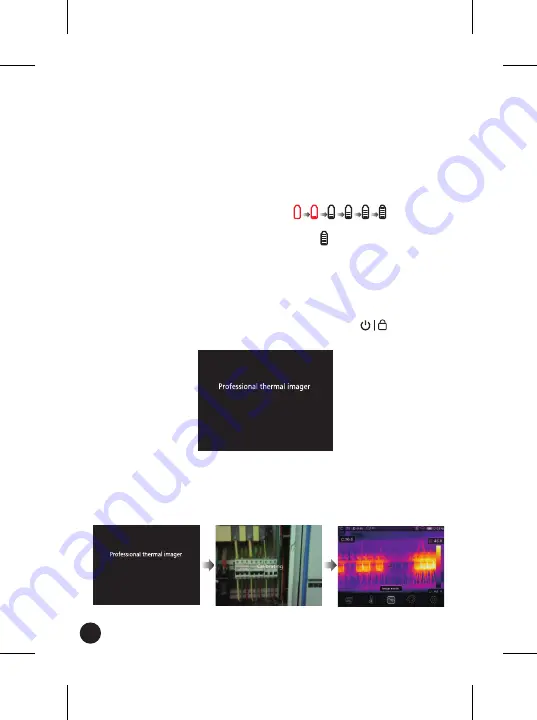
is on, The battery indicator becomes " " while the
battery charges with the AC power adapter.
2. Charge until the charge indicator becomes " " the charge icon will not
change.
3. Disconnect AC power adapter when the battery is fully charged.
Note:
Make sure that the Thermal Imager is near room temperature before
you connect it to the charger. Do not charge in hot or cold areas. When you
charge in extreme temperature, battery capacity may be damaged.
6.2. Power On
To turn the Thermal Imager on, push the
Power/Lock
" " Button for
about 2 seconds.
Note:
After turning on the device, the thermal Imager needs sufficient
warm-up time for the most accurate temperature measurements and best
image quality. So the visible image will first appear, and the thermal sensor
will calibrate internal for several seconds. After that the thermal image will
be displayed on the screen.
10


