background image

19

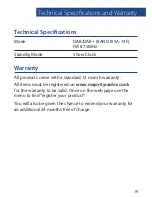
Technical Specifications

Mode 

 DAB

/DAB+

 (BAND III 5A-13F), 

FM 87 .5MHz

Standby Mode 

Show Clock

Warranty

All products come with a standard 12 month warranty . 
All items must be registered on 

www.majorityraidos.co.uk


for the warranty to be valid . Once on the web page use the 
menu to find “register your product” . 
You will also be given the chance to extend your warranty for 
an additional 24 months free of charge .

Technical Specifications and Warranty

Summary of Contents for CB23A-DAB-WDN

Page 1: ...Majority Girton DAB DAB FM Radio CB23A DAB WDN User Guide...

Page 2: ...Preset for FM Radio 7 Station Information for DAB and FM Radio 10 Clock and Date Setting 12 Dual Alarm Setting 14 Other Functions 16 Technical Specification 19 Warranty 19 Important Safety Information...

Page 3: ...e Controls and Functions 1 1 Preset 1 6 2 Preset 2 7 3 Tune Snooze Enter 4 Preset 3 8 5 Preset 4 9 6 Info Menu 7 Shift 8 Scan 9 Preset 5 10 10 Power Mode 11 Volume Down Up 12 Alarm Sleep 1 2 3 4 5 6 7...

Page 4: ...Instructions Guide Controls and Functions 2 13 Battery Compartment 14 Earphone jack 15 DC 5V 16 Antenna 10 11 12 13 15 16 14...

Page 5: ...Instructions Guide What s in the Box 3 Majority Girton DAB DAB FM Radio UK Standard Plug DC 5v Power Supply User Guide Majority Girton DAB FM Radio CB23A DAB WDN User Guide...

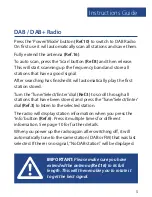
Page 6: ...ng you to get the best signal that you can Press the Power Mode button Ref 10 to turn on the unit The system will show Welcome to Digital Radio on first use To change the mode press the Power Mode but...

Page 7: ...une Select Enter dial Ref 3 to scroll through all stations that have been stored and press the Tune Select Enter dial Ref 3 to listen to the selected station The radio will display station information...

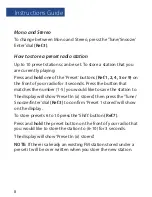
Page 8: ...the Shift button Ref 7 Press and hold the Preset button on the front of your radio that you would like to store the station to 6 10 for 3 seconds The display will show Preset In x stored NOTE If ther...

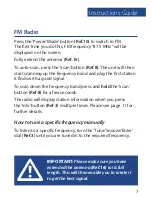
Page 9: ...d signal To scan down the frequency band press and hold the Scan button Ref 8 for a few seconds The radio will display station information when you press the Info button Ref 3 multiple times Please se...

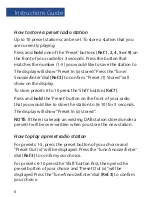
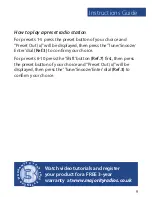
Page 10: ...that matches the number 1 5 you would like to save the station to The display will show Preset In x stored then press the Tune Snooze Enter dial Ref 3 to confirm Preset 1 stored will show on the disp...

Page 11: ...l Ref 3 to confirm your choice For presets 6 10 press the Shift button Ref 7 first then press the preset button of your choice and Preset Out x will be displayed then press the Tune Snooze Enter dial...

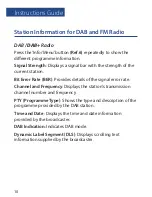
Page 12: ...10 Instructions Guide Station Information for DAB and FM Radio...

Page 13: ...the station s transmission frequency Audio Type Displays the audio type of the station you are listening to It will either be Stereo or Mono Radio Text Displays scrolling text information supplied by...

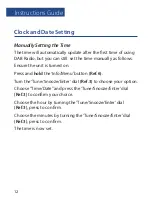
Page 14: ...ws Ensure the unit is turned on Press and hold the Info Menu button Ref 6 Turn the Tune Snooze Enter dial Ref 3 to choose your option Choose Time Date and press the Tune Snooze Enter dial Ref 3 to con...

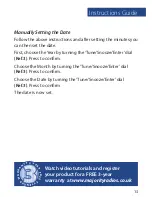
Page 15: ...une Snooze Enter dial Ref 3 Press to confirm Choose the Month by turning the Tune Snooze Enter dial Ref 3 Press to confirm Choose the Date by turning the Tune Snooze Enter dial Ref 3 Press to confirm...

Page 16: ...Choose the hour by turning the Tune Snooze Enter dial Ref 3 Press to confirm Choose the minutes by turning the Tune Snooze Enter dial Ref 3 Press to confirm Choose the volume by turning the Tune Snooz...

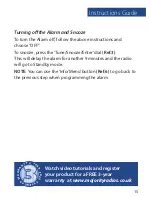
Page 17: ...ter dial Ref 3 This will delay the alarm for another 9 minutes and the radio will go to Standby mode NOTE You can use the Info Menu button Ref 6 to go back to the previous step when programming the al...

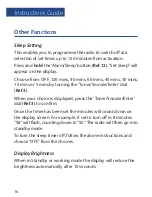
Page 18: ...urning the Tuner Snooze Enter dial Ref 3 When your choice is displayed press the Tuner Snooze Enter dial Ref 3 to confirm Once the timer has been set the minutes will count down on the display screen...

Page 19: ...nter dial Ref 3 to confirm SW Version Software Version Display Press and hold the Info Menu button Ref 6 for 1 second then turn the Tuner Snooze Enter dial Ref 3 to select System Version Press the Tun...

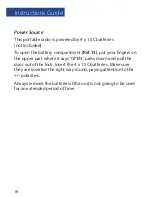
Page 20: ...mpartment Ref 13 put your fingers on the upper part where it says OPEN press down and pull the door out of the lock Insert the 4 x 1 5C batteries Make sure they are inserted the right way round paying...

Page 21: ...19 Technical Specifications Mode DAB DAB BAND III 5A 13F FM 87 5MHz Standby Mode Show Clock Warranty Technical Specifications and Warranty...

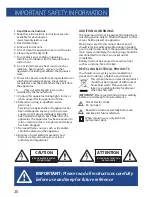
Page 22: ...d it should remain readily operable during intended use In order to disconnect the apparatus from the main mains completely the mains plug should be disconnected from the main socket outlet completely...

Page 23: ...21...

Page 24: ...www majorityradios co uk...

Reviews: