background image

1

Controls And Functions

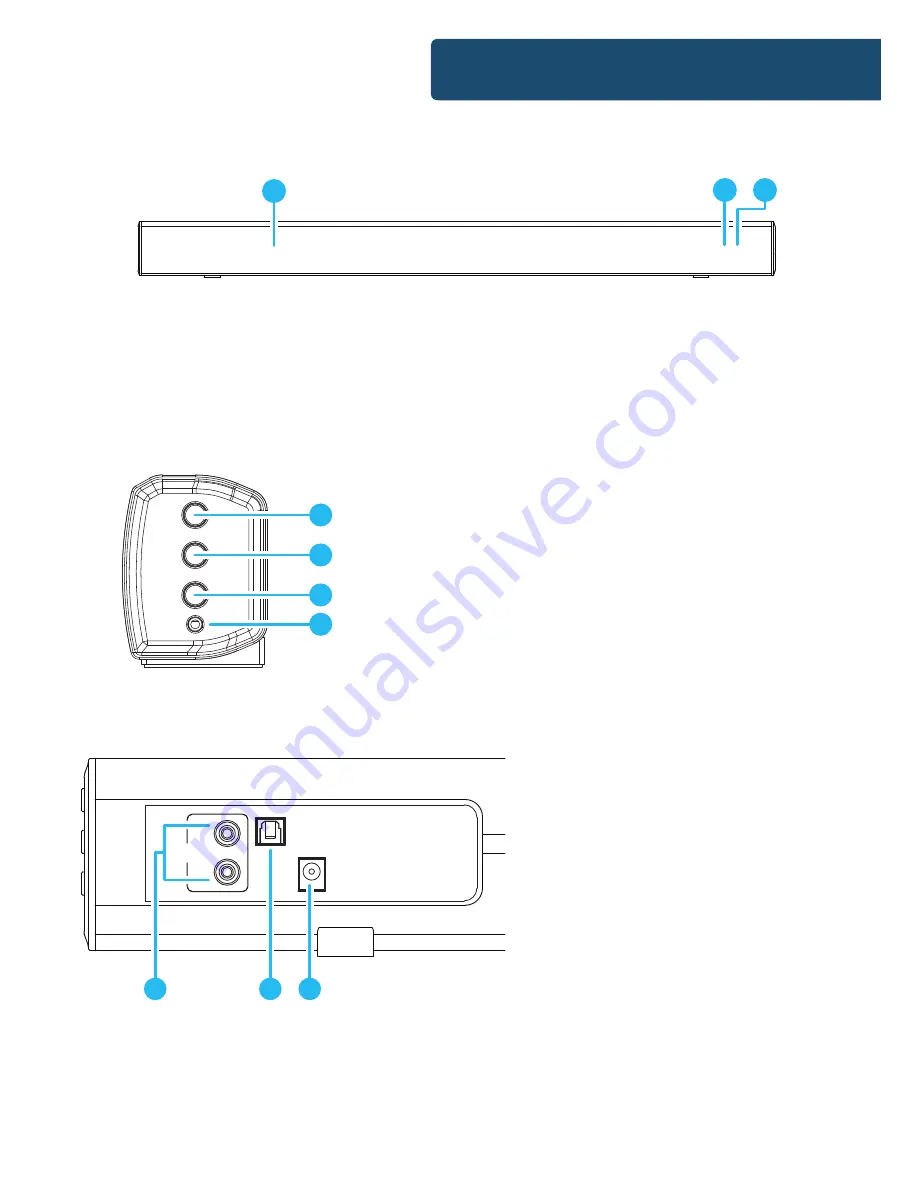
Front View/LED Indicator Light

Side View: Buttons

4.  Press and hold for 3 seconds to 

switch on/off the unit. Press to 
switch between Bluetooth, AUX & 
RCA) in, LINE in or OPTICAL in.

5.  Volume increase
6.  Volume decrease
7.  3.5mm stereo LINE in

1.  Speaker Drivers
2.  Remote Control Sensor
3.  LED Indicator Light

Rear View: Panel Interface Connection

8.  AUX (RCA) Socket
9.  OPTICAL In Socket
10.  DC 15V 1.5A Socket

Automatic Power Off Function

The Majority Skiddaw will automatically go to standby mode 

after 60 minutes in the TV of external unit is discontinued or 

switched off.

1

2

3

POWER

SOURCE

VOL

VOL

LINE

4

5

6
7

AUX1 IN

OPTICAL IN

DC 15V

L

R

8

9

10

Summary of Contents for Skiddaw II

Page 1: ...SKD BAR BLK 2 SKIDDAW II Wireless Audio Soundbar Instructions Guide...

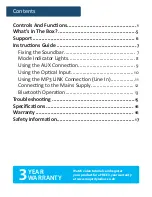
Page 2: ...Connection 9 Using the Optical Input 10 Using the MP3 LINK Connection Line In 11 Connecting to the Mains Supply 12 Bluetooth Operation 13 Troubleshooting 15 Specifications 16 Warranty 16 Safety Inform...

Page 3: ...ease 7 3 5mm stereo LINE in 1 Speaker Drivers 2 Remote Control Sensor 3 LED Indicator Light Rear View Panel Interface Connection 8 AUX RCA Socket 9 OPTICAL In Socket 10 DC 15V 1 5A Socket Automatic Po...

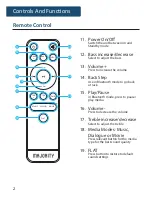
Page 4: ...th mode press to pause play media 16 Volume Press to decrease the volume 17 Treble increase decrease Select to adjust the treble 18 Media Modes Music Dialogue or Movie Press relevant button for the me...

Page 5: ...unmute sound 21 INPUT Press repeatedly to switch between modes 22 Forward Step Use in Bluetooth mode to go forward a track 23 PAIR In Bluetooth mode press to pair with your device Press again to disco...

Page 6: ...is sensitive to the remote control s commands up to a maximum of 6 metres away and within a maximum arc of 40 degrees Please note that the operating distance may vary depending on the brightness of t...

Page 7: ...II Soundbar 2 Remote Control 3 Adapter 4 3 5mm to 3 5mm Audio cable 5 RCA Stereo Audio Cable 6 Wall Bracket 7 Wall fixing and screws 8 Instructions Guide Majority Skiddaw II Soundbar Remote Control A...

Page 8: ...II Please follow the guidance of the manual to set up your soundbar and enjoy its fantastic features If you require further assistance with your new soundbar please contact our support team on the Ma...

Page 9: ...7 Instructions Guide Ensure the TV or Vision Device is placed properly Turning the volume loud may cause the device to fall down ENTION ELECTROCUTION PAS OUVRIR Fixing the Soundbar...

Page 10: ...8 State Indicator Lights Power off Red Optical mode Yellow AUX mode White Line in mode Green Bluetooth ready Flashing blue Bluetooth connected Blue Instructions Guide Mode Indicator Lights...

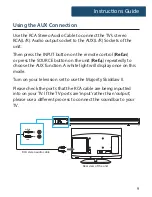
Page 11: ...4 repeatedly to choose the AUX function A white light will display once on this mode Turn on your television set to use the Majority Skiddaw II Please check the ports that the RCA cable are being inpu...

Page 12: ...itch on the unit Press the INPUT button on the remote control Ref 21 repeatedly to switch to Optical mode or press the POWER SOURCE button on main unit Ref 4 repeatedly to select the Optical mode The...

Page 13: ...dio source Press the POWER SOURCE button on side panel Ref 4 or POWER button directly on the remote control Ref 11 to switch on the unit Press the POWER SOURCE button repeatedly or directly press the...

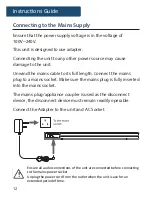
Page 14: ...g to a mains socket Make sure the mains plug is fully inserted into the mains socket The mains plug appliance coupler is used as the disconnect device the disconnect device must remain readily operabl...

Page 15: ...requests a password enter the default 0000 Refer to the user manual for your specific device for instructions on pairing and connecting Bluetooth devices When successfully paired and connected a beep...

Page 16: ...the connected Bluetooth Device to select a track To play pause or skip the selected track use the native controls on the connected Bluetooth Device Audio played through the connected Bluetooth device...

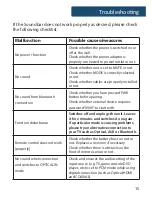
Page 17: ...before pairing Check whether external device requires password 0000 to start with Function disturbance Switches off and unplugs the unit Leaves it for 2 minutes and switches it on again If a particula...

Page 18: ...cm Net Weight 1 5kg All products come with a standard 12 month warranty All items must be registered on www majorityradios co uk for the warranty to be valid Once on the web page use the menu to find...

Page 19: ...laced on the apparatus 14 Dispose of used electrical products and batteries safely according to your local authority and regulations ADDITIONAL WARNINGS The apparatus shall not be exposed to dripping...

Page 20: ......

Page 21: ...www majorityradios co uk...

Reviews: