Blackout Mini Spider Hex
If you are building a Blackout Spider Hex frame, your
booms will mount to the bottom plate in a very simi-
lar fashion. The main difference you will see is that
you use four screws instead of two and the booms
will not fold into the body.
Step 3: Assemble the Clean Frame
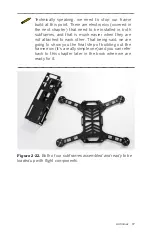
Next, we are going to build out our clean frame. This frame is
made up of plates D, E, and F (which we will add later in the
book) from
. We will also be using the eight 37-mm
standoffs that came in the kit. The overarching idea is to use
plates D and E as a top and bottom of our frame that is held
together with the standoffs.
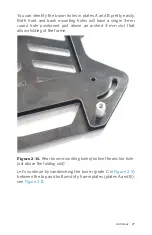
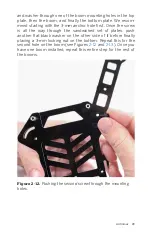
Let’s start by finding plate D. You will notice eight 3-mm diame-
ter holes that are positioned around the edges of the plate.
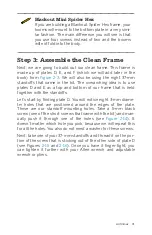
These are our standoff mounting holes. Take a 5-mm black
screw (one of the short screws that came with the kit) and man-
ually push it through one of the holes (see
). It
doesn’t matter which hole you pick, because we will repeat this
for all the holes. You also do not need a washer for these screws.
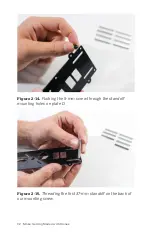
Next, take one of your 37-mm standoffs and thread it on the por-
tion of the screw that is sticking out of the other side of plate D
(see Figures
). Once you have it finger-tight, you
can tighten it further with your Allen wrench and adjustable
wrench or pliers.
Airframes 31
Summary of Contents for Belinda Kilby
Page 1: ......
Page 3: ...Make Getting Started with Drones Terry Kilby and Belinda Kilby...
Page 26: ......
Page 90: ......
Page 126: ......
Page 153: ...Figure 9 10 Compass setup Figure 9 11 Compass calibration ArduPilot Mega APM Setup 141...
Page 198: ......


