Step 4: Attach the Two Subframes
Together
Just to reiterate: this final frame-building step should not be
performed if you are just getting to the end of
. We
need to install electronics in both of our subframes, and this
step should be saved until we reach the end of
pilot install). Because this step is so simple, and for the sake of
continuity, we will display it here and you can either refer back to
this chapter or (more than likely) pull it from memory.
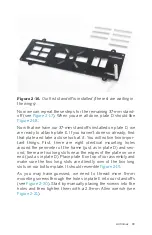
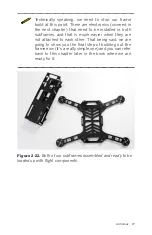
Begin by placing the clean frame on top of the dirty frame. Line
up the four small tabs that stick out from the bottom of the
clean frame (with 3-mm holes in the center) with the four short
standoffs sticking up from the top of the dirty frame. Make sure
that both frames are pointing in the same direction. You can
determine this very simply: the back of the clean frame has two
long slots along the sides between the back two standoff
mounting screws, while the back of the dirty frame is the direc-
tion the booms will point when they are folded in.
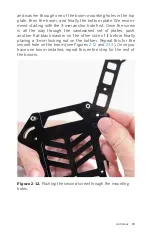
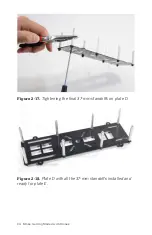
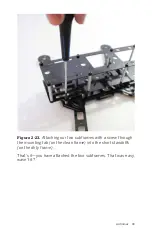
Once you have placed the frames on top of each other, take your
final 5-mm mounting screws and manually place them through
the tab holes in the clean frame before tightening them with a
2.5-mm Allen wrench. Repeat this for all four tab holes. Refer to
to see how it’s done.
38 Make: Getting Started with Drones
Summary of Contents for Terry Kilby
Page 1: ......
Page 3: ...Make Getting Started with Drones Terry Kilby and Belinda Kilby...
Page 26: ......
Page 90: ......
Page 126: ......
Page 153: ...Figure 9 10 Compass setup Figure 9 11 Compass calibration ArduPilot Mega APM Setup 141...
Page 198: ......


