48
•
Single-Board-Computer (SBCs) and other Boards
The robot board offers the possibility to mount an SBC like e.g., a Raspberry Pi 2/3 or compatible via board spacers. SBCs with a different hole spacing can
be easily mounted with a self-made adapter board. Here the robot board offers enough space for proper extensions.
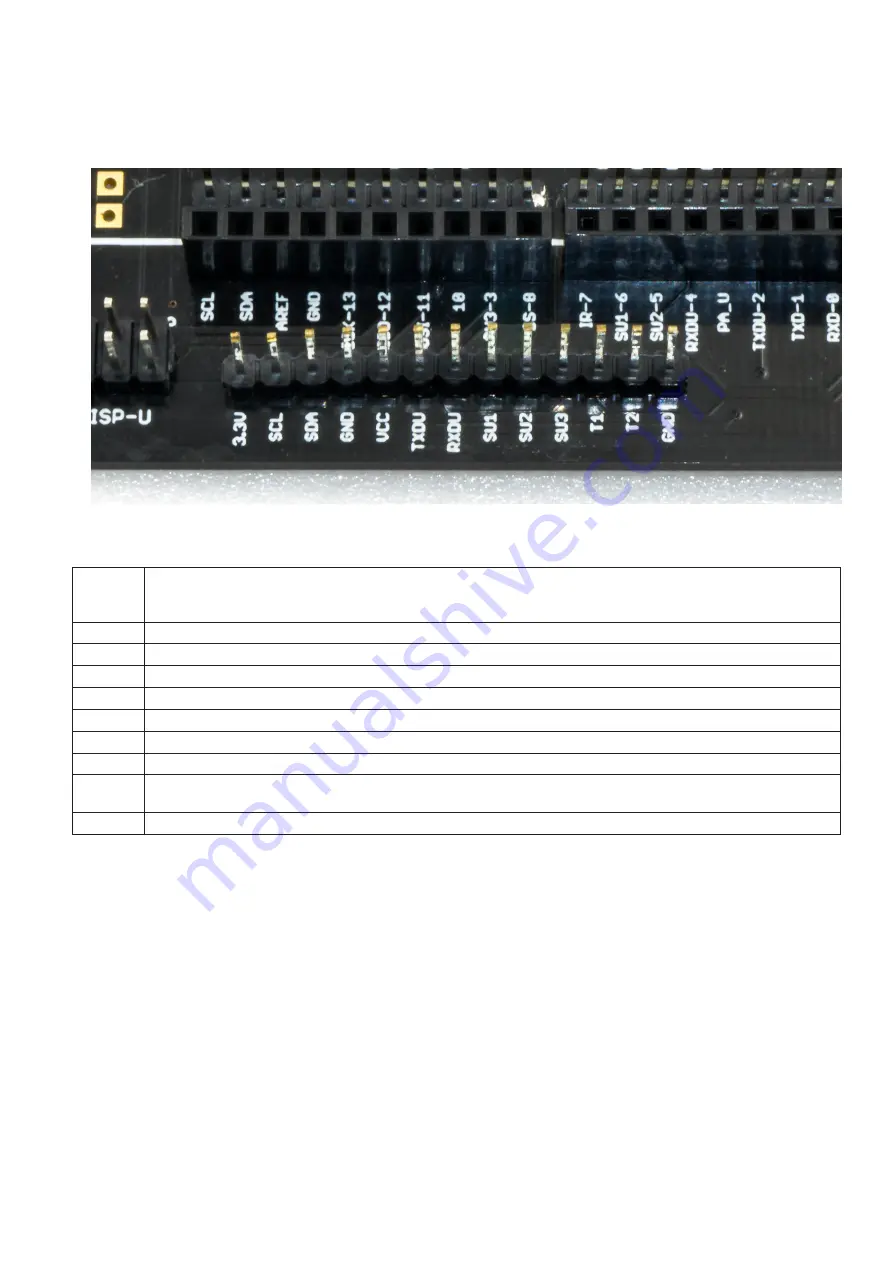
The pin header shown next to the "ISP-U" connection is a universal connection port for SBC or your own extensions. For the wiring between the SBC and
the robot board, it is best to use the so-called "jumpwire" (socket - socket).
Figure 76
Pin description (see inscription below the pins in Figure 76):
3,3V
3.3 V/DC Supply input for the internal level converters of the robot board (Connect 3.3 V from the SBC in this case). If you use a board with
a level of 5 V, then connect 5 V instead of 3.3 V (always connect the respective supply voltage; the SBC then supplies the level converters of
the robot board with the correct voltage).
SCL
I²C clock line (connect SCL of the SBC here, the I²C bus is then available at sockets J2 and J3)
SDA
I²C data cable (here connect SCL of the SBC, the I²C bus is then available at sockets J2 and J3)
GND
Ground/GND (negative pole)
VCC
5 V/DC, 1000 mA from the voltage regulator, here you can connect the supply of the SBC
TXDU
UART transmission line of the locomotion controller (connect the UART RxD of the SBC here)
RXDU
UART receiver line of the locomotion controller (connect the UART TxD of the SBC here)
SU1 - SU3
These connections lead directly to the pin header SU1, SU2, SU2. These pins can be used freely, e.g., for servos or digital signals.
T1 - T2
These pins are connected to the buttons T1 and T2. The buttons are externally equipped with pull-up resistors and provide a high signal when
they are not actuated. The pull-up resistors can be deactivated with the board jumpers SJ6 and SJ7.
GND
Ground/GND (negative pole)
Summary of Contents for 1664151
Page 1: ...Operating Instructions Hexapod Robobug Complete Set Item no 1664151...
Page 23: ...23 The femur servo mount must be mounted a total of 6 times Figure 31 Figure 32...
Page 26: ...26 Figure 37...
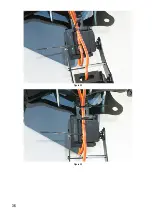
Page 36: ...36 Figure 58 Figure 59...
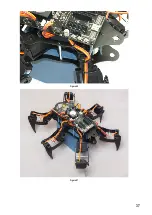
Page 37: ...37 Figure 60 Illustration_61 Figure 61...
Page 38: ...38 Figure 62...
Page 66: ...66...
Page 67: ...67...

